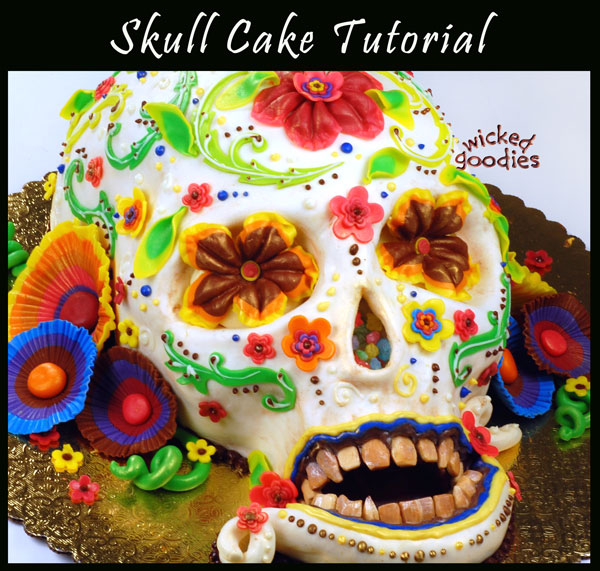
 According to Mexican tradition, on the Day of the Dead, the elegant skull represents both the death of beauty and the beauty of death, a cake decorator’s paradox.
The decorations on this skull cake were crafted from modeling chocolate. The cake was also wrapped in a combination of white modeling chocolate and fondant; some fondant was needed in this case for its elasticity because of the highly contoured nature of the skull shape.
In terms of construction, the skull shape starts out very simply as a half sphere cake. Follow this link to read on baking and constructing half sphere cakes. I only carve the top part skull, then form the lower jaw bone later out of modeling chocolate. It’s easier to make a skull cake that way. Read on to see how.
Ingredients Needed
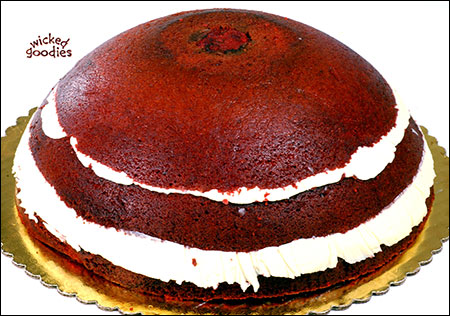
- half sphere of cake, baked, filled, & chilled.
- 3 cups vanilla buttercream
- 1 batch white modeling chocolate
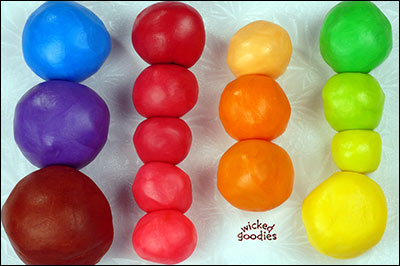
- small balls of pink, red, orange, yellow, green, blue, violet, & bittersweet modeling chocolate
- 1 cup of fondant
- piping bags with melted white and dark chocolate, for piping
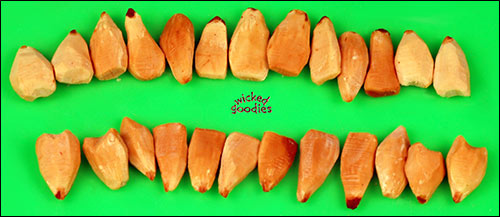
- toasted whole almonds
- rock candy
- cocoa powder
Equipment Needed
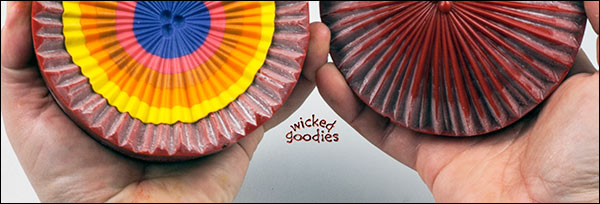
- 12” round corrugated circle
- modeling chocolate equipment
- daisy plunger cutters, set of 4
- vine cutters
- round cutters, assorted 2” through 3 ½” diameter
- large sphere veiner, two piece, for the round flowers
- petunia cutter & veiner set (or equivalent set with 3 cutters for tri-toned flowers)
- medium silicone molds, for storing flowers
Step-by-Step Instructions
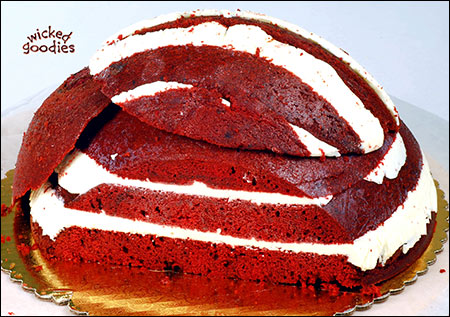
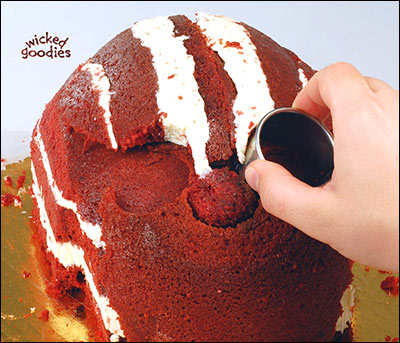
2. Plunge a 2” round cutter into the face to remove chunks to form eye orbits (if you happen to have a large melon baller, that would also work well). Carve out the nasal cavity and hollow the cheeks. End the cake at the maxilla, omitting the mandible (it’s easier to make the lower jaw entirely out of of modeling chocolate later on).
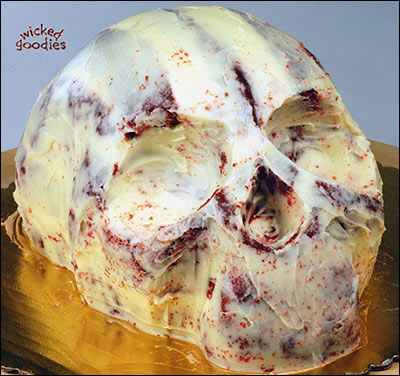
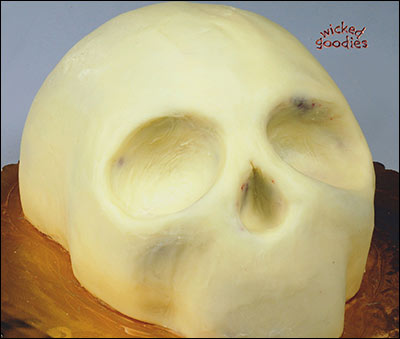
5. Mix one part white fondant with one part white modeling chocolate and knead them until they are blended. Here, the fondant provides the elasticity needed to cover such a contoured shape while the modeling chocolate improves the flavor of the finish. However if desired, fondant alone would work well for covering this design. Roll the mixture out to a thickness of 1/6” and pull it over the frosted skull (cake must be cold), stretching it into the eye orbits and nasal cavity. If it tears inside of the cavities, that’s okay because those parts will eventually be concealed anyway. Trim the excess chocolate/fondant from around the base of the cake.
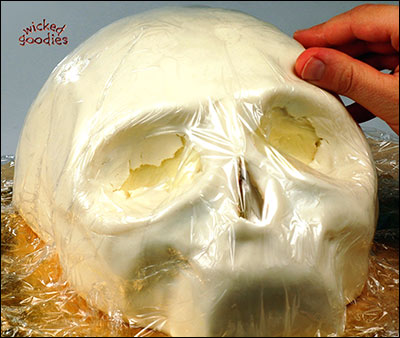
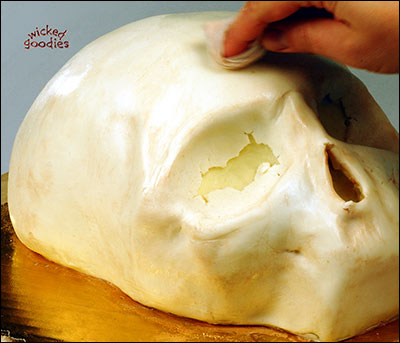
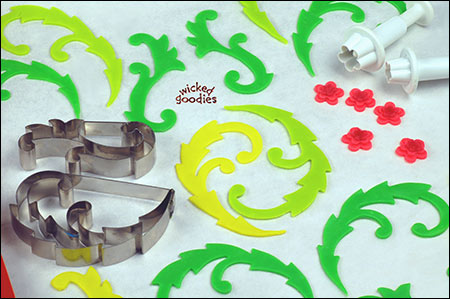
8. To make vines, combine different shades of green and yellow modeling chocolate to achieve three different hues of green. Roll the three greens out into 1/16” inch thick sheets. Cut the sheets with vine cutters.
Sample the book
Cake Decorating with Modeling Chocolate
9. Roll out the remaining colors of modeling chocolate to 1/16” thickness then cut small flowers using small plunger molds.
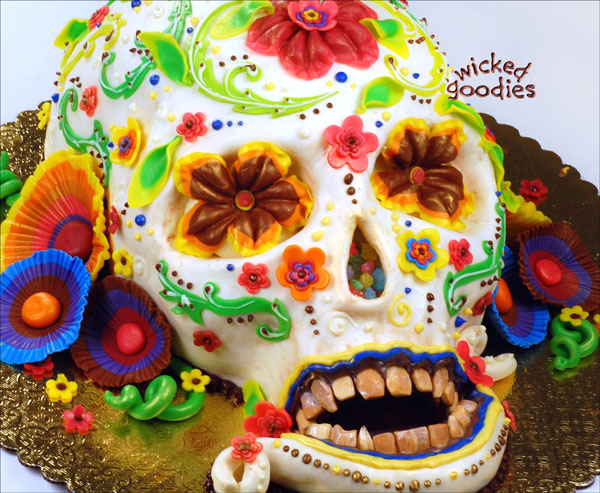
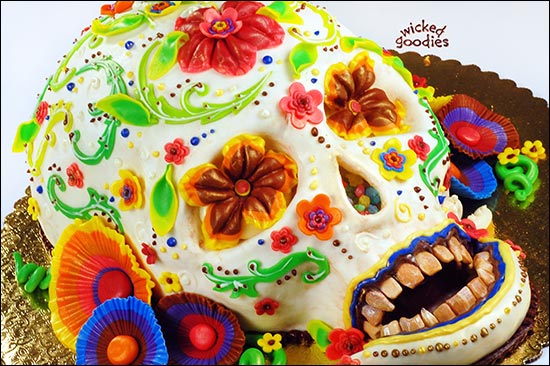
12. Place the flowers and foliage on and around the cake. Pipe white, dark, and colored chocolate to add detail and design. For more info on piping, follow this link to see a video on how to make paper cones for piping chocolate. Fill the jaw opening with melted chocolate and the nasal cavity with rock candy. Fill each eye orbit with a modeling chocolate petunia. Add foliage to evoke the look of an overgrown relic.
You might also enjoy
Smooth Buttercream Cake Frosting
 Owl Cake Tutorial
 3D Burger Cake Tutorial


I found this skull cake via Google, and plan to make it for a Halloween party. I’ve downloaded your Buttercream and Modeling chocolate books.
I have questions, though, about the cake itself. My friend who makes a lot of cakes told me not to use a pudding-in-the-mix or extra moist cake, as they won’t hold up to sculpting.
Can you share information on what you use for the cake itself to ensure that it can be shaped without hassle and will still taste good?
Jim,
That’s awesome. I hope you come back after the party to share photos of your results. When it comes to sculpted cakes, it’s not about having the right recipe. The trick is to carve the cake while it’s in a semi-frozen state. This will help everything hold together while you’re working on it. If you are looking for the ideal recipe, I’ve found that pound cake makes an excellent foundation for sculpted cakes.
This is wicked awesome. I wanted to make a skull cake for my stepson 16th birthday and this is just what I needed to help me get it done. Wicked excited to try this. You have some awesome tips!
You saved my day with this tutorial. I am making a cake and had to display a broken neck,,,,, could not get it to look right until I put the skull on the cake with the neck…. I used the wilton ball pan and it worked perfect.
That’s great to hear, Judy! I am only left wondering who on earth needed a broken neck cake!
Hi, what an awesome tutorial, just like every thing you do. Thanks so much for sharing. I just want to comment that Day of the Dead is Dia de los Muertos, not Dios de los Muertos, the later means God of the dead, and the holiday takes place on Nov 2nd, when we set up an altar with a lot of things that would help the dead to come visit us, like water for a long journey, and their favorite food. It’s just a way to remember our loved ones. Thanks again.
Thanks for the spelling correction! This typo is even in my book so now I have something to fix on the third round of printing. You are great for pointing it out to me! Thank you 🙂
thank you for all of your tutorials, very interesting for a newbie like me 🙂
i only had a chance to work with modelling chocolate once, i find it hard to knead. May I ask whether modeling chocolate can “stand against” the heat during summer? many thanks 🙂
It is hard to knead at first. You have to really lean into it! If you have a microwave, you can zap it for five seconds on each side then knead. That helps.
In terms of the summer, I’d suggest avoiding letting a cake with modeling chocolate sit in direct sunlight. That rule goes for any cake for that matter. If you can work in an air-conditioned room, almost anything is possible with modeling chocolate. As long as the cake is well-chilled before transport, modeling chocolate decorations should do fine.
love your web site and tuts, would love to see one on the topsy turvy cake, the carved kind, not using the topsy turvy pans.
Thanks! I do happen to have such a tutorial. Here is the link: http://www.wickedgoodies.net/2012/08/how-to-make-a-topsy-turvy-cake/