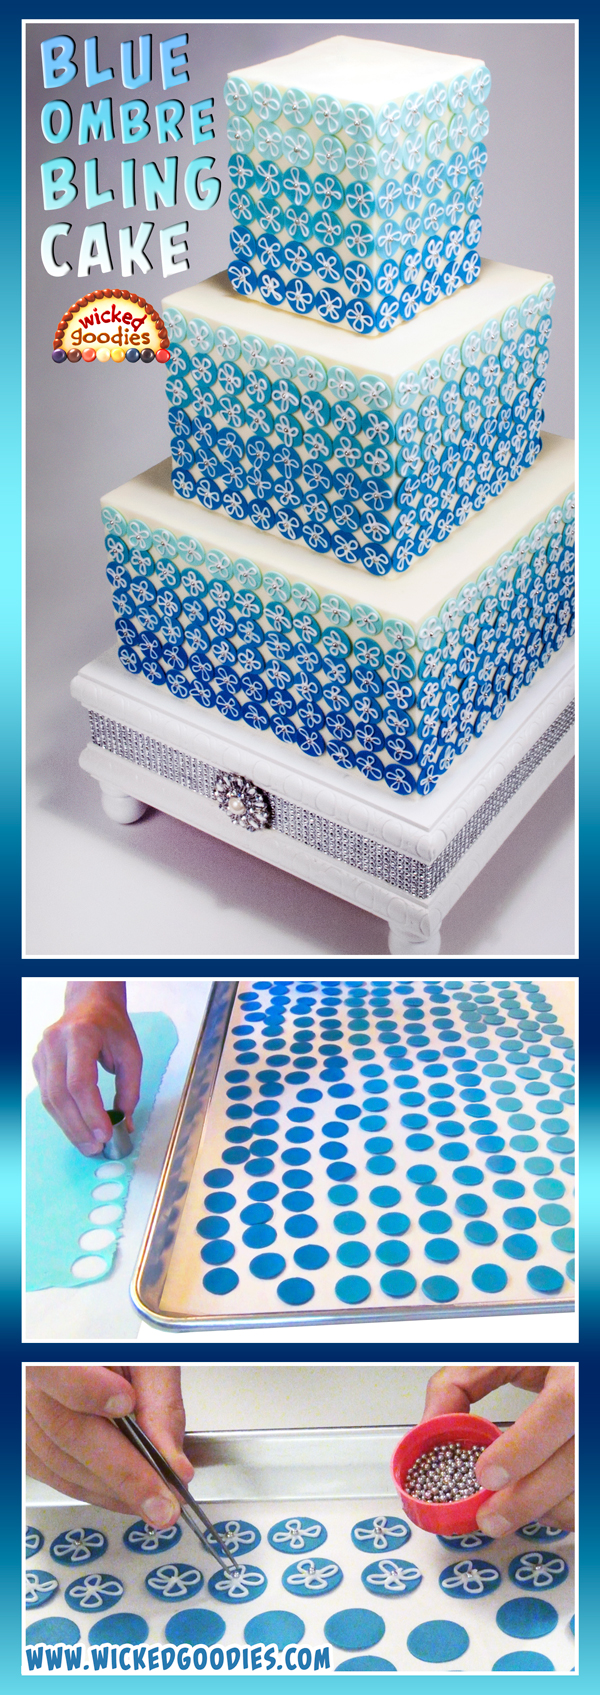
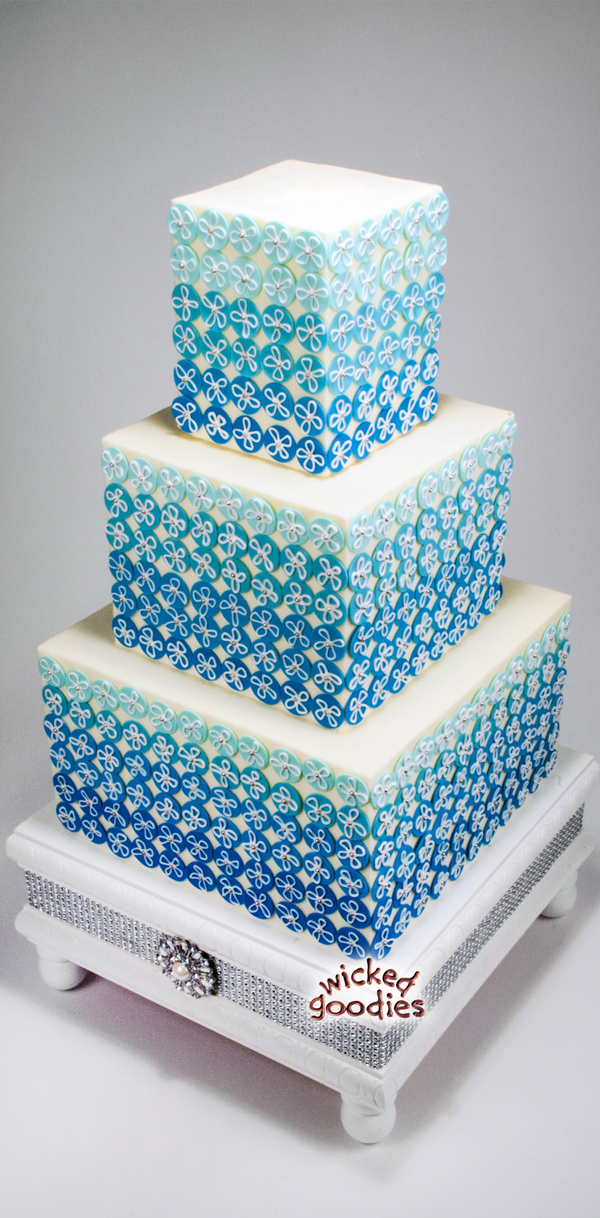
This regal wedding cake is frosted with smooth buttercream, designed with an ombre modeling chocolate pattern with piped royal icing pattern and a little bling. Here is a video tutorial on how the cake was decorated with some additional tips on how to assemble stacked cake tiers.
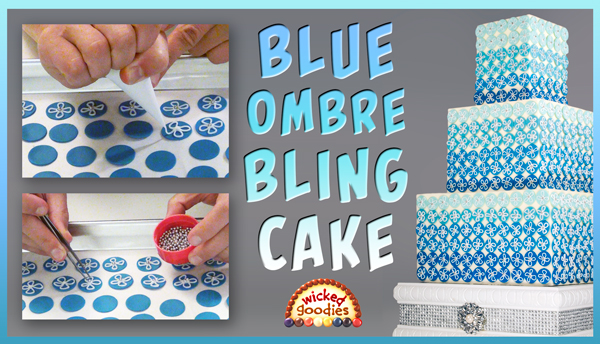
VIDEO: Blue Ombre Bling Cake with Modeling Chocolate
Related Cake Decorating Tutorials
- VIDEO: Cake Writing and Piping with Melted Chocolate
- VIDEO: How to Make Parchment Paper Piping Cones
- VIDEO: How to Make Modeling Chocolate
- RECIPES: Modeling Chocolate
- RECIPE & INSTRUCTIONS: Smooth Buttercream Cake Frosting
Sample the book
Cake Decorating with Modeling Chocolate
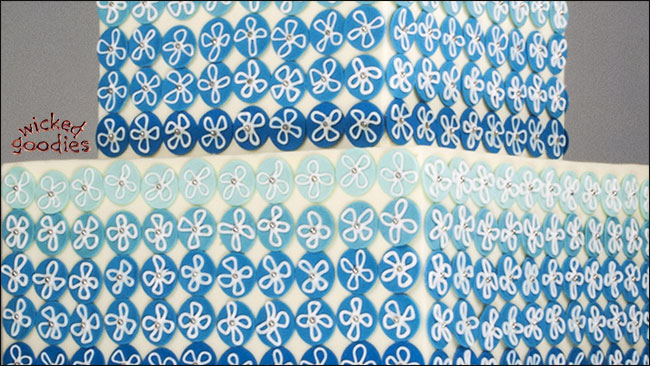
Rolling and Cutting the Ombre Modeling Chocolate Pattern
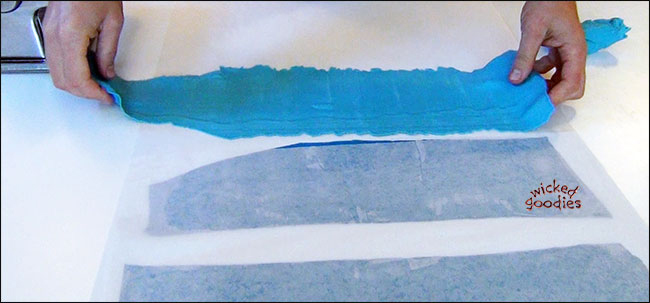
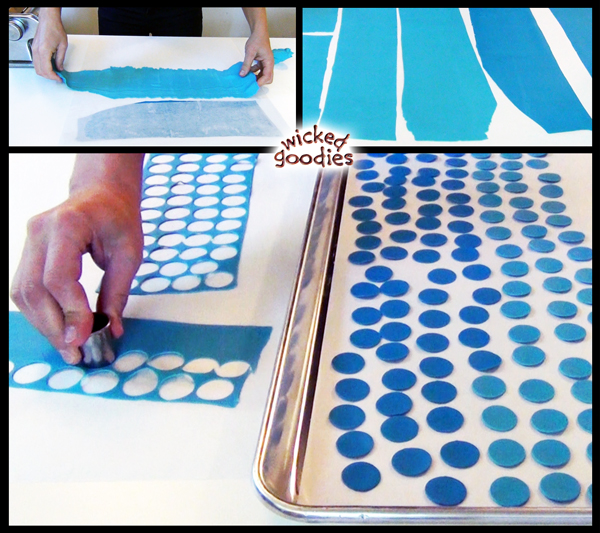
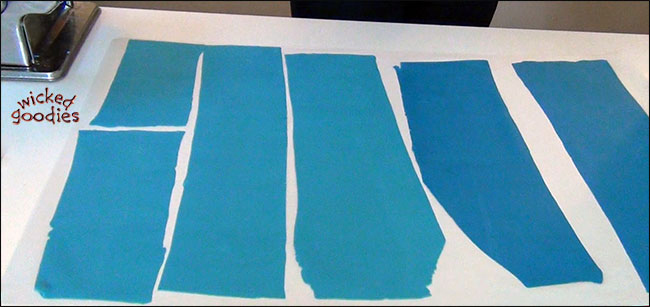
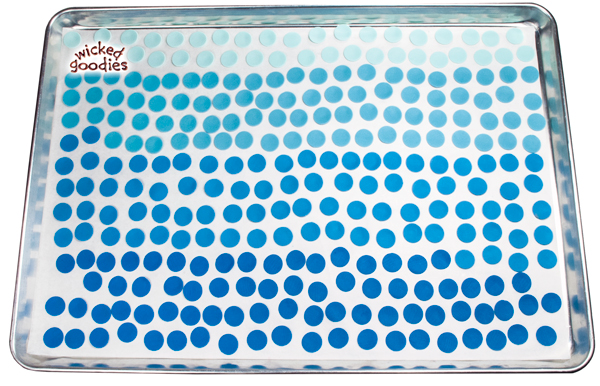
The pattern on this cake is made out of four similar tones of blue modeling chocolate. Here are two of the colors. As you can see, I rolled them out quite thin. Follow this link for my video tutorials on how to roll modeling chocolate.
After the rolled modeling chocolate has had a chance to set up, I begin by cutting circles from it using a small round cookie cutter. I’ve pre-measured to make sure that it’s the right sized cutter for the dimensions of this particular cake.
Piping the Royal Icing Flowers
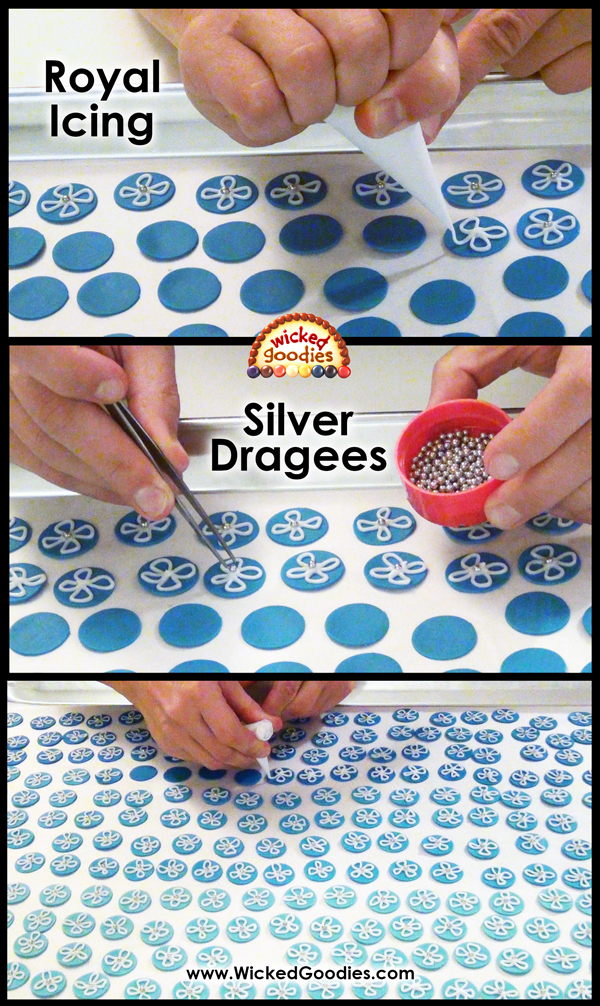
With a fairly thick royal icing, I piped a geometric flower-like pattern on each of the circles. It’s a simple design that involves two figure eights.
After each ten or so, I stop and place a small pearl in the center of each flower using tweezers. These silver ones are only meant for decoration but you can buy almost any color or sized sugar pearl now.
Repeat the design on all of the modeling chocolate circles. Allow them to dry for at least two hours or ideally, overnight.
Decorating the Ombre Cake
Place the circles on the cold cake tiers starting with the darkest color around the base. The modeling chocolate should stick to the buttercream frosting without any trouble. If not, dab the backs with a little water.
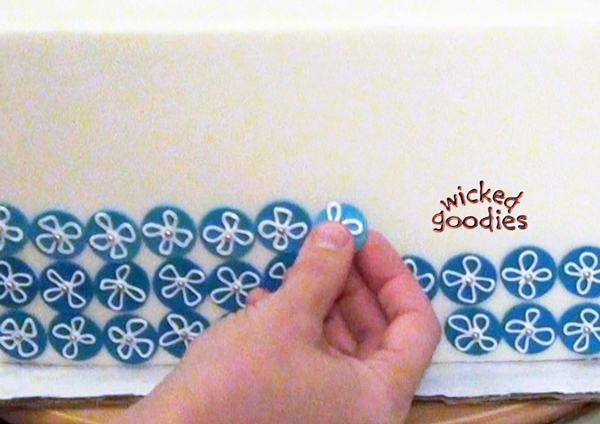
You can slide the modeling chocolate pieces around on the buttercream frosting for the first minute or so before they harden into place.
Continue adding rows of decorations from light to dark until the entirety of each cake tier is covered.
Here is a peek at how I would go about stacking a cake this big onto a cake stand if I were at a wedding. Each tier has already been fortified in advance with wood dowel supports. I’m using a small offset spatula to help maneuver the cakes from their working platforms onto the stand.
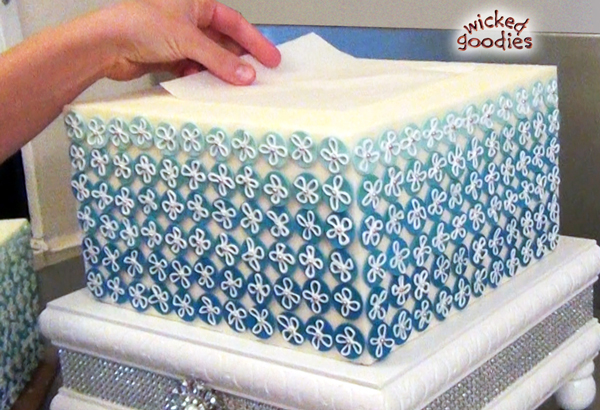
I add a piece of parchment paper between tiers when I stack cakes. This makes it easier to slide each tier into alignment once it’s been placed down on the buttercream frosting. It also makes it easier to disassemble the cake later on because it will prevent the tiers from getting stuck together. I check and re-check from every angle that the second tier is squarely in place before I pull out the spatula.
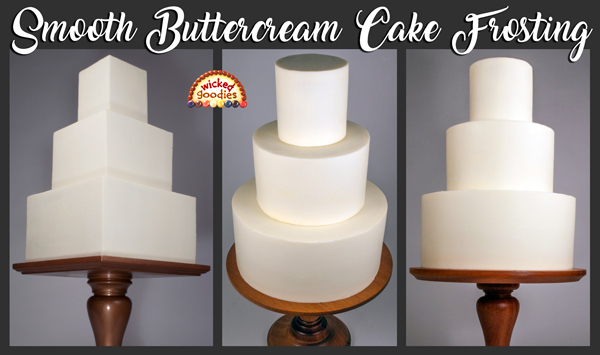
Get my recipes and technique for crisp frosting here:
Smooth Buttercream Cake Frosting
The handmade cake stand in this tutorial was made by Shannon from Batter Up Cake Co.
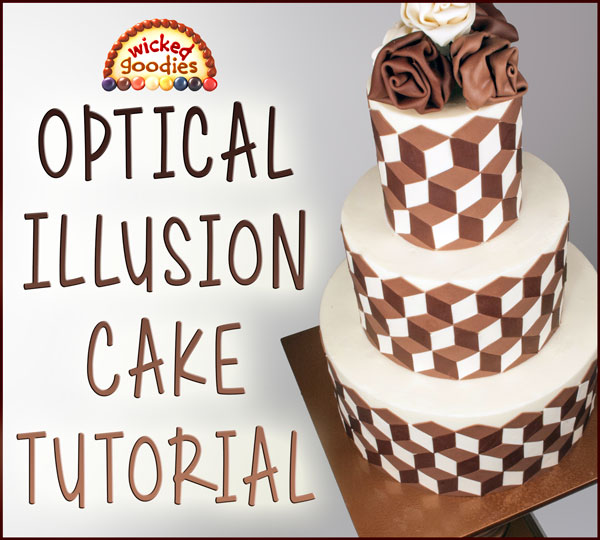
VIDEO: Optical Illusion Cake Tutorial
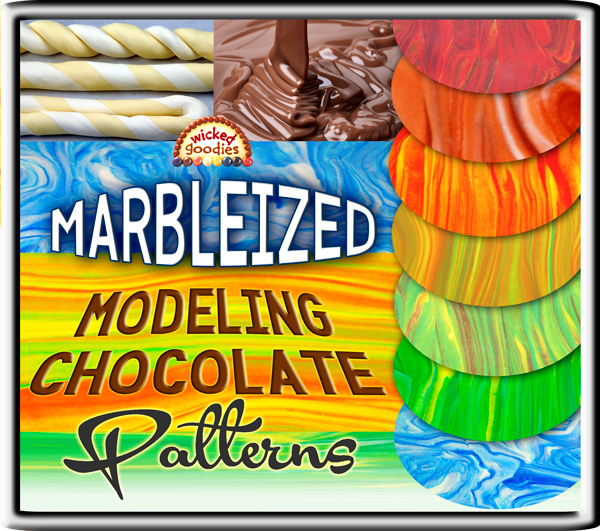
 Marbleized Modeling Chocolate Patterns
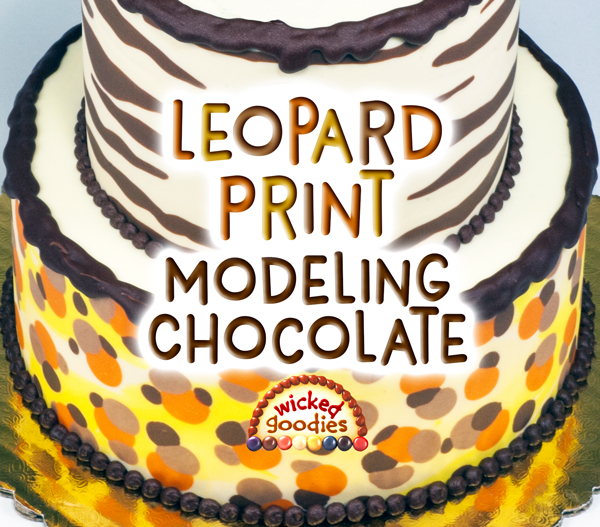
 VIDEO: Modeling Chocolate Leopard Print Tutorial



Very nicely explained and it looks so beautiful.
Id You can publish moré vídeos William be excelent for oll the people Whois lije repostera thank You very much for old tha wonderfull and delicias cakes thank You
Everything you do is soooooo gorgeous!