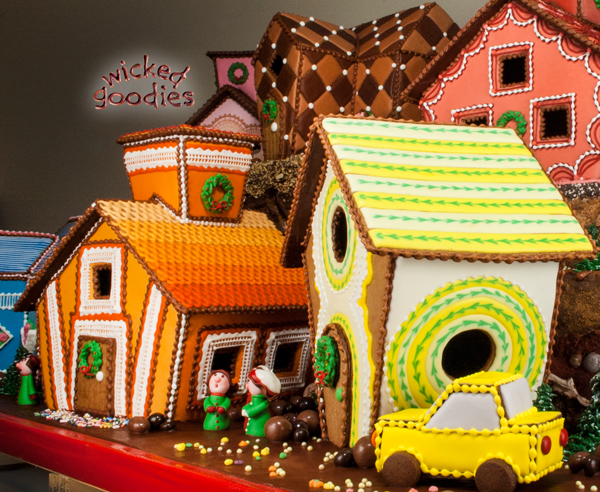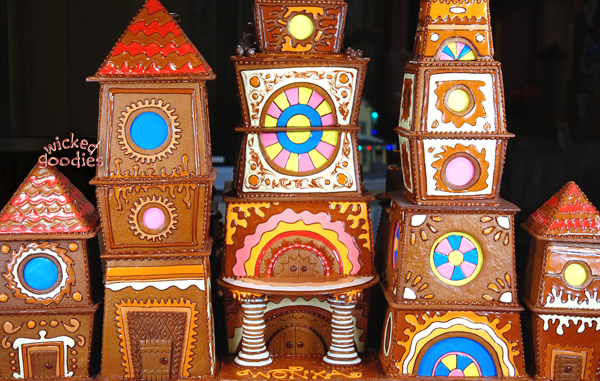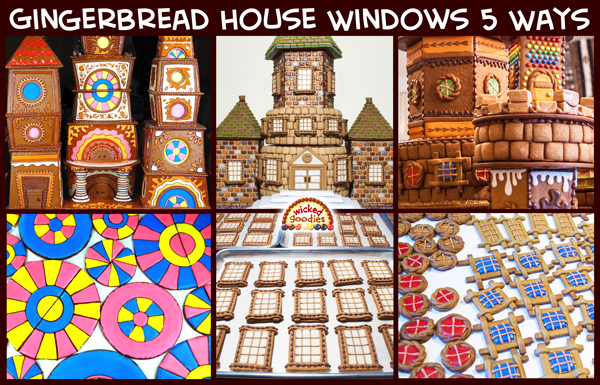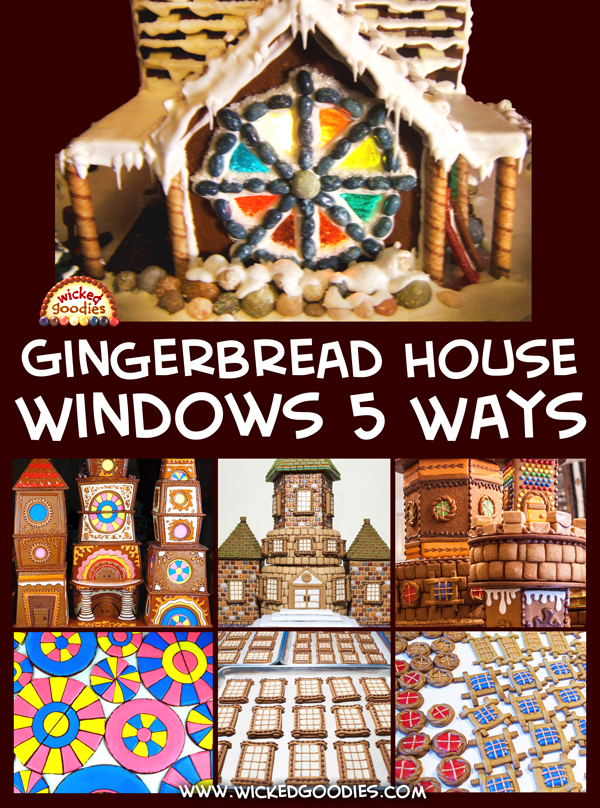
This video tutorial shows how to make five different styles of gingerbread house windows including cut holes, stained glass, lit candy, overlay, and freestanding style.
I’ll start with the classic hole in the wall, the kind of window that I recommend cutting out with a cookie cutter.
I like this technique because it allows people to see inside the house. An alternative to the hole in the wall effect is the cut-away wherein you omit the whole back wall of a house so people can see all the details inside, like in this Santa’s Workshop example.
#2
Stained Glass Icing Inset
This variation combines the hole in the wall effect with iced cookie windows, which get attached to the inside of wall pieces for a concave inset effect. In this example (go here to read my article on stained glass gingerbread house windows), I’m marking the intended shape of the design with a cookie cutter and ruler to use as guide for the royal icing. I’m using dark brown edging to evoke the look of stained glass. The trick is to make sure all your windows are bigger than the holes so you have room to attach them to the inside of your walls.
All these windows got sealed to the back of the walls before the assembly process.
#3
Stained Glass Candy
Next is the classic stained glass effect made of hard candies like jolly ranchers or life savers.
The trick to this effect is to bake your pieces about two thirds of the way to completion and then add broken pieces of candy into the holes and return them to the oven. See how Kellie Murray used candy to make a lit-from-inside gingerbread house Bed & Breakfast.
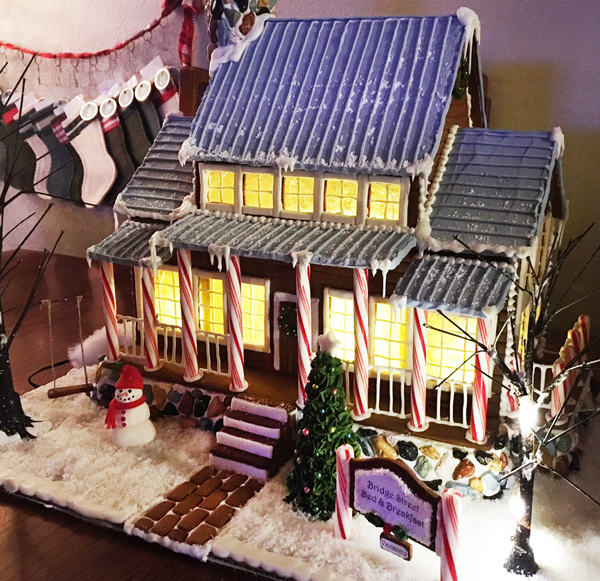
The candy will melt and spread out, filling the holes. It only takes a few minutes so you want to stick around and keep your eye on it. It’s important to bake these parts a piece of parchment paper or silpat. For long-term display, I recommend using isomalt instead of hard candy. It holds up better over time.
#4
#3D Overlay
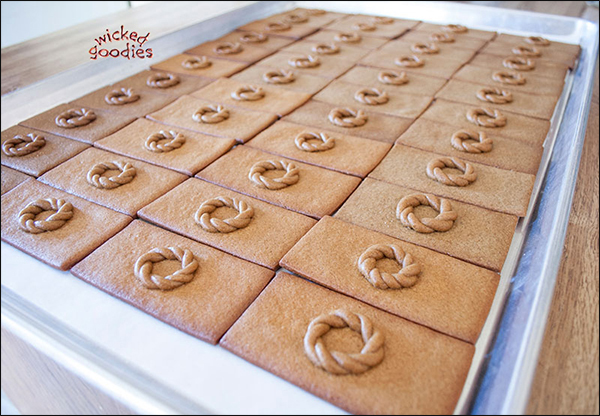
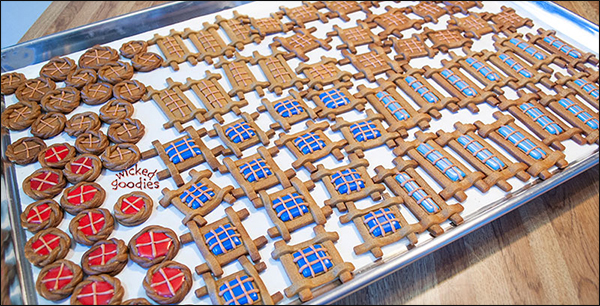
Using strips or coils of raw gingerbread house dough, you can also bake window frames into the sides of walls.
Later, you can flood the cavities with icing to make window panes and once those are dry, pipe muntins.
#5
3D Freestanding Windows
Lastly, you can construct and decorate your windows independently using the overlay effect then attach them to your house later on.
I use this technique mainly for rounded walls on which the windows can’t be done in advance.
I love your idea for making stained glass windows with melted candy!
I made a volcano cake last summer using red Jolly Ranchers candies melted into a fountain shape to look like lava spraying upward. To my surprise, over the course of a few days, the spray gradually turned into a lava flow! It actually melted over the cake! What a cool accidental effect!
The cake was for a decorating competition, so it sat in a display case for the duration of the event… which was 10 days. I returned a few days later to find the candy entirely melted down the side of the fondant! I guess that’s what you meant when you said that the isomalt holds up better over time.