
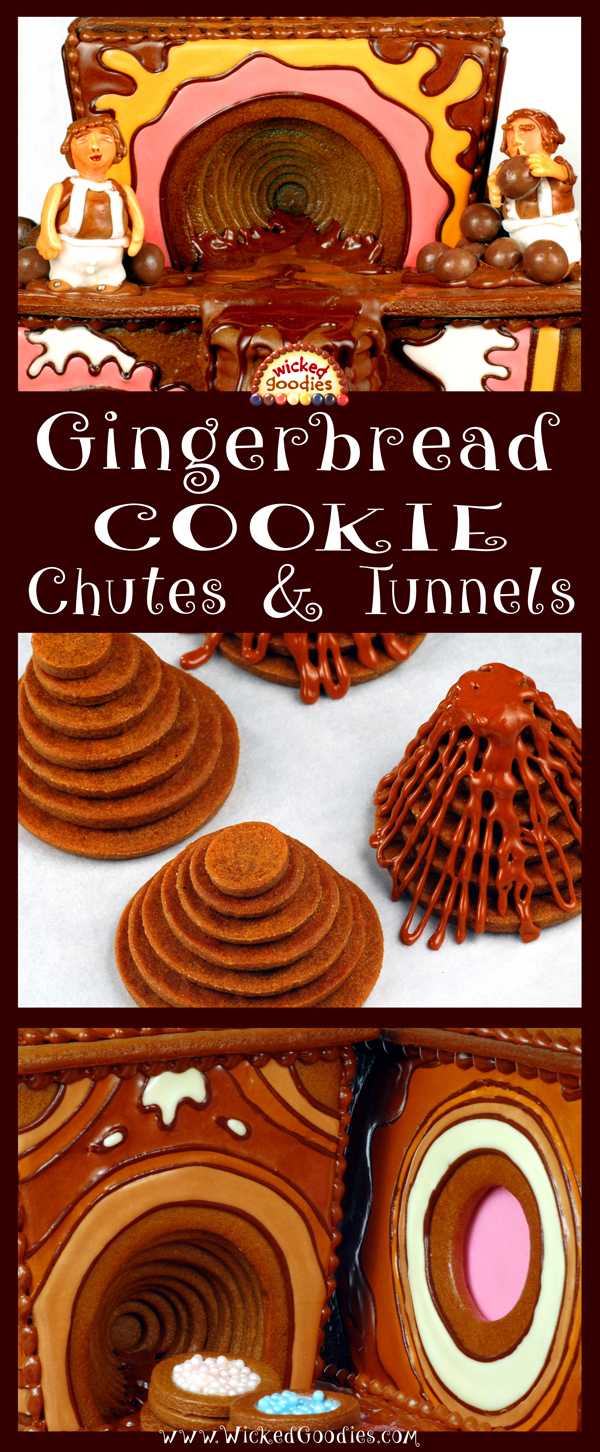
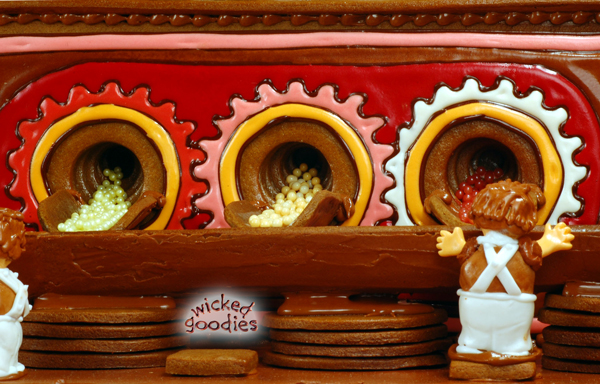
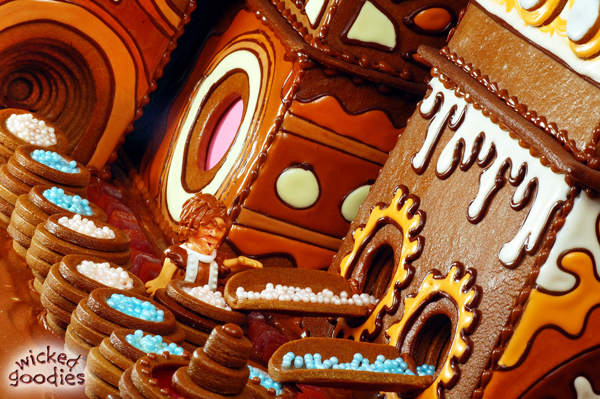
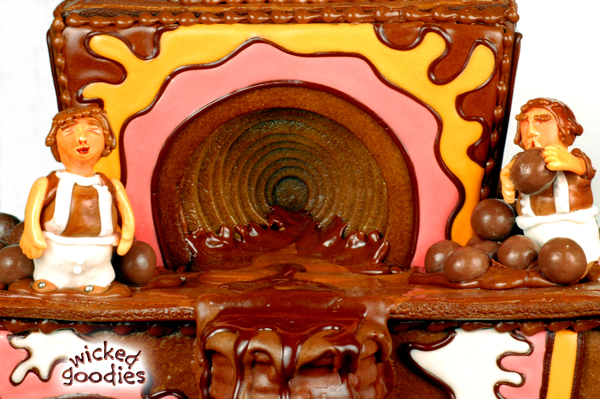
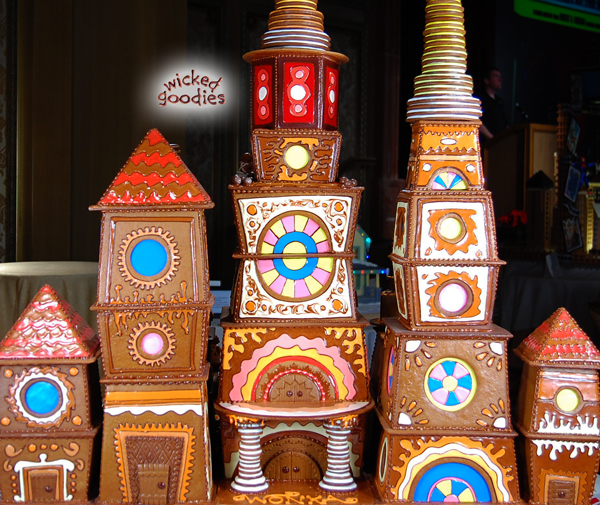
Using the following technique, real tunnels may be embedded into the walls of gingerbread houses to add depth and dimensionality to the design. Here, they are incorporated into candy-making machinery. These are photos from my Willy Wonka’s Chocolate Factory Gingerbread House.
Items Needed for Cookie Tunnels
- Gingerbread dough, chilled
- All-purpose flour for dusting
- Sheet pan
- Parchment Paper
- Round nested cutter set
- Two even smaller round cutters (or use round piping tips)
- Paper cone filled with chocolate royal icing
- Small offset spatula
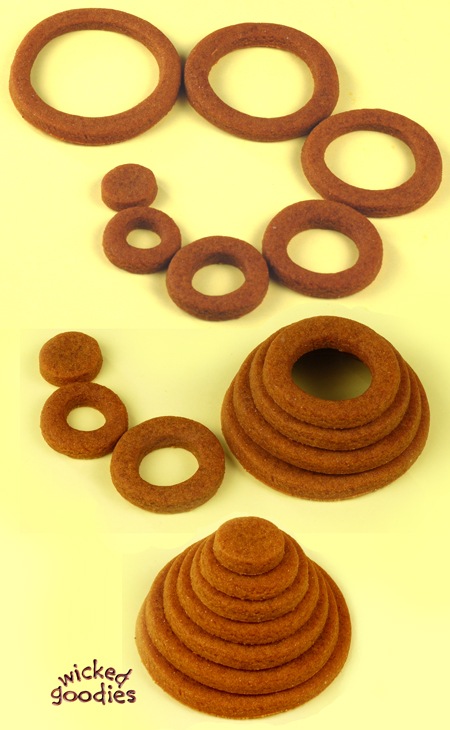
► Note #1 – The number of rings in a stack determines the depth of the tunnel. To create small tunnels, use rings sizes 4-10 for a total of 5 rings. For medium tunnels like the one shown, use sizes 1-8 for a total of 7 rings. For large tunnels, use sizes 1-10 for a total of 9 rings.
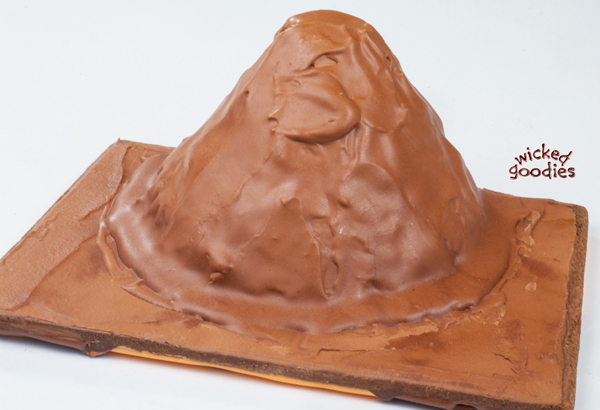
► Note #2 – An opening must be cut and baked into the side of the wall intended for a tunnel. Cut a hole into the wall that is no less than ¼” (6 mm) smaller in diameter than the largest ring in the tunnel.
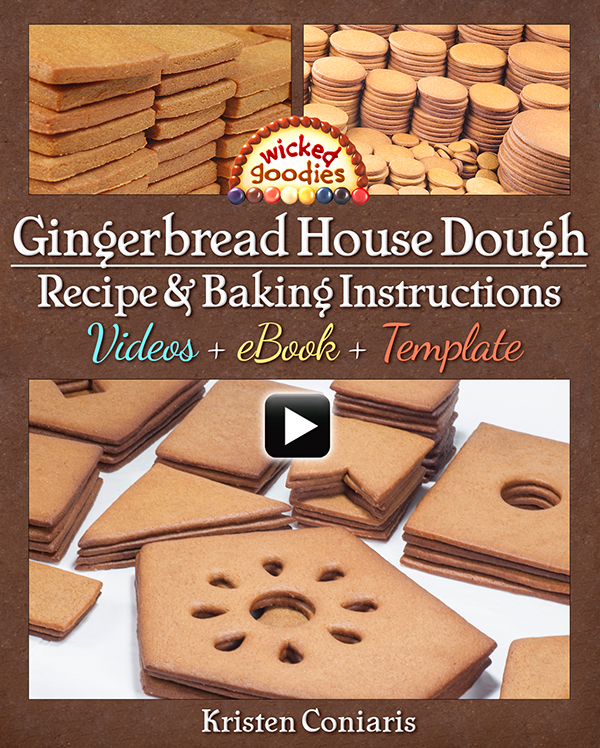
My Gingerbread House Dough Recipe & Baking Instructions
1. Preheat the oven to 350º F (180º C).
2. Roll the gingerbread dough to 1/8” (3 mm) thickness. Chill until firm.

4. With cutter #1, cut a circle of gingerbread. Quickly transfer it to parchment paper.
5. With cutter #3, cut into the center of the circle created by cutter #1. Remove its center and place it at least ½” (13 mm) away on the parchment.
6. With cutter #5, remove the center of the circle made by #3 and set it on at least ½” (13 mm) away on the parchment.
7. Repeat the same process with the even-numbered cutters, reserving the smallest circle to cap the tunnel.
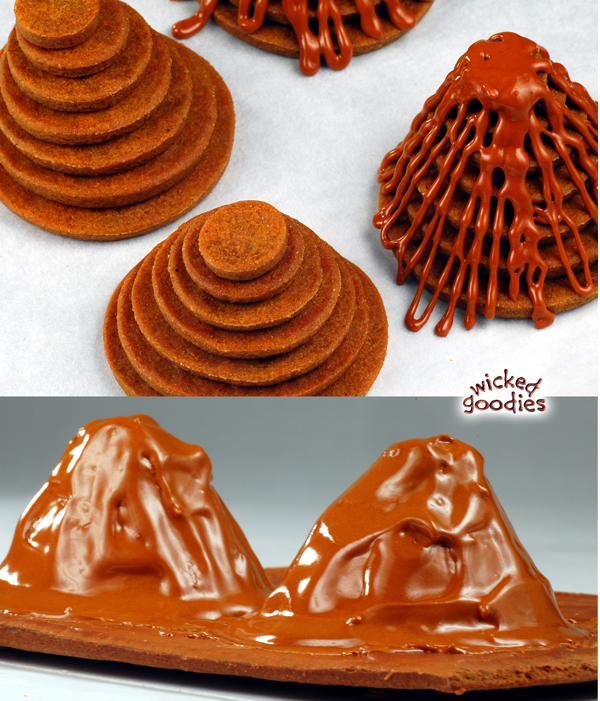
8. Bake the rings for 8-10 minutes or until they feel dry and rubbery but not firm to the touch. Do not overbake.
9. Once out of the oven, immediately transfer the rings off the hot pan by lifting the parchment paper onto a cool flat surface. Allow the gingerbread to cool completely.
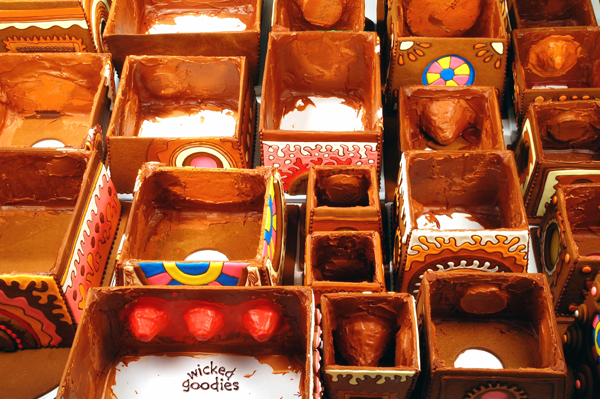
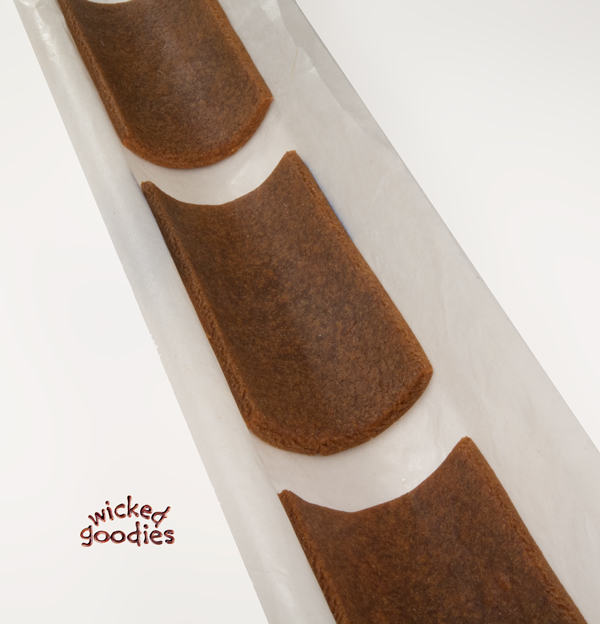
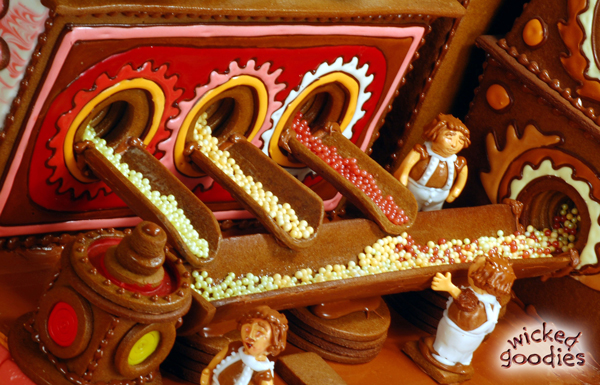
I made the chutes by underbaking strips of dough then transferring them to a curved form immediately after they are out of the oven, when the dough is still hot and pliable. They set up this way. I ended up using an electric Dremel to round them off in the end.
Check out another example of this cookie tunnels technique made by a reader of this blog
Gingerbread Candy Factory by Lynne Schuyler


New to Wicked Goodies? Start *HERE*


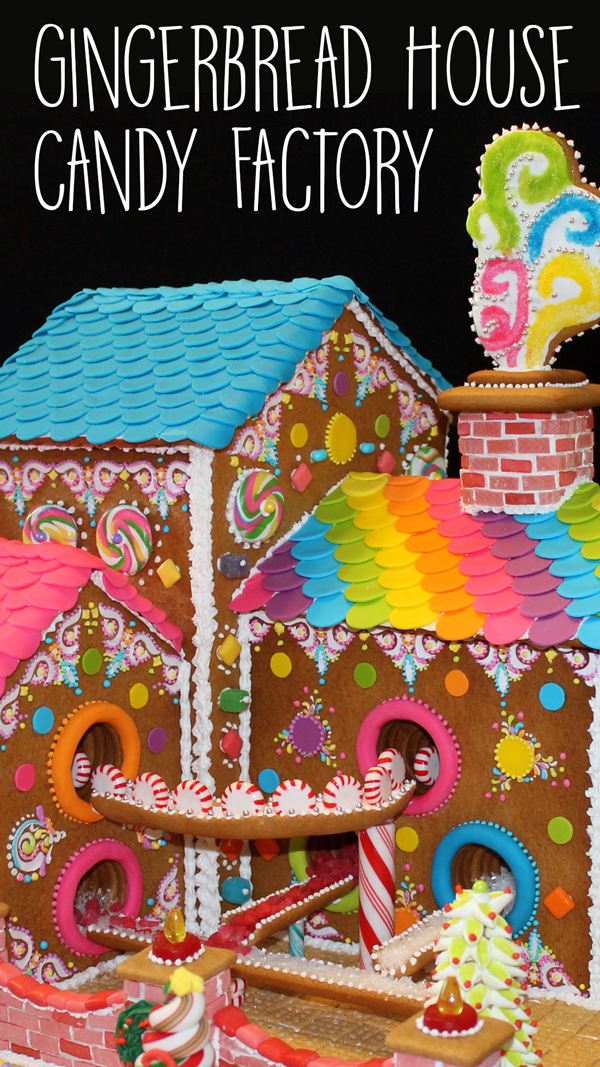
To view the complete album of photos of my candy factory gingerbread house, click on the photo below.
Candy Factory Gingerbread House
You might also enjoy
Santa’s Workshop Gingerbread House


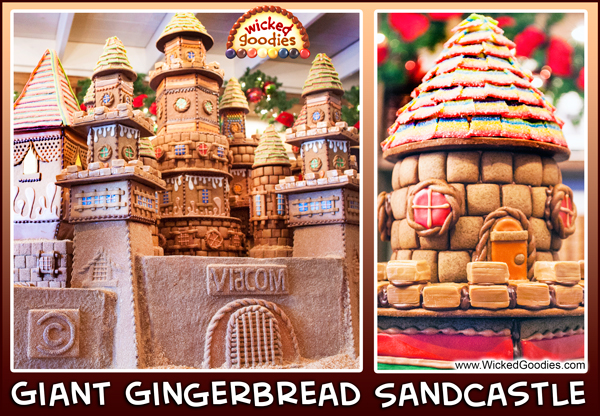
Gingerbread Cookie Sandcastle
Cookie Academy

Gingerbread House Sealing & Edging


I am now a crazy stalker fan! Loved every bit!
So cool! Thanks! I have to find out about brown royal icing.