
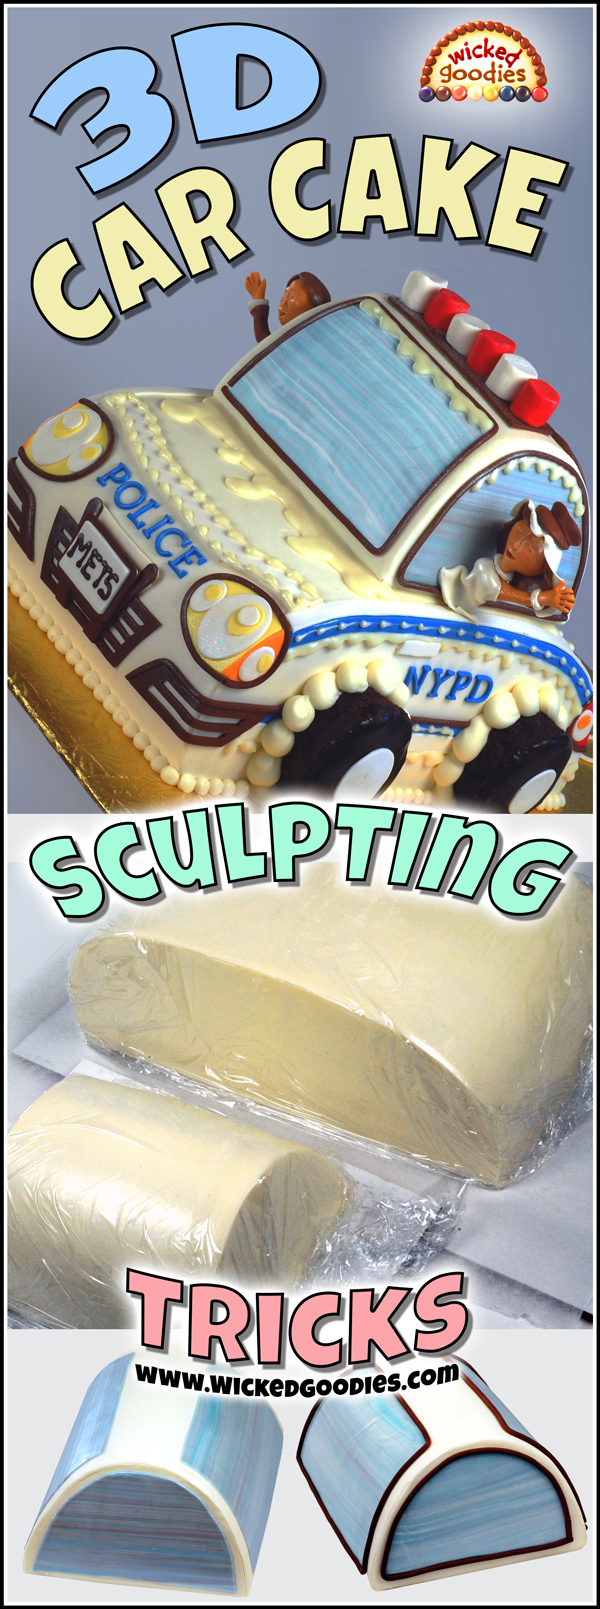
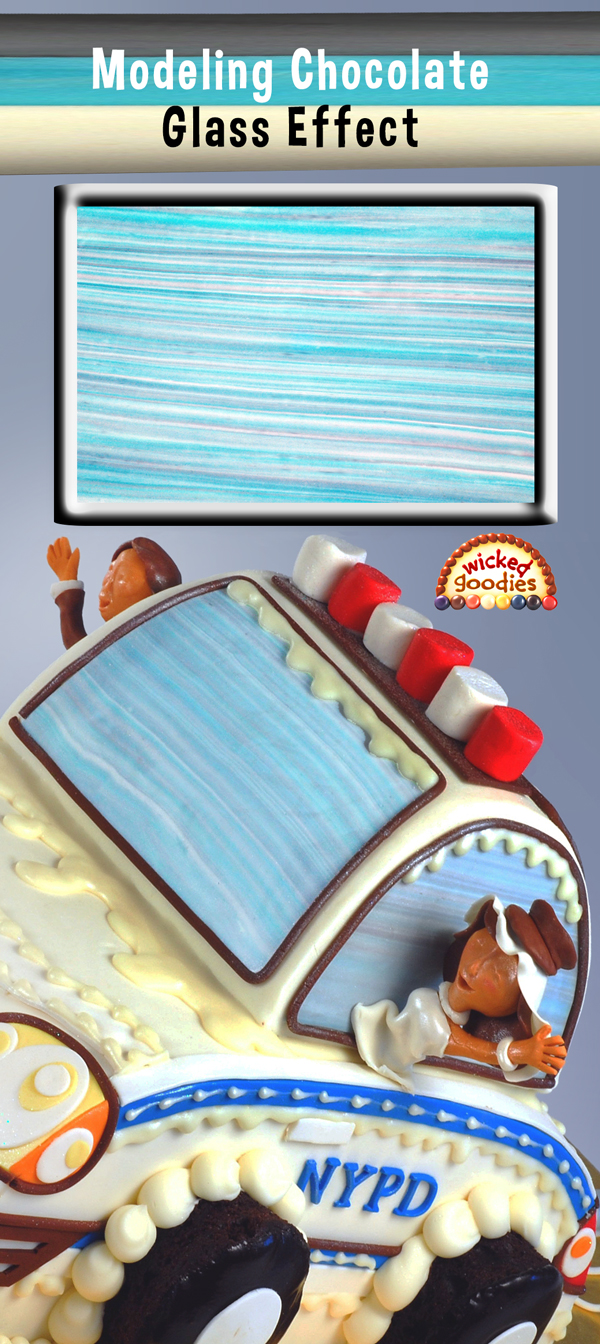
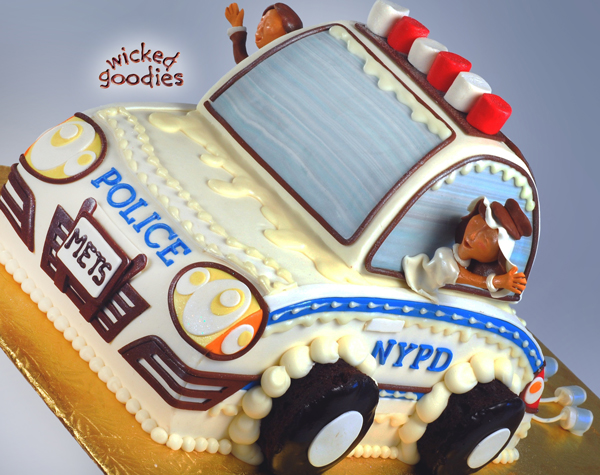
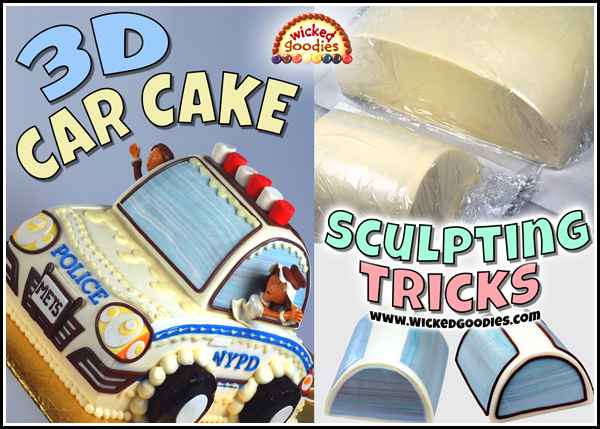
The 3D car is a wildly popular sculpted cake design for groom’s cakes, birthday cakes and father’s day cakes. Unfortunately, it is an especially time consuming shape to create. I have spent many late nights working on car cakes, realizing that I should either charge more for this type of design or figure out an easier way to do it.
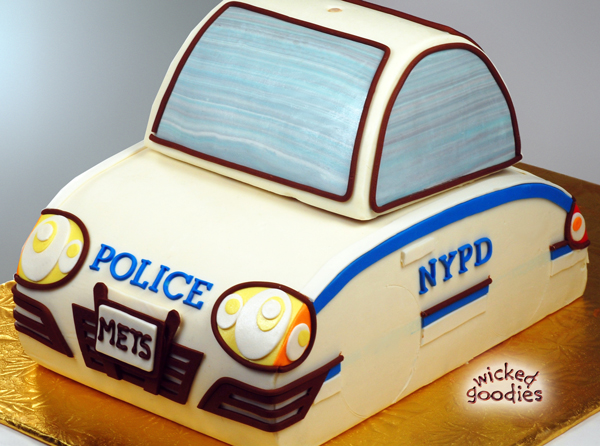
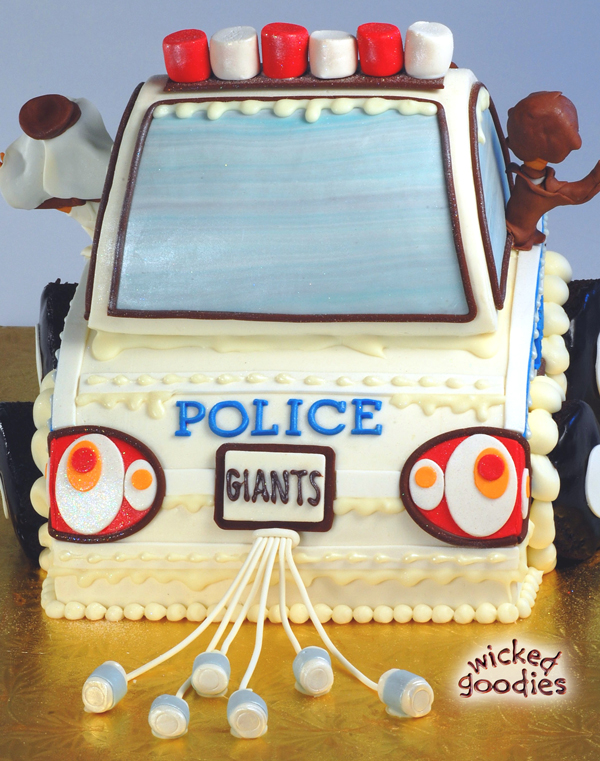
This tutorial demonstrates an easier way to sculpt a 3D car cake. The trick is to minimize the carving, which makes all the subsequent stages easier. This particular groom’s cake was customized for a police officer and Mets/Giants fan but of course you can style your car cake however you like.
Step by Step Instructions
Items Needed for Car Cake
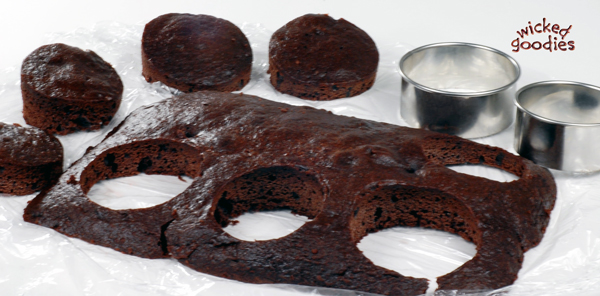
- ¼ sheet cake (8” x 12” x 3”)
- 6” x 6” x 3” square cake
- vanilla buttercream
- white, blue, grey, red, orange, yellow, and bittersweet modeling chocolate
- rolled modeling chocolate equipment
- ¼ sheet corrugated cardboard
- 6” x 6” corrugated cardboard
- 2 ¼” round cutter from this round cutter set
- small assorted oval and round cutters
- four ½ cm thick wooden dowels
- clay extruder with 1/5 and 1/16 cm diameter round die
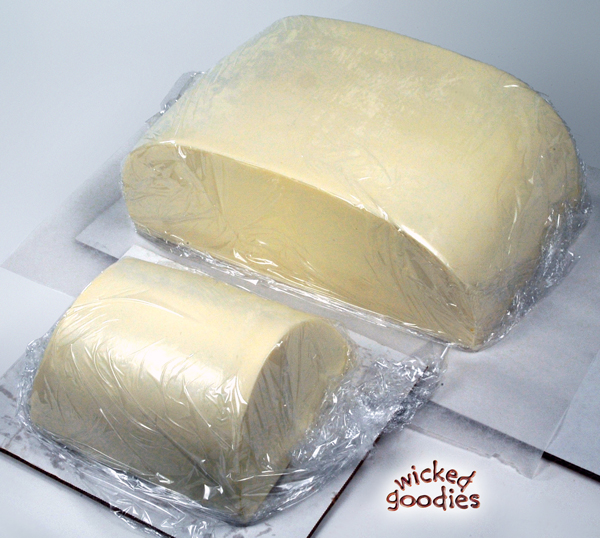
1. Begin with the rectangular ¼ sheet cake. Carve the two narrow edges so that they are rounded.
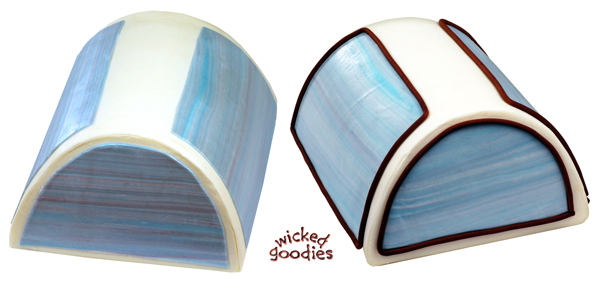
2. Proceed in the same manner with the 6” x 6” cake, carving the edges off two mirroring sides until the top is arched. Carve the flat half-moon sides slightly so that they taper in towards the top.
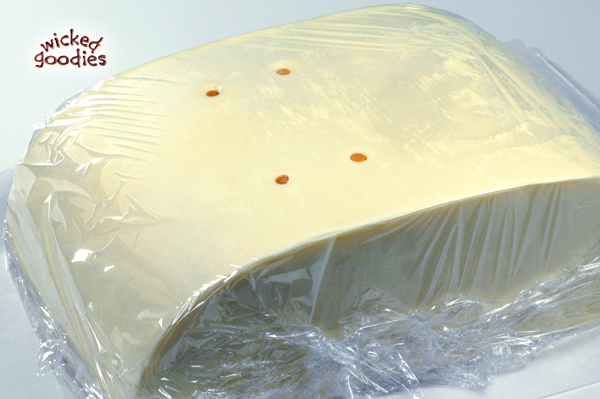
3. Roughly crumb coat both cakes with vanilla buttercream and set them in the refrigerator to set. Once the crumb coat is firm, apply a second, thicker coat of buttercream. This second coat should be thick enough that the cake below does not show.
I covered this cake in white modeling chocolate using a technique called the ‘paneling method,’ which is described in the following book:
Cake Decorating with Modeling Chocolate
A buttercream frosting surface is just fine however. Fondant would work as well.
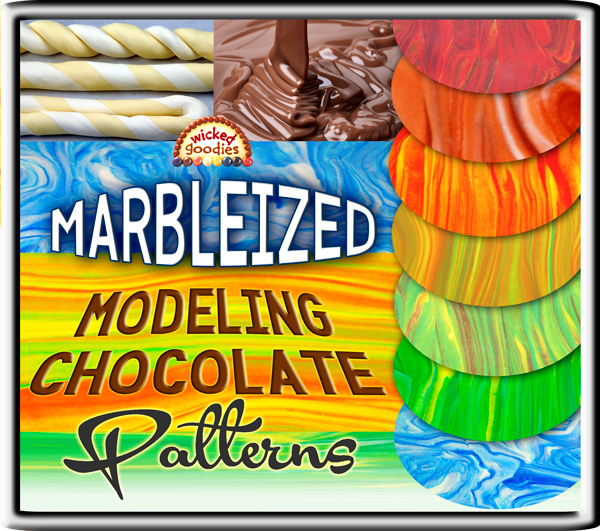
5. Combine equal parts light blue, gray, and white modeling chocolate and marble them.
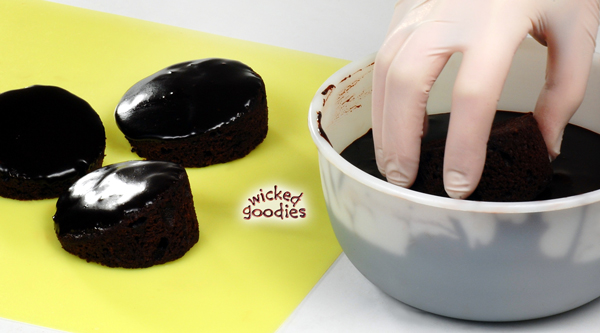
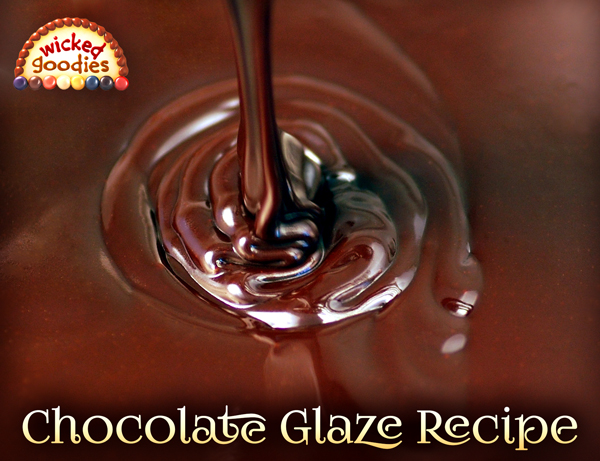
I used this Recipe for Chocolate Glaze
9. Cut radiator parts out of dark modeling chocolate using a craft utility knife. Create headlights and rear brake lights by stacking red, orange, yellow and white modeling chocolate shapes.
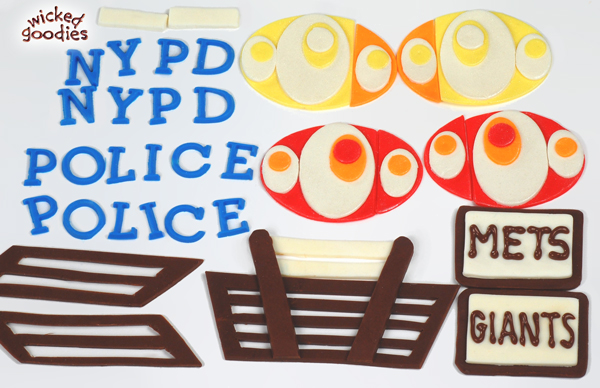
Cut out words using letter colors. Create license plates out of white and dark modeling chocolate. Customize them with chocolate writing.
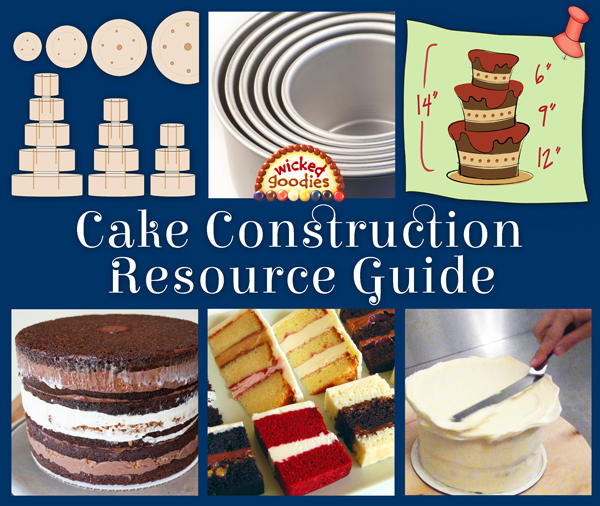
Smooth Buttercream Cake Frosting

New to Wicked Goodies? Start *HERE*


You might also enjoy
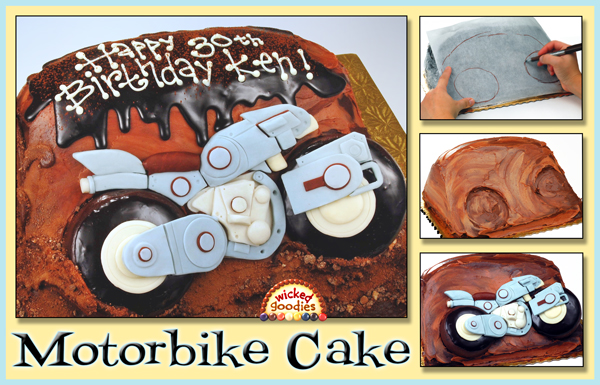
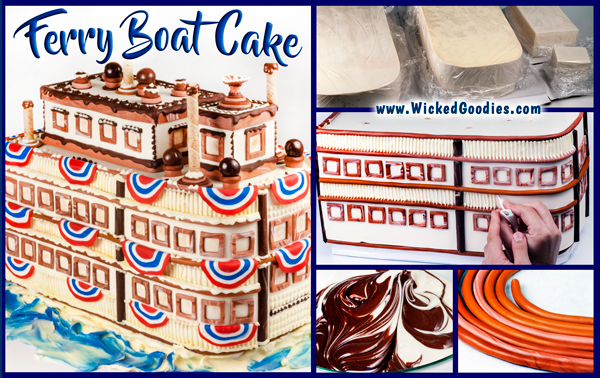
3D Motorbike Cake Tutorial
Marbleized Modeling Chocolate Tutorial
Indeed an eye opener. Will try it out. Thanks for sharing.
That’s the sweetest car cake ever! And it looks so easy to make too especially with your tutorial…I love the window effect! 😀
I love the tutorial. I bought your book and love it! Can you tell me what mold you used for the letters? I would like to buy it. Thanks.
I used Tappits molds for the letters. Have fun!
Love the tutorial. Thanks.