PART 2
Flower Assembly
 This is Part 2. Go here to read Part 1 of the Modeling Chocolate Kanzashi Flower Tutorial

7. Fill a parchment paper piping cone with melted chocolate.


10. To complete the flowers, add a dab of melted chocolate to the centers. Using a small offset spatula, transfer the chocolate buttons into place. Allow the finished flowers to set before handling them again.

To attach the flowers to the side of a cake that’s frosted in buttercream, use a dab of buttercream.

In case you missed it, make sure to check out Part 1 of the Modeling Chocolate Kanzashi Flower Tutorial, which includes a video tutorial demonstrating this technique.


New to Wicked Goodies? Start *HERE*


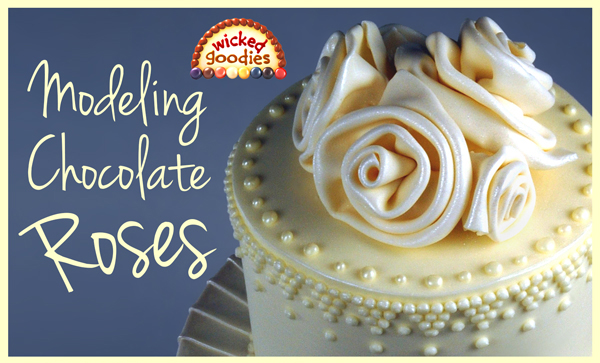
Modeling Chocolate Rose Tutorial
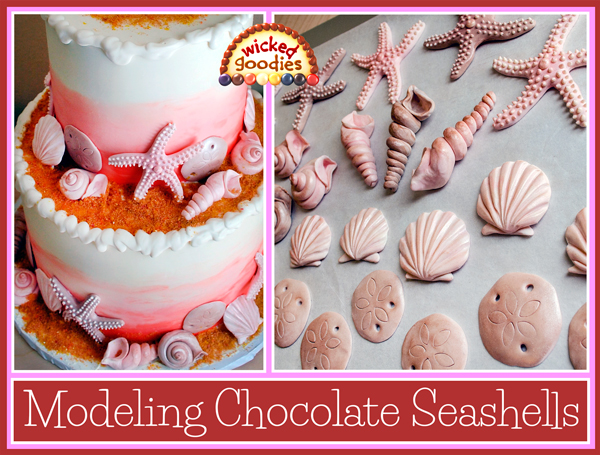
Modeling Chocolate Seashell Tutorial
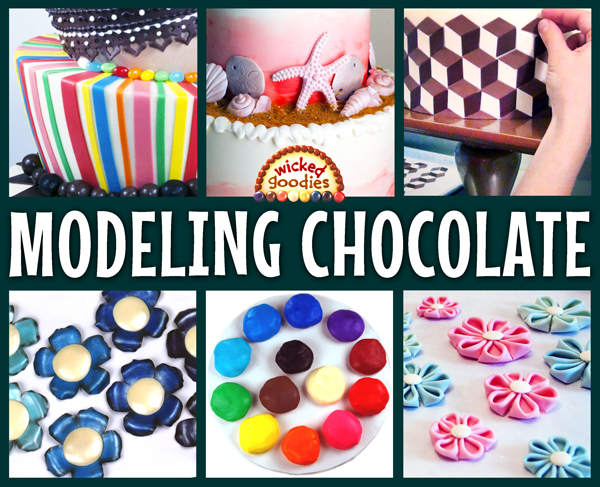
Modeling Chocolate Tutorials