

In this first segment of a 4-part video tutorial on the topsy turvy cake, I explain the function of counterbalance and demonstrate how to cut and prepare cardboard circles in preparation for carving and frosting a topsy turvy cake tier.
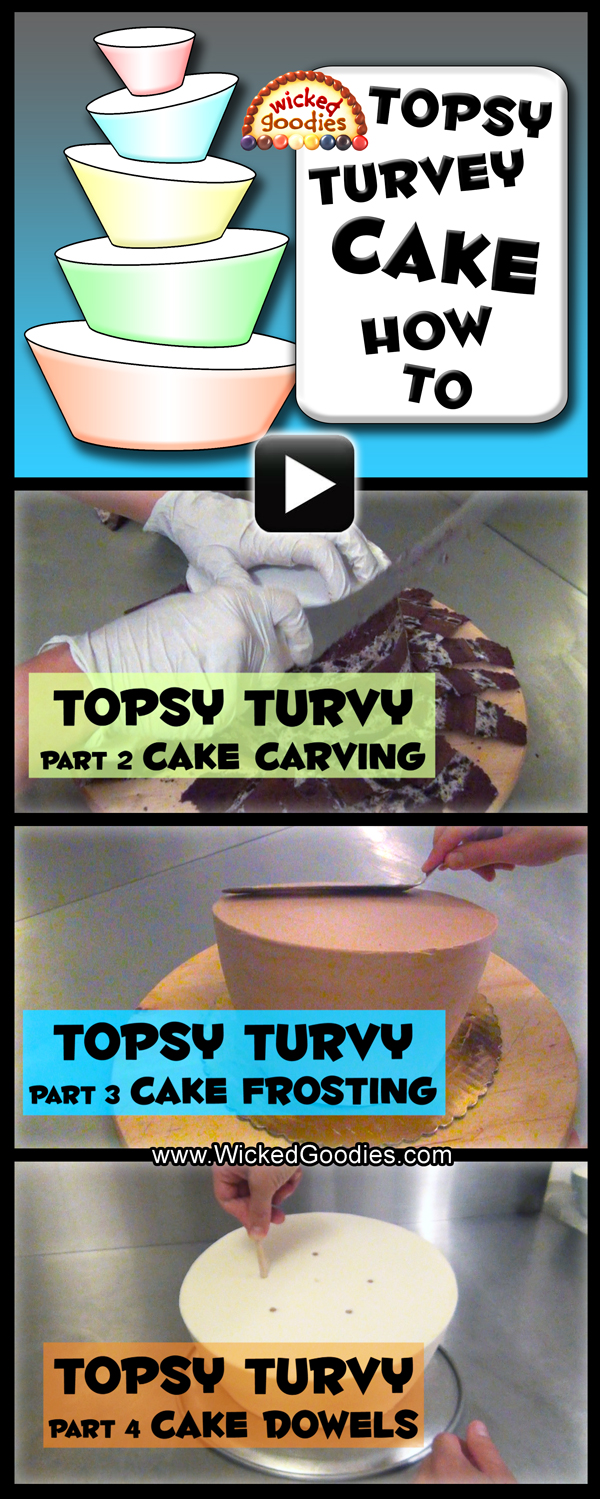
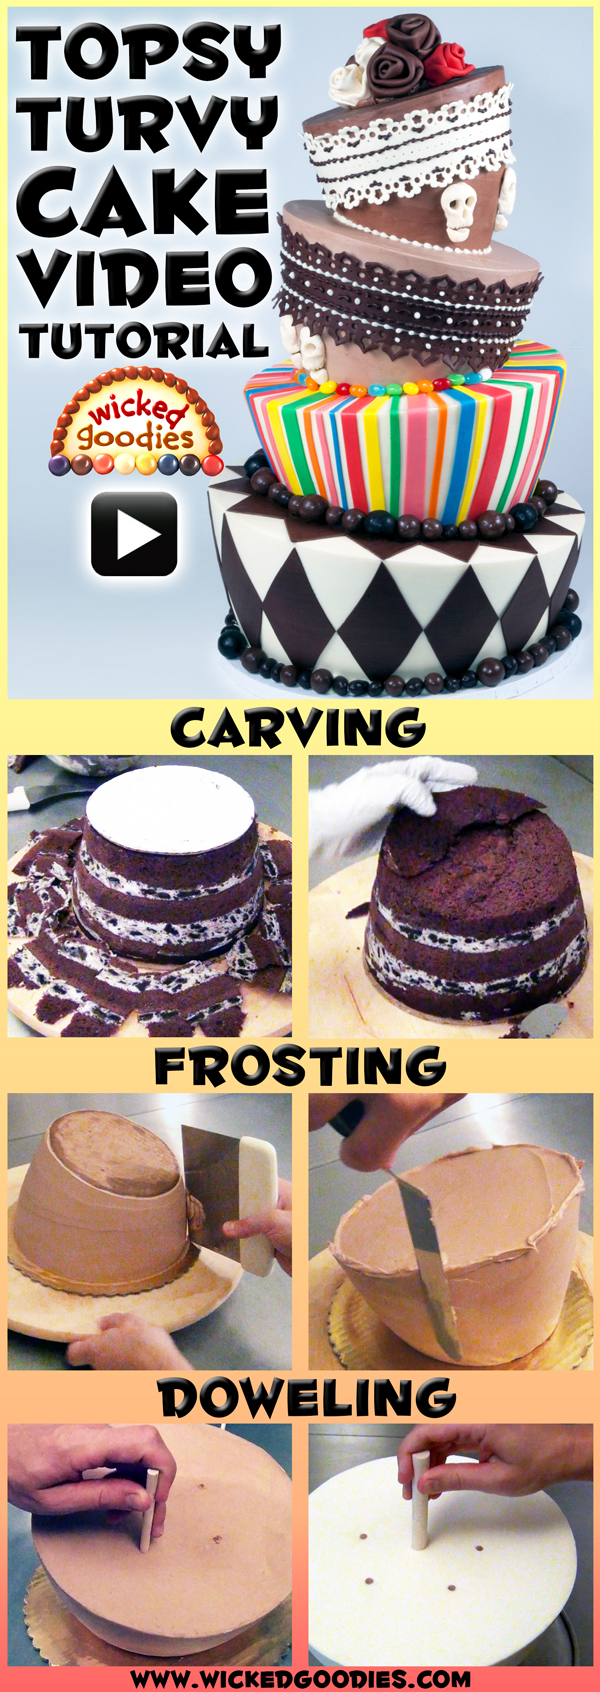
VIDEO: Topsy Turvy Cake Tutorial – Intro
LINK: Cake Filling in the Pan Series
Part 2: Carving
Part 3: Frosting
Part 4: Doweling
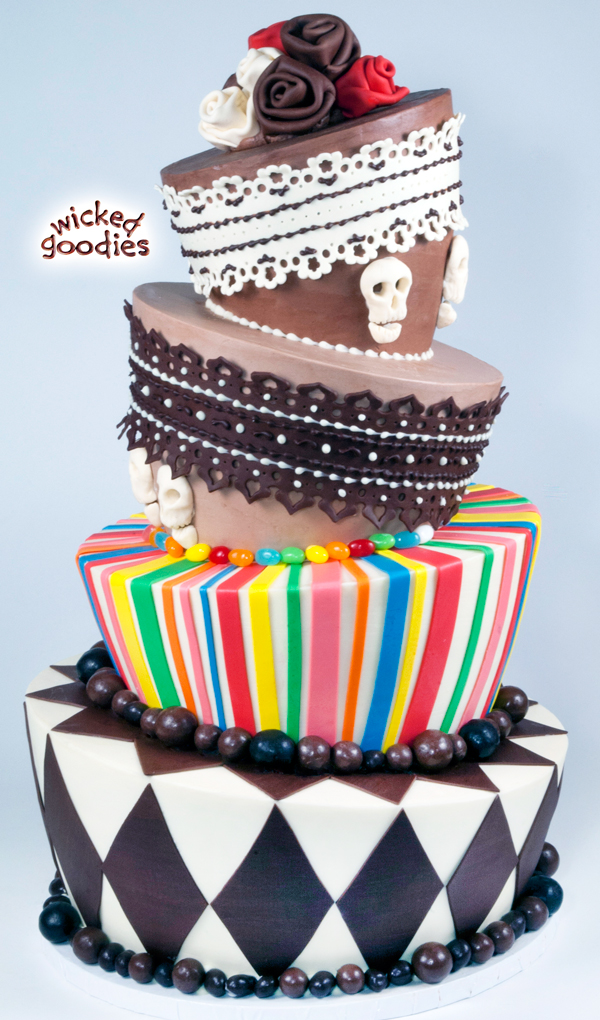
Topsy Turvy Cake Basics

The topsy turvy cake method is similar to the ancient sculpting technique, contrapposto, which in Italian means counter pose. That is how a sculpted human form like Michelangelo’s 14-foot statue of David remains stable without keeling over. The key is counterbalance. Note how both structures involve wedge shapes. As long as each wedge counters its neighboring wedges, the weight distribution remains stable and the structure won’t topple over. This video series includes tutorials on how to carve, frost, and stack a topsy turvy cake.
I recommend starting out using this professional method of filling and assembling cakes in the pan.
How to Fill Layer Cakes in the Baking Pan
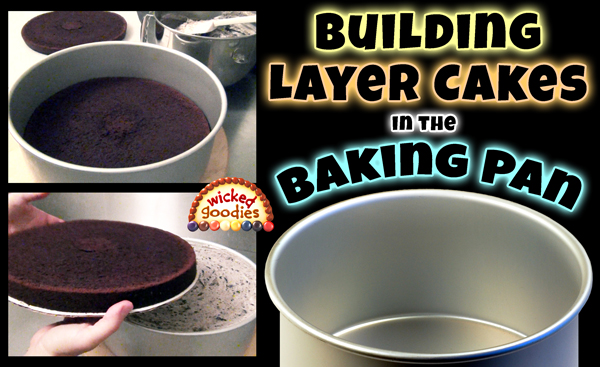
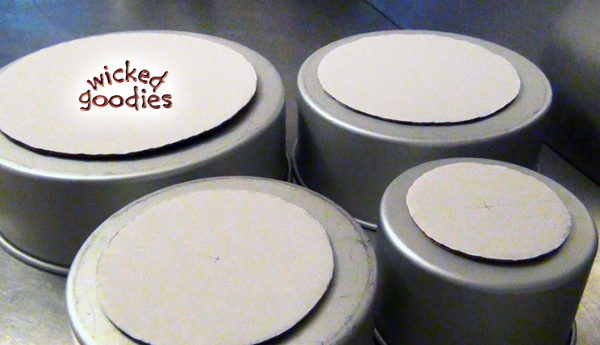
Now I use an upside down carving and frosting method so the cake cardboard that goes on top is eventually going to represent the bottom. This cardboard should be at least one inch smaller than the cake to get a tapered effect. In this case, it’s two inches smaller in diameter than the cake itself.
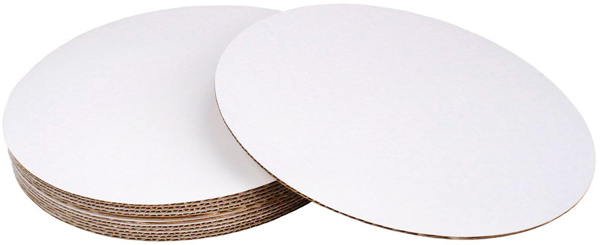
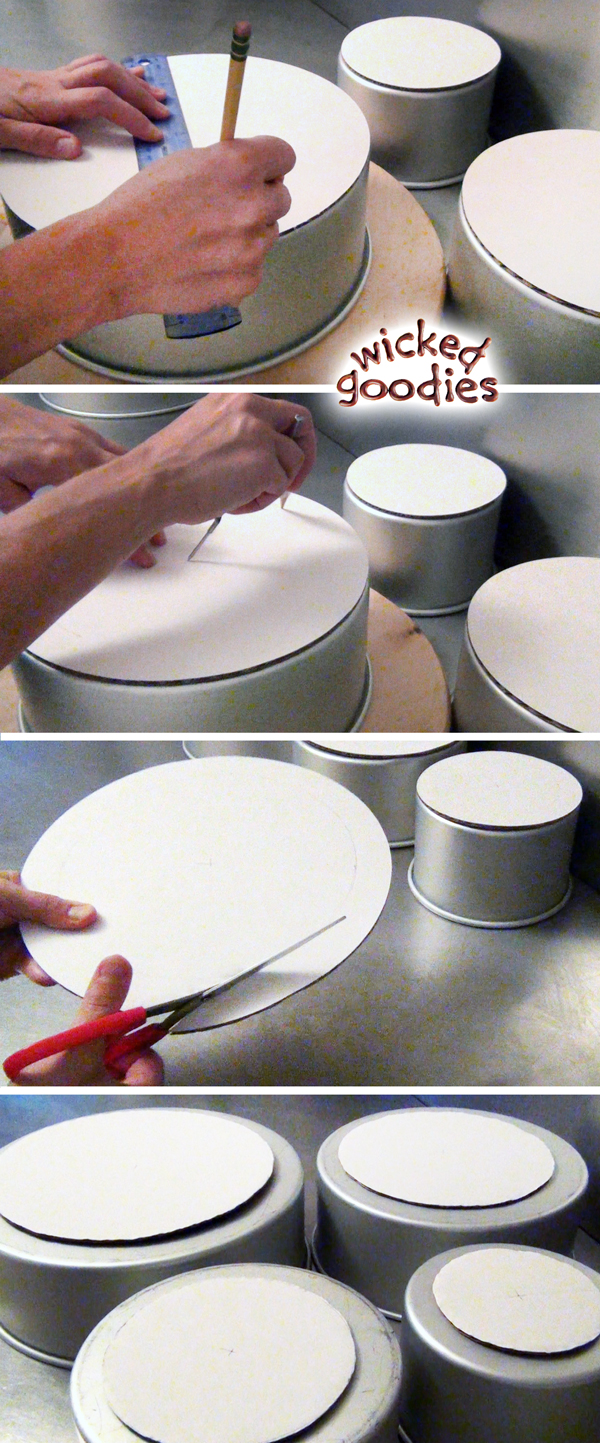
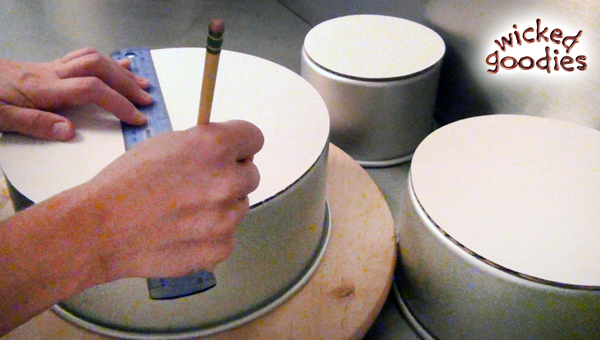
If you don’t happen to have the right sized cardboard circles then all you need is a compass and a ruler to cut whatever you need down to size. In this case, I begin with another set of cardboards that are the same size of the cake when what I want are circles that are two inches less in diameter than the cake.
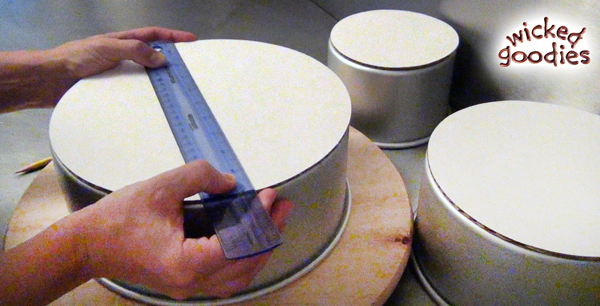
First, locate the center of the circle by measuring the diameter and marking a line in the middle. Then, turn the board 90 degrees and do the same thing, again marking a line in the middle. Wherever those two lines intersect is the best approximation of that circle’s dead center.
Second, measure the amount that you want to carve off. In this case, since I’m tapering a total of two inches off the base of the cakes, I measure one inch on each side of the circle.
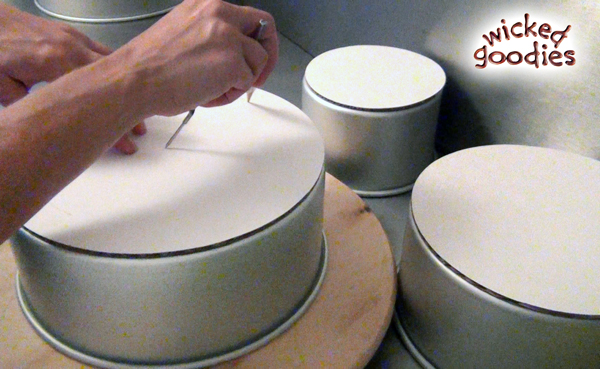
Third, plant the point of a compass into the center point and open it to reach one of the side markers. Use that bearing to then draw around with the compass. The result should be an exact circle that is two inches smaller than the cardboard.
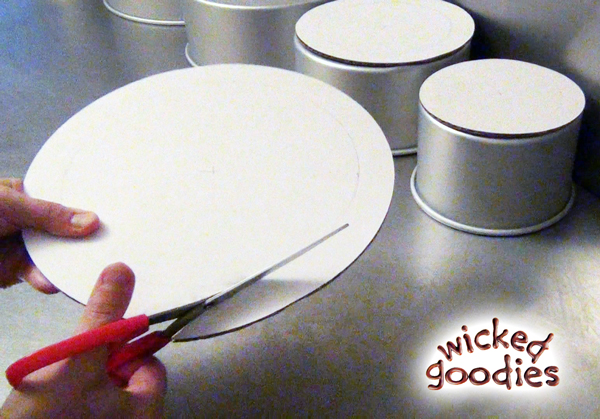
Fourth, use scissors to trim around that circle. Repeat that same process on the rest of the cardboards until there is a bottom board for every tier of the cake.
Part 2: Carving
 Part 3: Frosting
Part 4: Doweling
LINK: Cake Filling in the Pan Series

New to Wicked Goodies? Start *HERE*


You might also enjoy
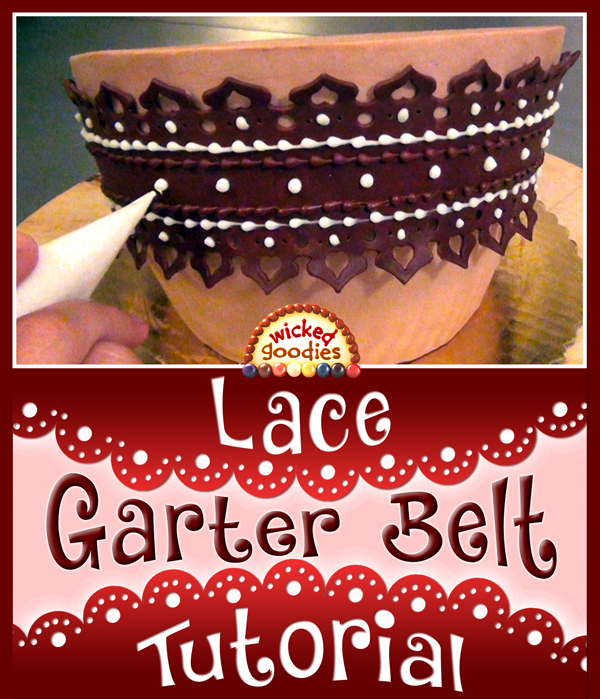
Modeling Chocolate Lace Wrap
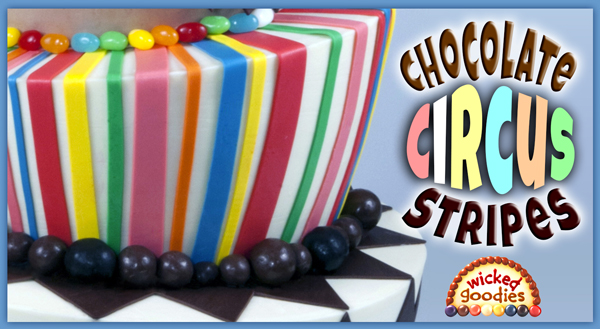
Modeling Chocolate Cake Stripes
Modeling Chocolate Roses

Thank you
Do you have any workshops.
I live in Atlanta,GA and I want to learn how to make the topsey turvey cake to add as a service to my face painting and balloons twisting parties.
Thanks
No, I don’t do workshops. At this point, I deal exclusively in books & consulting services.