
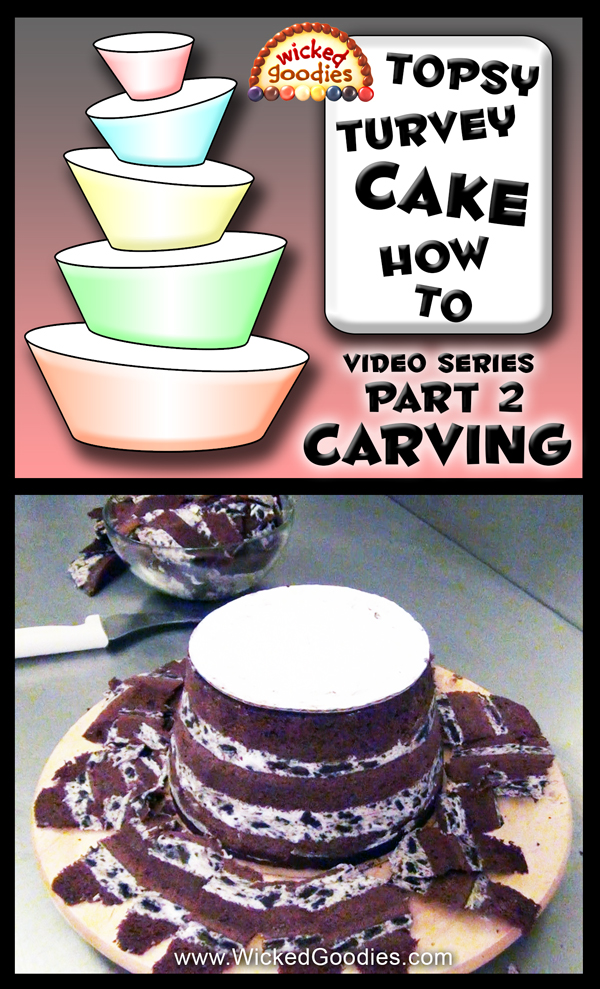
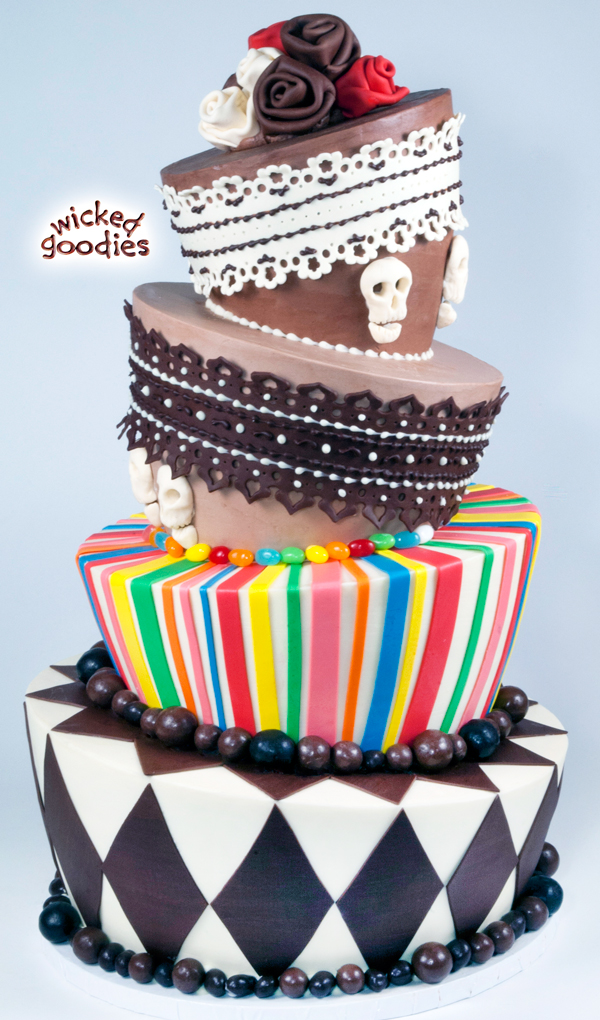
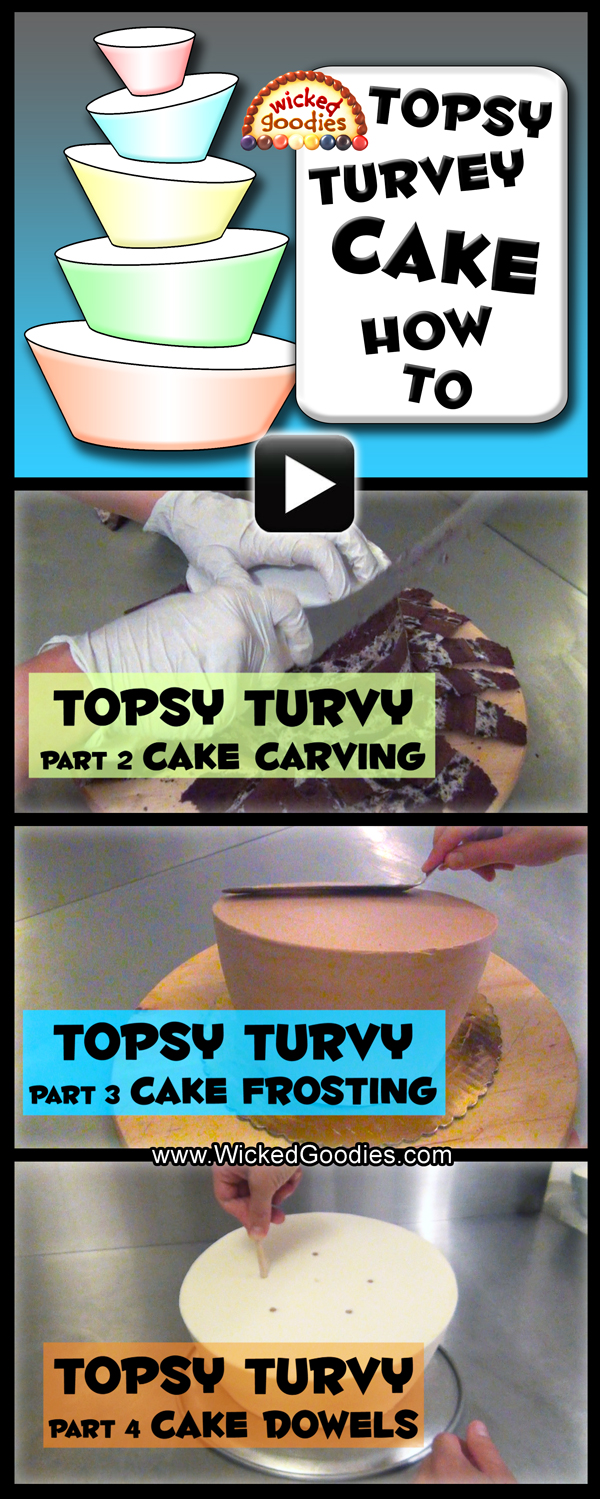
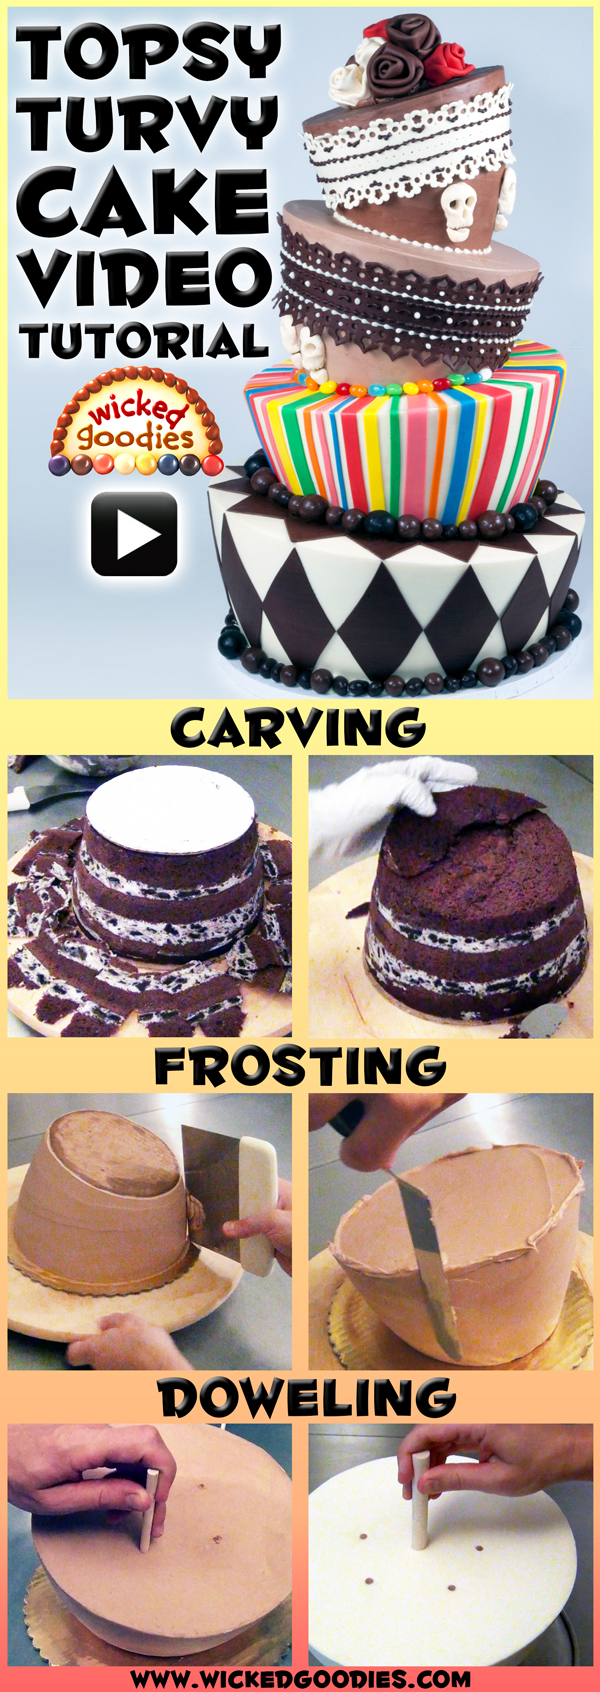
In this second segment of a 4-part video tutorial on the topsy turvy cake, I demonstrate how to carve a topsy turvy cake using the upside down tapering and wedging method.
Video: Topsy Turvy Cake Tutorial 2 – CARVING
Related Links
Part 1: Intro
Part 3: Frosting
Part 4: Doweling
Cake Filling in the Pan Series
Upside Down Topsy Turvy Cake Carving
Topsy turvy cake carving involves two stages: tapering & wedging.
Step #1 – Tapering
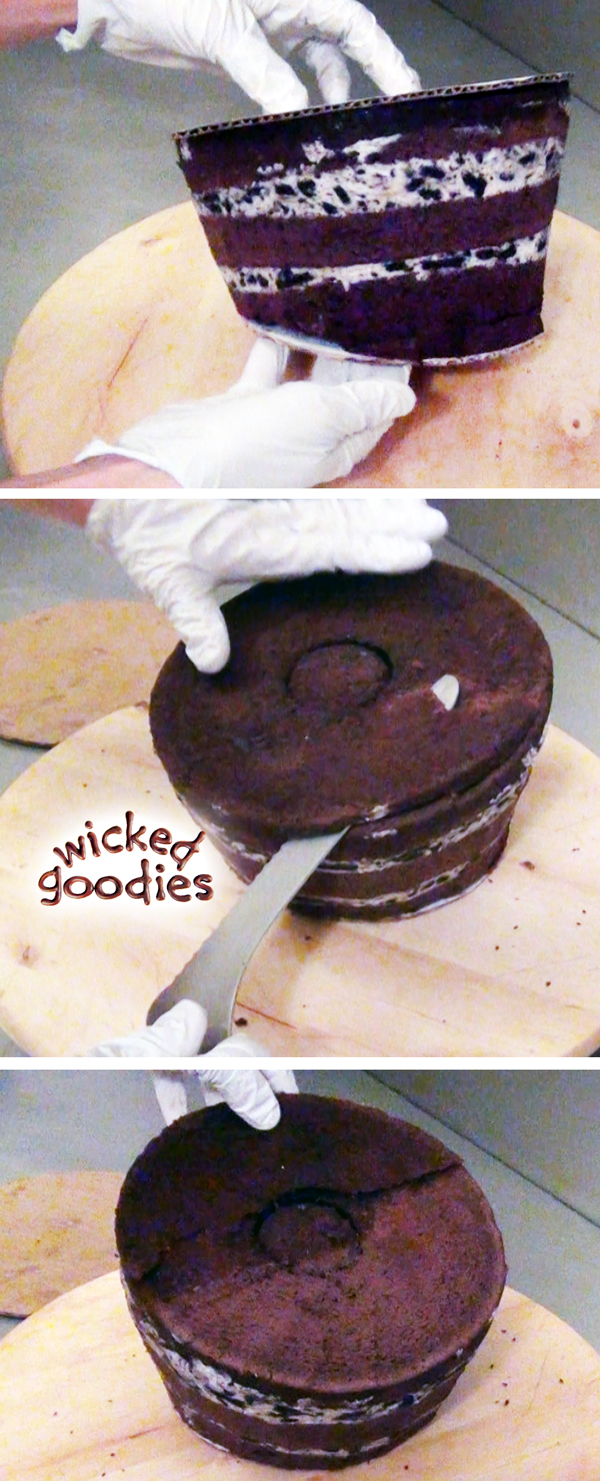
Begin with a semi-frozen cake. I suggest beginning with one of the middle tiers as the medium size is usually easiest to handle. Once you get the hang of it, you’ll be ready for the smallest and largest tiers, which are more challenging. Here is the cardboard that’s the same size of the cake, which goes on the bottom now but will ultimately be on top. And here’s the cardboard base that will ultimately hold up this cake from the bottom. Because this process happens upside down, the cake is now on its head.
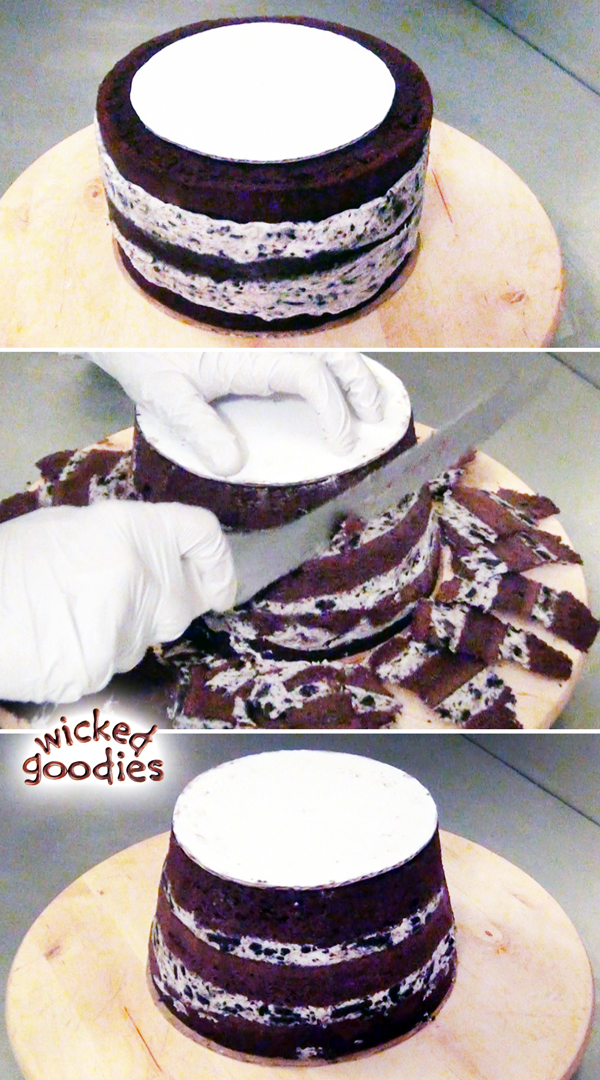
Using a serrated knife, carve the cake on a diagonal starting from the cardboard’s edge, using the two cardboards as guides. Hold the smaller cardboard in place on the top of the cake so it does not slip around. The first stage is to remove the ledge that’s surrounding it. Now because this cake is frozen so it’s harder to cut but the advantage is that you can cut at a very precise angle all around.
Clear off the bulk of the scraps and put them into a bowl.
Once the bulk of that edge is removed, dig in more to straighten out the sides. Towards the end, run the knife in long sawing motions across the sides of the cake to shave off any last bits that are sticking out. Again, clear off the scraps and put them into a bowl then seal that bowl with plastic wrap and put it into the refrigerator.
Step #2 – Wedging
First, Wedge the Top (which is really the bottom)
Remove the smaller cardboard and push the knife gently just into the ‘top’ (which will eventually become the bottom) of the cake, right down the middle, to mark the halfway point. Then cut a half moon sliver out of the surface, on a bias. Be very careful of the free hand here. If you are not sure with the knife, wear a cutting glove on that opposite hand.

Once that sliver is removed, flip it around and press it into the mirroring side of the circle to extend the cake on that side. Trim and move around any bits of cake that are needed to make that surface flat.
Flip the Cake Over and Wedge it Again
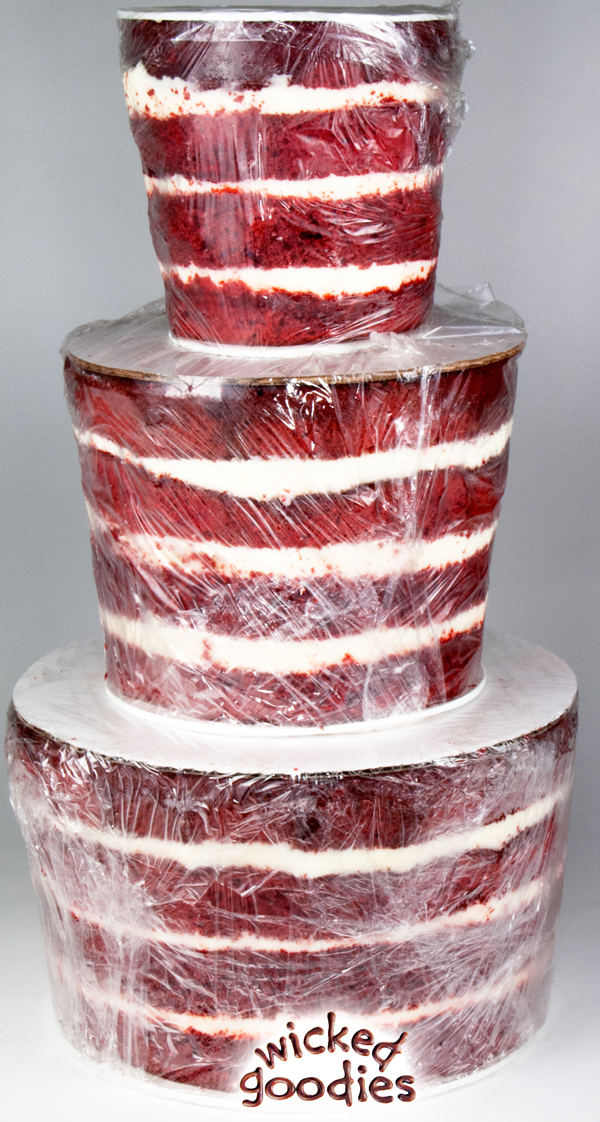
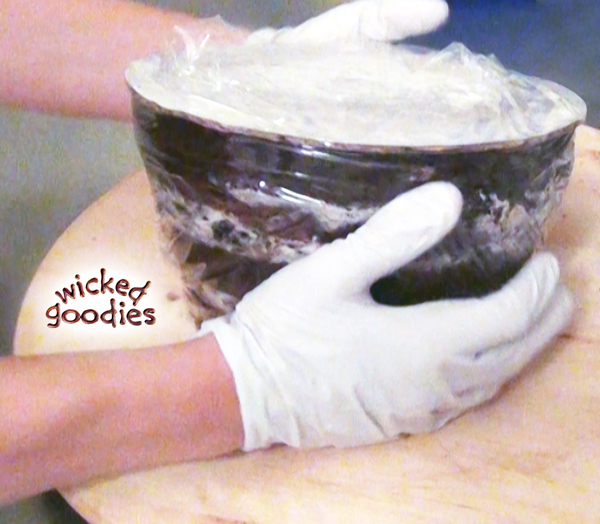
Press the smaller cardboard round into the ‘top’ of the cake and flip it over so the smaller end is on the bottom and the wider end is on top. Now, the cake is right side up.
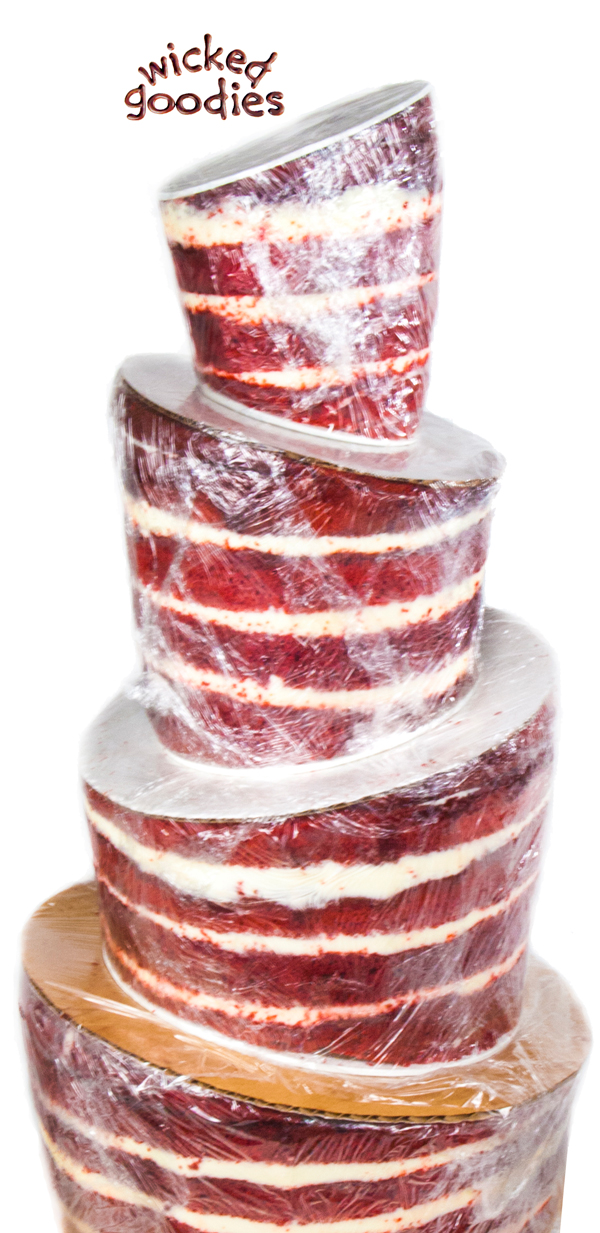
Make a mark down the middle of the cake on the same axis that was just made previous. Cut a half moon sliver from the same side of the cake from which it was just cut previous. Build it into the same mirroring side of the cake as well. The results should be a cake tier that is both tapered and wedge-shaped, leaning off to one side. Press the larger cardboard circle into the top of the cake and wrap the whole thing in plastic wrap, still sandwiched between the two cardboards. Put it into the refrigerator and repeat this process on the rest of the tiers.
Part 3: Frosting
 Part 1: Intro
Part 4: Doweling
How to Freeze and Thaw Cakes

New to Wicked Goodies? Start *HERE*


Related Tutorials
Modeling Chocolate Lace Wrap
Modeling Chocolate Cake Stripes
Modeling Chocolate Roses

Thank you!
Hello Kristen,
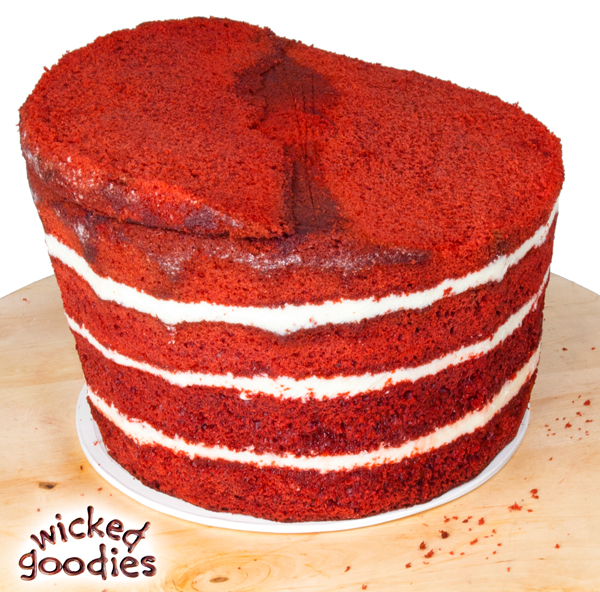
As promised, I have attached a couple of photos of my first topsy turvy cake.
Being that baking and decorating cakes is just a hobby for me, and I have much
to learn, I was pleased with my first attempt at a topsy turvy cake. I do wish that
I had made the time to decorate/cover my cake board, as I feel it would have photographed the ‘optical illusion’ effect more clearly, but overall I was most excited about how the optical illusion layer turned out. I will keep practicing these techniques – thank you so much for your excellent tutorials!!!
Sheri,
That is spectacular. It’s like Dr. Seuss meets M.C. Escher. The optical illusion effect was a great choice for the bottom tier. It’s really fine work! Thanks so much for sharing! I’m very impressed.
– Kristen
P.S. I never covered a cake platter in my life. #NoRegrets
Kristen,
Thank you so much for taking the time to respond to my questions. I plan on using your method – it makes the most sense to me! I will most definitely share the final product with you! Thank you again.
Sheri
Hi Kristen,
I love your blog! I’ve been following for years and refer to it so often as a source
of information for my cake decorating needs!
Thank you for this excellent video series on the Topsy Turvy Cake! I have been
seeing quite a few tutorials online that cut out a portion of the top center of the lower tiers so that the cake above it sits ‘inside’ the lower tier. I plan on making
my first topsy turvy cake and I trust you, so your tutorial is the one I plan on following. However, I was curious as to your thoughts on that technique (is it really necessary to cut out part of cake?). Thank you so much for your great blog & videos!
Sheri,
The technique to which you refer, of carving out the top center of each cake tier, was the first to go viral online. I believe that’s why we see so many examples of it on the web, because a whole slew of bloggers went and imitated it, thus fortifying this idea, which still lives on the Internet today, that carving out the center of a cake is the best way to execute a topsy turvy design.
I do not agree.
Of course there is no right or wrong way to style a cake. There is only the way you prefer to do it. Whoever invented the carve-out-the-center idea was seeking to avoid counterbalance, probably because it’s a scary notion to put one’s faith in physics. So as to avoid stacking cakes on an angle, they took the time to carve out a hole in the top of a cake so everything sits level, thus giving the illusion of counterbalance without actually counterbalancing anything.
Personally, I do not have the time or patience for carving holes where they are not in fact needed. I imagine this adds quite a bit of extra time to the frosting process too, since there are more angles to frost around. But my impatience is due to having made these kinds of cakes in commercial bakeries where there was no time to dawdle. The objective was always to get the job done cleanly and efficiently with minimal waste. At the bakery where I did the most topsy turvy cakes, I had to get everything done super fast or the chef would yell at me. So naturally, I found all kinds of ways to make the job go as quickly as possible. My technique was suited for the circumstances.
There is yet a third way to make a topsy turvy cake, which involves an infrastructure system of pipes, PVC, and flanges running up the center. If memory serves me right, this particular idea came into existence because a reality television cake show competitor first used it to make a gigantic cake on TV. Then it caught on. I think this method is only worth it if you are making gigantic cakes. Otherwise, it’s an added expense in terms of supplies. You also have to build an armature, which takes time.
At the end of the day, it’s up to you which method you choose based on your own preferences. I give you mine, for what it’s worth. It has long been my goal to offer a smoother alternative to the hole-carving thing.
I hope you will come back and share your results if you end up using this method. I’d love to see what you come up with! 🙂
– Kristen