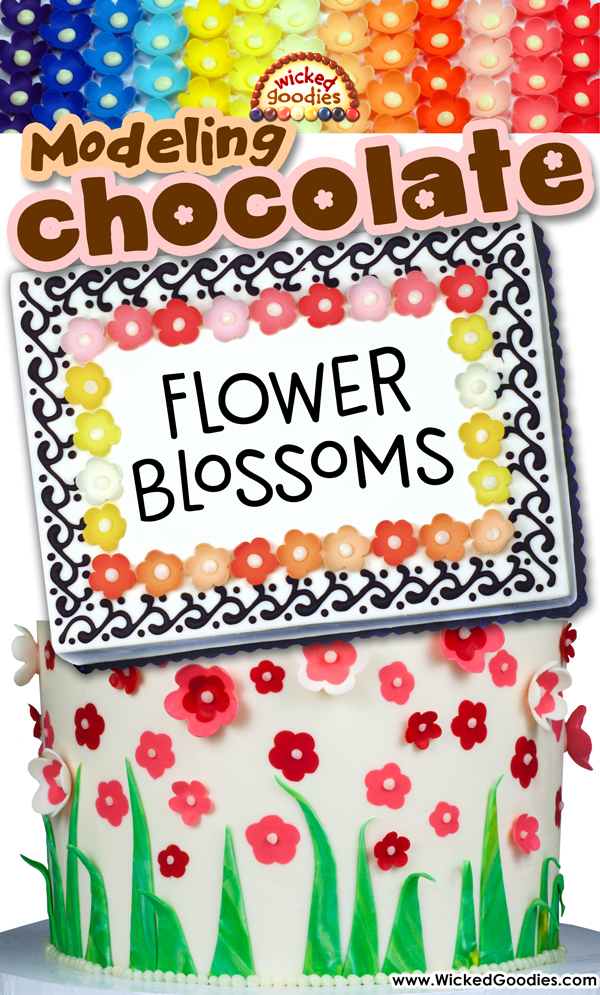
 This common and easy cake decoration that is so popular with fondant can also be executed with rolled modeling chocolate. The same methods apply with modeling chocolate as with fondant; only where fondant tend to look chunky, modeling chocolate buds can be shaped to the thinness of real petals.
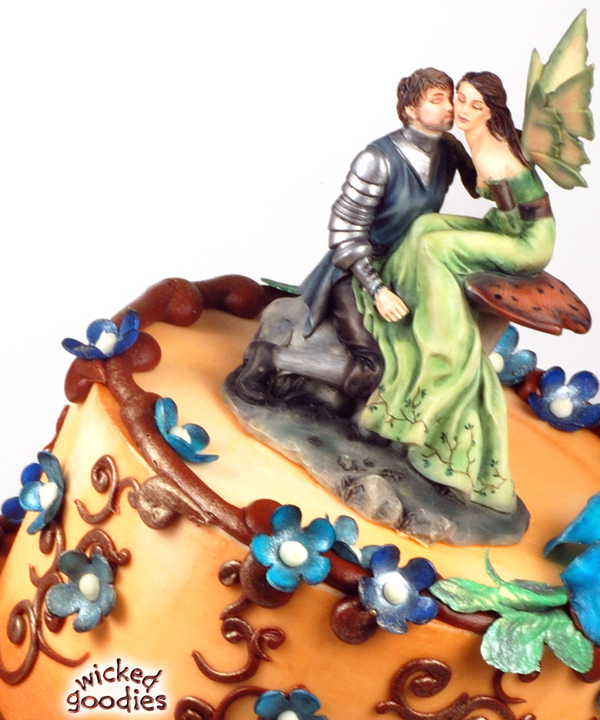
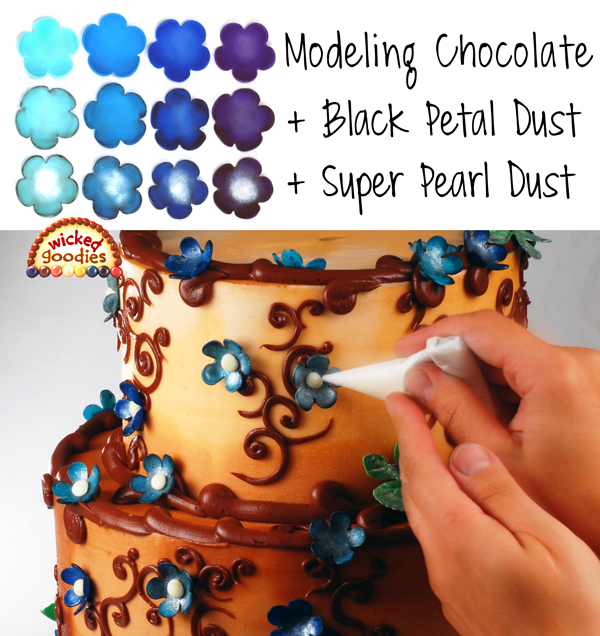
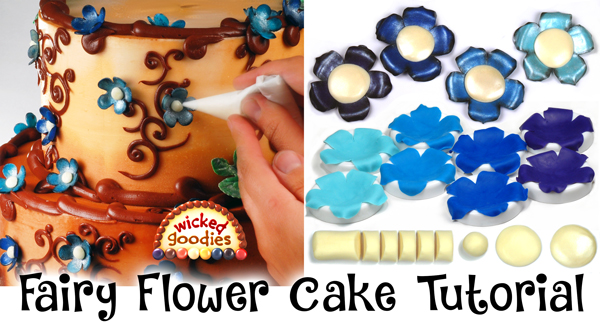
Here is an example of how to color modeling chocolate flower blossoms with luster dust to make fairy flowers.
Items Needed
- Modeling chocolate, any color
- Rolled modeling chocolate equipment
- Small blossom plunger cutter
- Foam shaping mat
- Double-ended ball tool from this great kit
- Small silicone cell formers (optional)
- Parchment paper cone (or piping bag with small round tip) filled with buttercream
1. Roll out modeling chocolate to 1/16” (1.6 mm) thickness. Follow this link for video tutorials on how to roll modeling chocolate
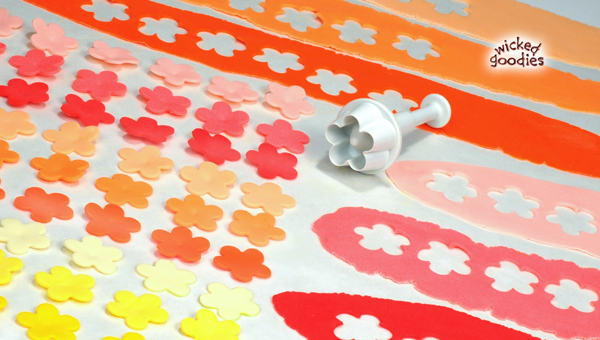
2. Cut small buds from each color using plunger cutters. Plunger cutters are the most efficient hand method for producing a large volume of small decorations like flower buds. The style of cutter is particularly useful for stamping out modeling chocolate shapes as it enables one to lift, move, and release the modeling chocolate without ever touching it with the hands. Ordinary cookie or fondant cutters also work for punching out shapes of rolled modeling chocolate.
To release the modeling chocolate from ordinary cutters, gently press the center of the bud with a blunt tool, like the back end of a paint brush.
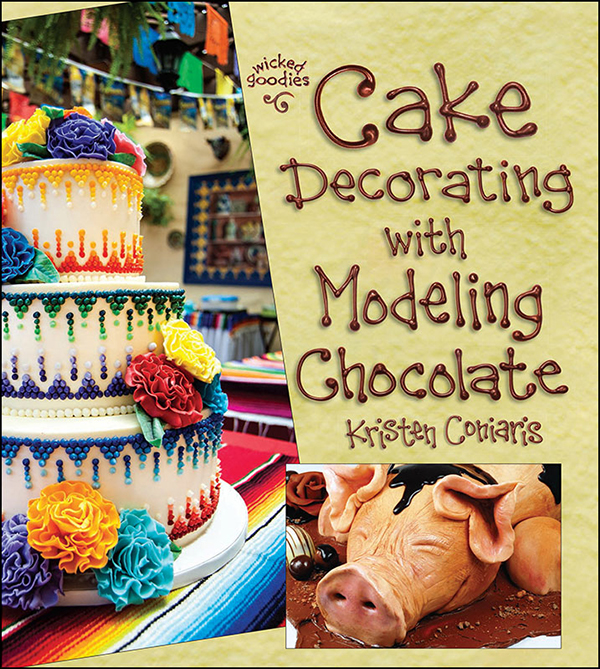
Sample the book
Cake Decorating with Modeling Chocolate
3. Working atop a foam shaping mat dusted with corn starch (a.k.a. corn flour), rub the double-ended ball tool in a circular motion over each petal to thin the edges. This will cause them to curl inwards slightly.
[Expert Option: Omit the foam shaping mat and execute steps 3-4 in the palm of the hand.]
4. Press the ball tool into the center of the bud and rub again in a circular motion, stretching the flower into a concave, budding shape.
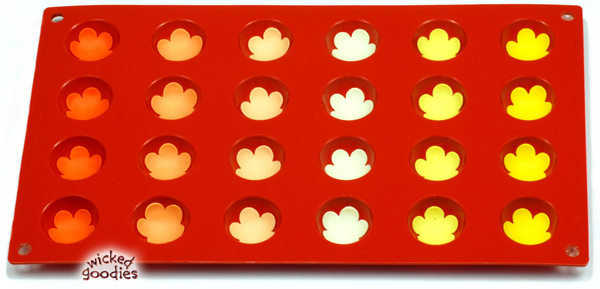
5. Store the flower buds in silicone molds so that they hold a tight curved shape. Allow them to dry uncovered for at least one hour before handling again. If silicone molds are not available, allow flowers to rest untouched on parchment paper (although they might not stay as curled). Flowers can be made a week or more in advance of use.

6. When it comes time to decorate the cake with buds, pipe a dot of buttercream frosting onto the back of each flower for glue then press it gently onto the cake. Work swiftly and decisively as chocolate flower buds will melt if over-handled. Those with hot fingertips may want to use tweezers to handle the finished flowers.
7. Once all the flowers are secured on the cake, pipe a small dot of buttercream frosting into the center of each one.
Chocolate Flower Blossom Inlay Technique
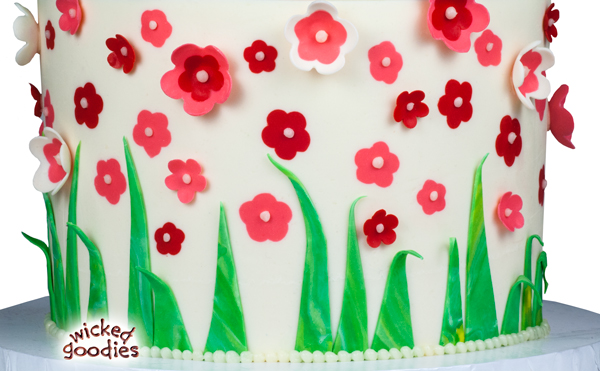
Flowers can also be seamlessly inlaid into the tops and sides of cakes. Instructions on how to execute this technique are in the book, Cake Decorating with Modeling Chocolate
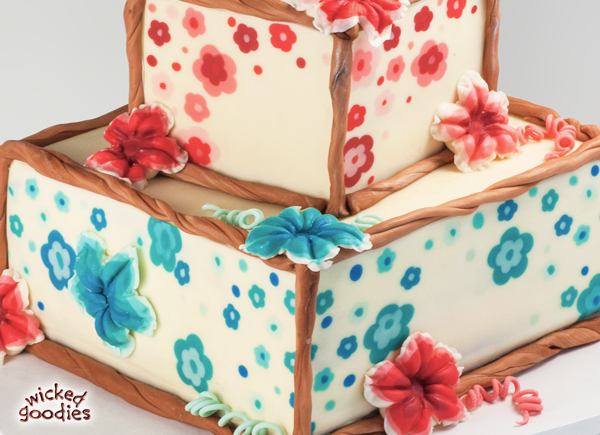
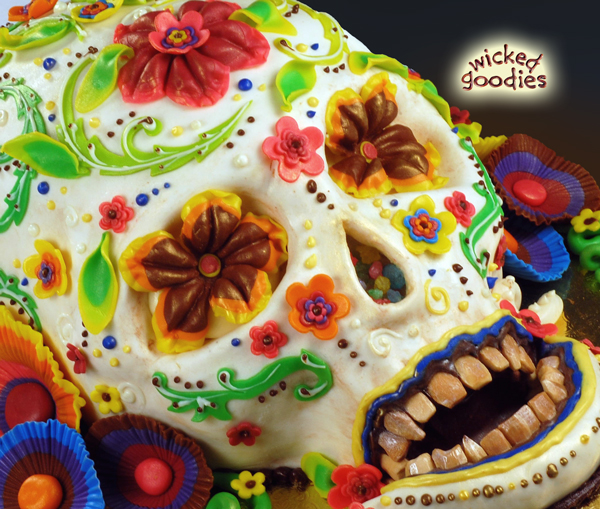
Here is a 3D sculpted Skull Cake decorated with modeling chocolate flower blossoms, piped chocolate and and creepy edible teeth.
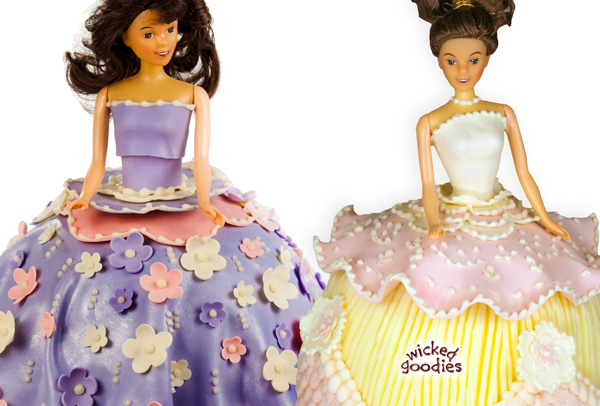
Here are some doll cakes whose skirts are decorated with modeling chocolate flower blossoms.
You might also enjoy
Piping with Paper Cones
Chocolate Fairy Flower Cake Tutorial
How to Paint Modeling Chocolate

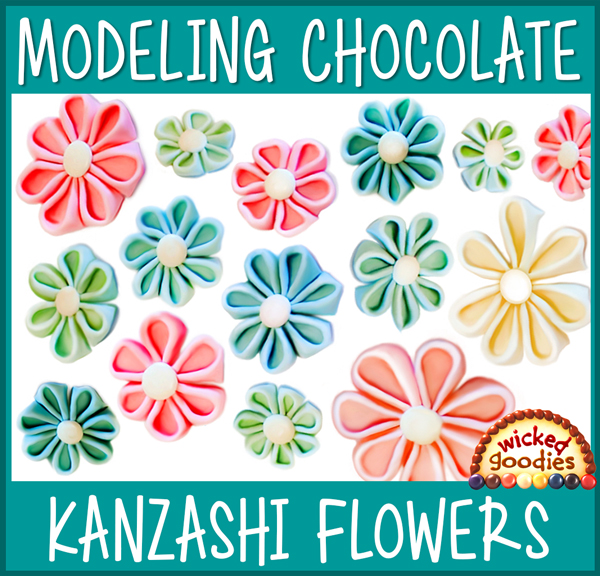
Folded Kanzashi Flowers Tutorial
Smooth Buttercream Cake Frosting
Modeling Chocolate Rose Tutorial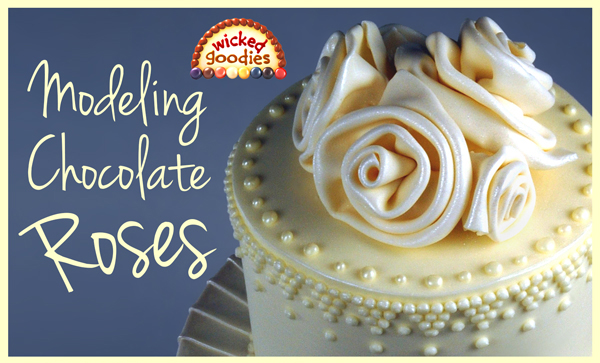
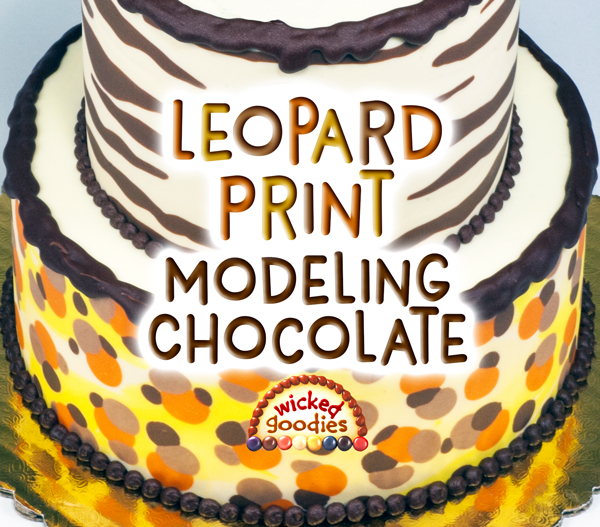
Modeling Chocolate Leopard Print Tutorial
Modeling Chocolate Tutorials


Hello, great information on all of your links! Is it possible to attach modeling chocolate flowers to wire in the same manner as fondant and gumpaste flowers? If so and hanging from a cake on wire “vines” not supported by sides of the the cake, will the flowers and leaves slide off while sitting? I hope that makes sense. I am doing a wedding cake and cupcakes on a stand and would like to do vines of flowers attached to each tier above as kind of a flower “curtain” around the tiers below.
Thank you, Crystal
Crystal,
I can’t recommend it because the chocolate won’t dry and harden like fondant or gumpaste does. Depending on the weather, there is a good chance they will droop on the wire. Now if you combine 50/50 gumpaste with modeling chocolate, you will get better results.
You are amazing and very generous with instructions and tips! I ordered your book off amazon (today) and can’t wait to get it! In the meantime, I’m going to try to make dark chocolate MC for a tree trunk for my granddaughter’s bithday cake – party is in a week. I’ll get the book in time to find solutions to any problems I encounter, and am thankful for ALL of the great info on your website!
Oh thanks that is so nice to hear. I would love to see a photo of your tree trunk cake when it’s done! And please feel free to email me if you have any questions about the material in my book. -Kristen [email protected]
I like this but I do not under stand how to make the color chocolate modleing?
Please help me this problem
The answer is here: http://www.wickedgoodies.net/2013/01/how-to-make-modeling-chocolate/