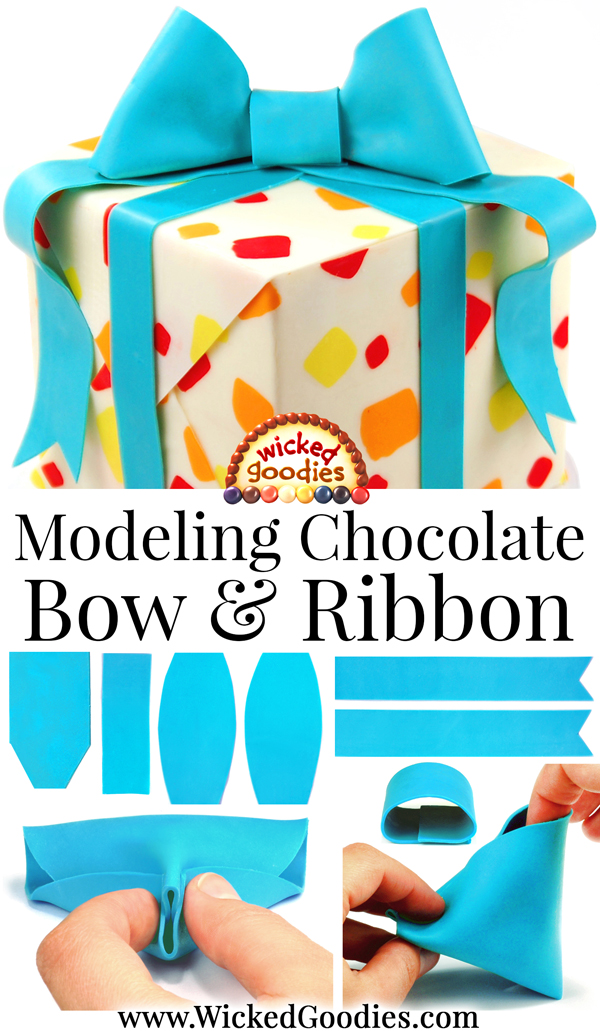
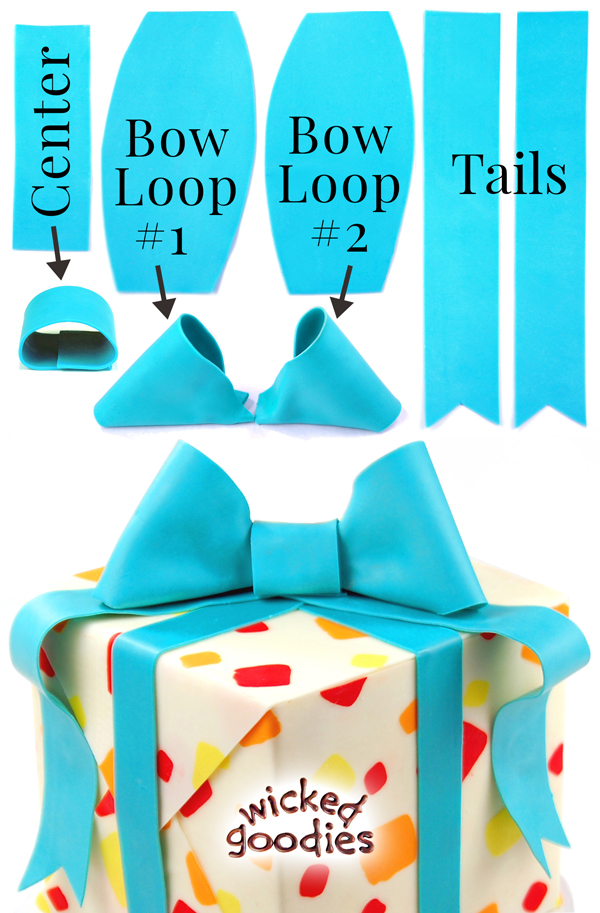
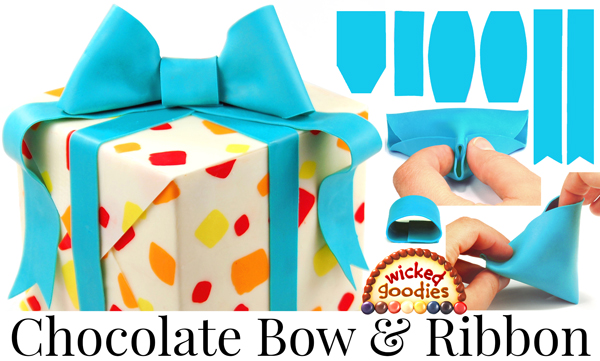
Items Needed for the Bow & Ribbon
- Blue modeling chocolate
- Rolled modeling chocolate equipment
- Ruler or straight edge
- Melted white chocolate for gluing
Step-by-Step Instructions
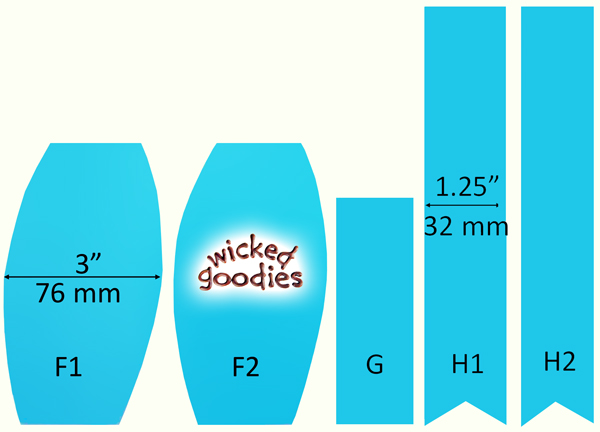
1. Roll out the blue modeling chocolate to 1/16” (1.6 mm) thickness. Roll it to a width of at least 22” (56 cm). 2. Cut two 22” long, 1.25” wide strips (56 x 32 mm) for ribbons. Set them aside.
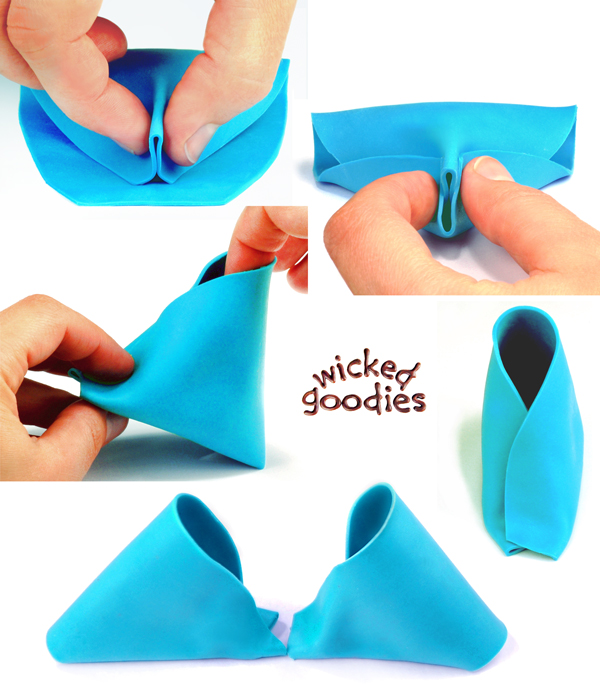
4. Set the loops aside to firm up for at least one hour before handling again.
6. Hold the center band, E into a loop wide enough to form the bow’s center. Place it seam-side-down where the ribbons cross.
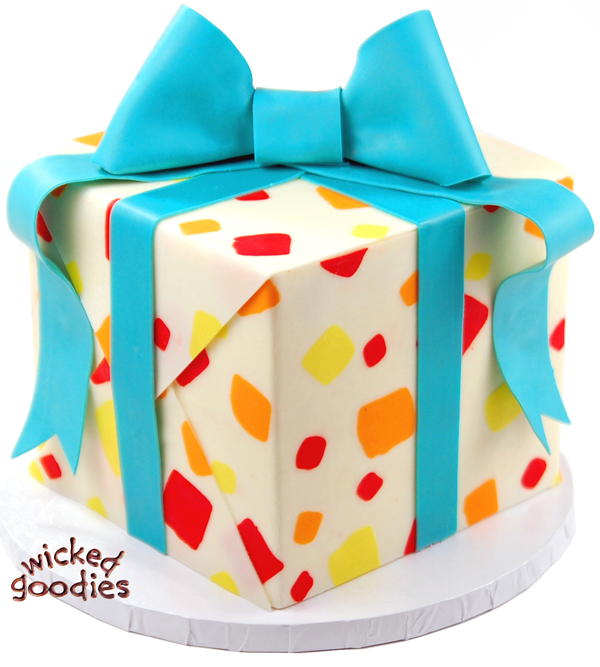
7. Tuck the pinched ends of D1 and D2 into the two openings of E. Secure any loose parts with a dab of buttercream to hold the bow in place.
Gift Tag Happy Birthday Cake Writing
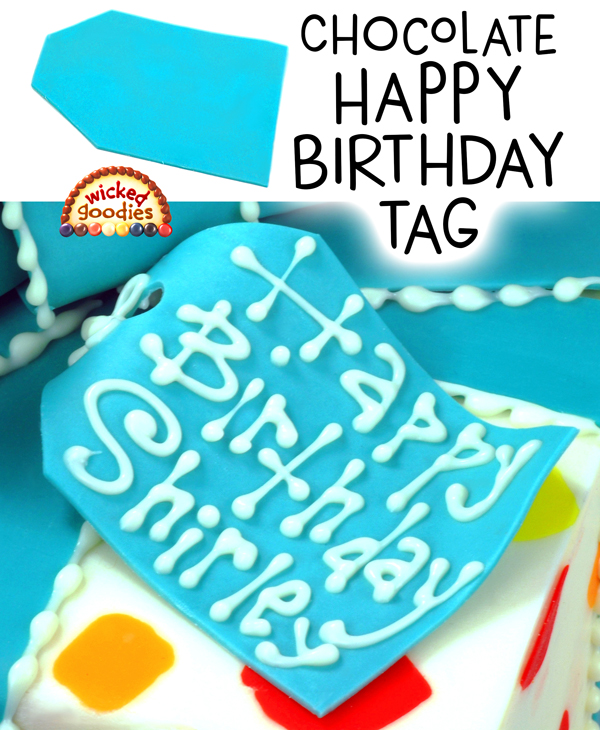 I piped a chocolate inscription onto the gift tag. Follow this link to read more about how I cake write with parchment paper cones.
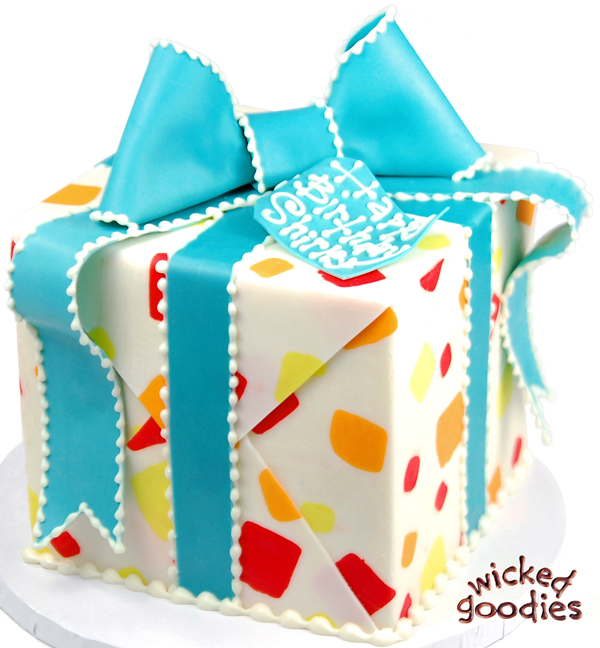
This is an excerpt from the book
Cake Decorating with Modeling Chocolate
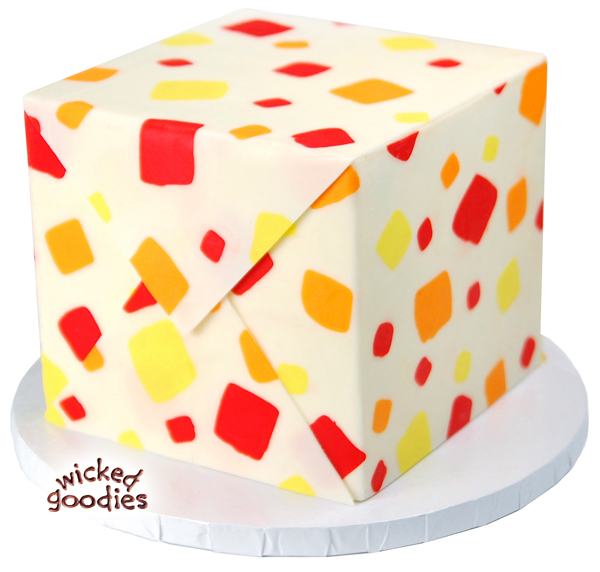
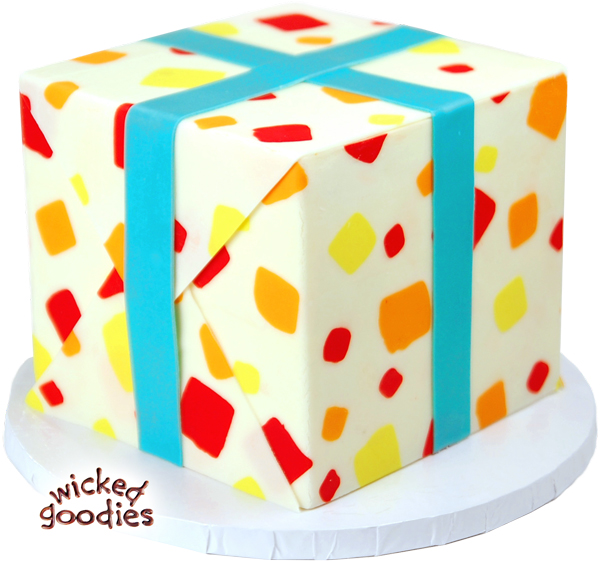
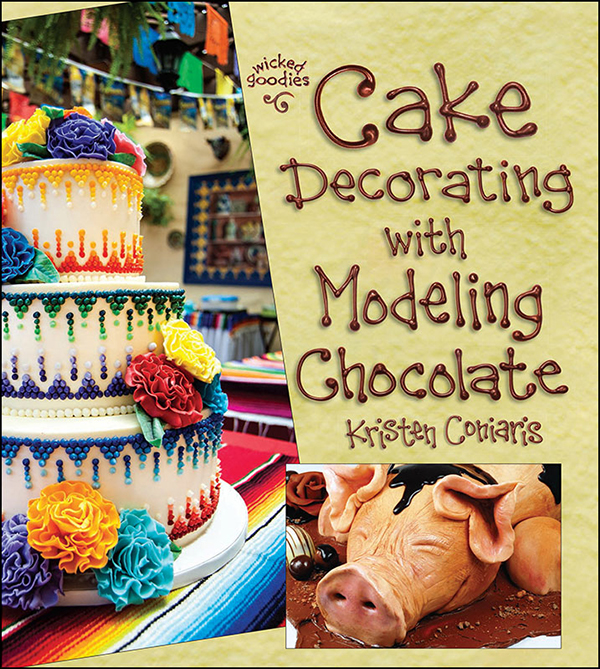 The book also demonstrates how to cover a cake in patterned modeling chocolate so that it looks like a wrapped present.
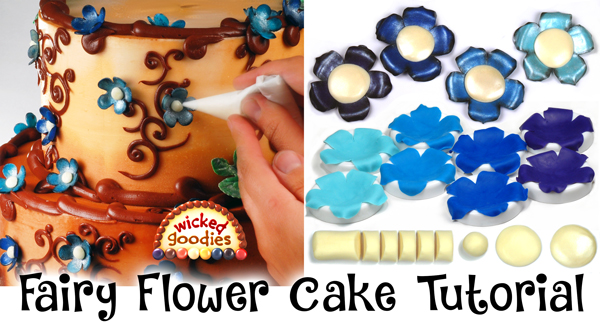
Chocolate Fairy Flower Cake Tutorial
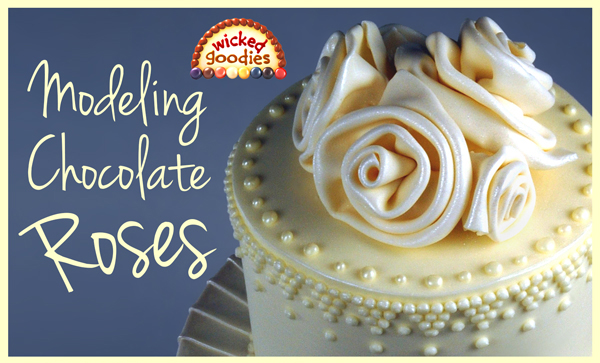
Modeling Chocolate Rose Tutorial
Piping with Paper Cones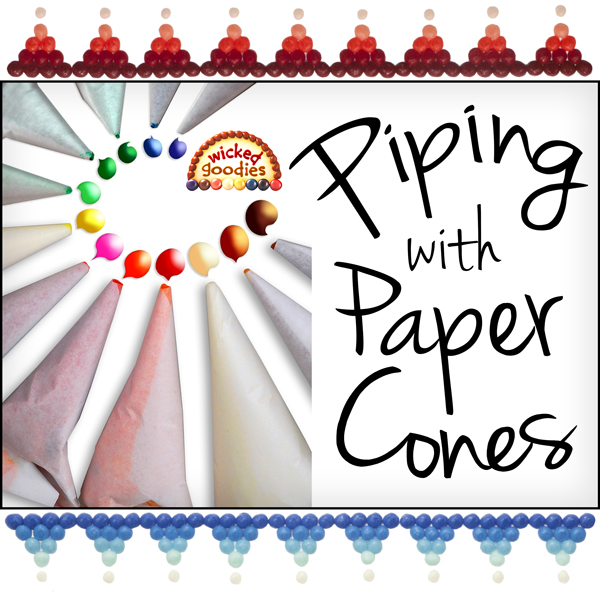
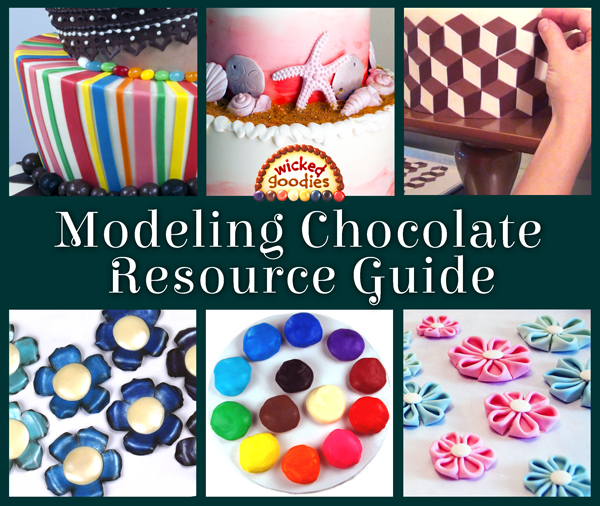
Modeling Chocolate Tutorials


Can’t wait for your book!!!!
When the book will available . Thank
It is now available! >> http://www.wickedgoodies.net/cake-decorating-with-modeling-chocolate/
Looking forward to purchasing a copy of the book…