NOTE #1: This schedule assumes the event is on a Saturday afternoon. If that is not the case, simply adjust accordingly.
NOTE #2: This schedule assumes that you are using this professional cake filling in the pan method.
Block Out Your Schedule
When the cake is due on Saturday, block out 5 or more hours of time on each of the following days: Wednesday, Thursday, Friday, and Saturday. If you have a day job, make sure your Wed-Fri nights on the same week of the event are completely free.
Smaller cake projects might not need as much time. It is entirely possible to get a small project done one or two days before the event but that depends each individual’s pacing and level of experience. This article assumes that you are working on a large scale stacked cake.
No matter what the size of the cake, if you are a beginner, I recommend leaving yourself ample time to experiment, make mistakes, then backtrack to fix those mistakes.
2 Weeks Before the Event
- Start shopping for paper goods like the cake drum, cake cardboard, wooden dowels or your preferred form of infrastructure. You can also collect dry ingredients like sugar and flour.
- If you follow this cake filling in the pan method, then you may complete the baking and filling process now.
1 Week Before the Event
- Shop for perishable ingredients like eggs, milk, butter, and fruit.
- Make decorative mediums like gumpaste, modeling chocolate, or fondant.
- Form the decorations that are tedious or require setting time like bows, figurines, flowers, the straps of a purse, the fin of a shark, etc.
- Clean and arrange your refrigerator, making room on the top shelves for the cake.
On Wednesday
- Bake the cake layers and let them cool.
- Make the fillings.
- If using buttercream, also make the frosting. I recommend this streamlined cake filling system to save time making fillings and frostings together.
- Slice and fill the cakes use this cake filling method.
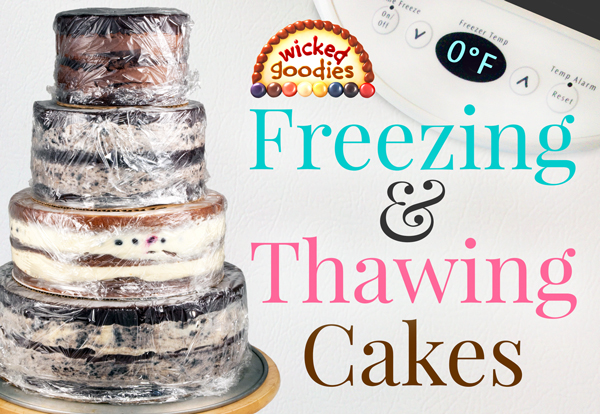
- Freeze the filled cakes. You may also complete this stage up to two weeks in advance of the event.
On Thursday
- Early in the day, depan the frozen cakes using this depanning method. If the cakes require carving, do the carving while they are still frozen (you will have more control of the cakes in that state). Then crumb coat them (a.k.a. “dirty ice”) with buttercream, also while they are still frozen. Transfer each crumb coated cake into the refrigerator to defrost to refrigerator temperature. Do not defrost a cake at room temperature.
- Finish preparing all decorative elements needed to go onto the cake, but don’t put them on the cake yet.
- Clean and prep the delivery vehicle. Follow this link for tips on how to deliver cakes.
On Friday
- If it’s a buttercream coated cake, add the final coat of buttercream to each of the cakes on this day. If you are tight for time on Friday, you may complete this task on Thursday night, after the cakes have defrosted or mostly defrosted to refrigerator temperature.
- Chill the cake tiers until the final coat is firm.
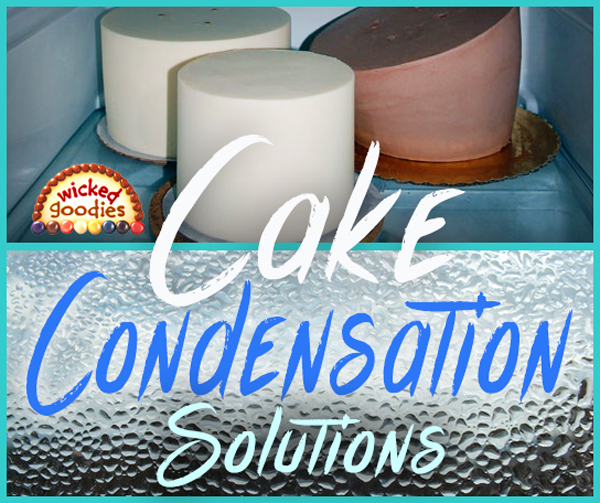
- If it’s a wrapped cake, add modeling chocolate or fondant. Once covered, seal the cake in plastic wrap to protect it from condensation. Again, you may complete this task on Thursday if you are tight for time on Friday.
- Measure, cut, and insert wooden dowels or infrastructure.
- Add any piping or decorations that can tolerate being in the refrigerator overnight. Do not remove the plastic wrap until you are all set up and ready to decorate. Refrain from adding decorations with dark colors until the day of the actual event.
- Make sure your digital camera is charged and packed, ready to go so you can take photos of the completed cake at the event.
On Saturday Morning
- Add final decorations onto the cake, not including toppers or precarious elements that could shift or tip over during transport.
- Leave enough time for the cake to re-chill in the refrigerator completely before transport.
- Prepare a toolkit for patching any damage that might occur during delivery and setup. Pack the same color frosting as was used plus some leftover decorations just in case something goes wrong.
- Ready the car with everything you need for the delivery that is not heat sensitive, including your camera.
- Put some business cards in your pocket if you are running a business.
10-20 Minutes Before Departure
- Start your car, put the air conditioning on high, and let it run.
- Change into a clean chef coat if you are in business.
- Cue up your GPS with the address of the event location.
1 Minute Before Departure
- Load the cake into the car. Follow this link to learn about my Cake Delivery Method.
- Cue up your favorite music for the ride.
- Stay calm. You’re almost at the finish line!




I have a question about your timeline. Everything I see here mentions wrapping the cake in plastic wrap if it’s decorated with fondant or modeling chocolate, but it doesn’t say what to do with a buttercream cake anywhere. If I’m frosting the cake 1-2 days before delivery, can I leave it in the fridge as is or do I need to cover it in some way? Wouldn’t plastic wrap leave marks on buttercream? Thanks!
I have the same question. Did she answer you? Maybe at a different place?
No answer. I’ve put buttercream cakes in the fridge uncovered overnight, but haven’t wanted to leave them for longer