
NOTE: This is just a small slice of a much larger information pie. Follow this link to access an updated, comprehensive version of this video tutorial: How to Fill Layer Cakes in the Pan
VIDEO: How to Depan a Filled Cake
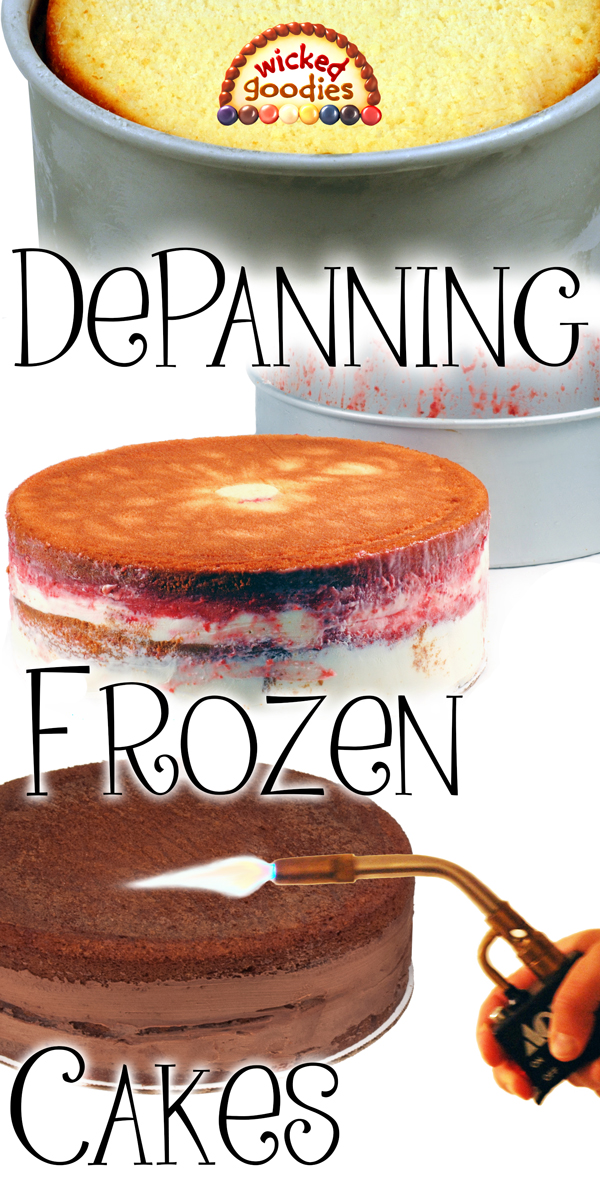
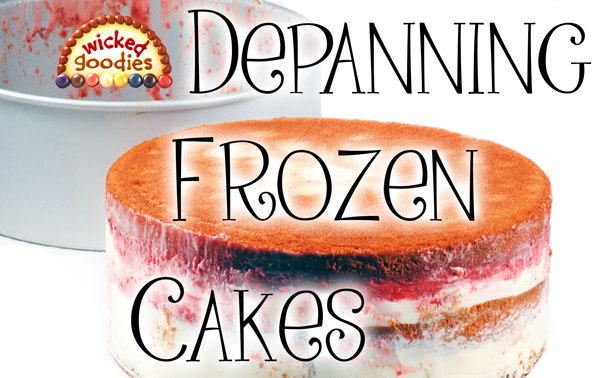
Releasing a frozen cake from a the pan is not unlike wrestling with a Jell-O mold. Fortunately, a cold cake is a lot easier to handle than jiggly jello.
Once the cake is frozen, it may be unwrapped and popped it out of its pan. Note that it must be frozen to yield the best results. If it’s not cold enough, there’s a chance it might not come out all in one piece. If that happens to you, press it back into the pan, freeze it some more, then try again later.
4 Ways to Remove a Frozen Cake from the Pan
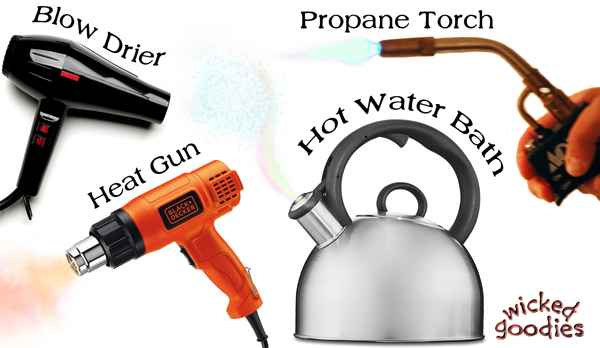 Hot Water Bath Method
The hot water bath method involves submerging the frozen pan partway into a larger vessel half-full of simmering water. This is the traditional way to de-mold molded desserts, the only caveat being that you need to find a vessel big enough to accommodate your pan. For larger cake tiers, this may prove difficult.
At one of the wholesale bakeries where I was employed, we produced a lot of 7″ – 10″ cakes. In that kitchen, we used the hot water bath method with a 12″ diameter deep sauce pan set atop a portable propane burner with the flame set to low. The flame kept the water hot for hours while racks of cakes were de-panned. I didn’t love how the water made the work station wet and messy but it was an economical and efficient method for depanning 50-100 cakes per day.
Heat Gun Method
One reader of this blog has reported success using a heat gun in place of the blow torch method listed below. Although I haven’t tried it myself, I suspect this may be the ideal method as a heat gun is safer than a blow torch.
Blow Drier Method
Another reader of this blog has reported success using a hair drier in place of the torch method listed below. I would only opt for a hair drier as a last resort since it would heat up the temperature of the kitchen and create wind. It’s also not the most sanitary choice as far as tools go. However it’s an option you may consider if you don’t own a heat gun, torch, or vessel big enough to make a hot water bath.
Blow Torch Method
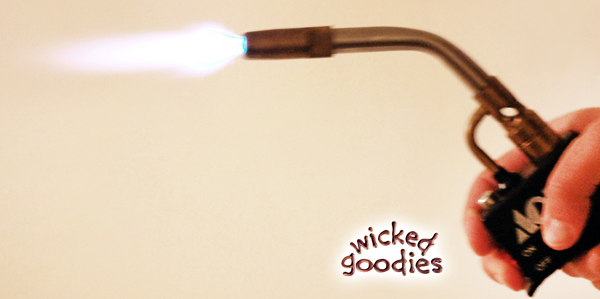
My preferred method is the blow torch option because it’s quick, easy and doesn’t involve water. Moreover, this is how I was originally trained in a kitchen where we relied on a blow torch for several different baking techniques.
The torch method may be used on any size or shaped pan so it comes in especially handy when dealing with the larger tiers of a wedding cake.
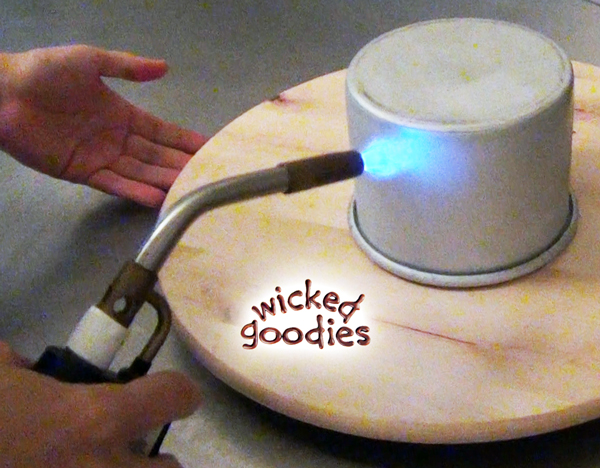
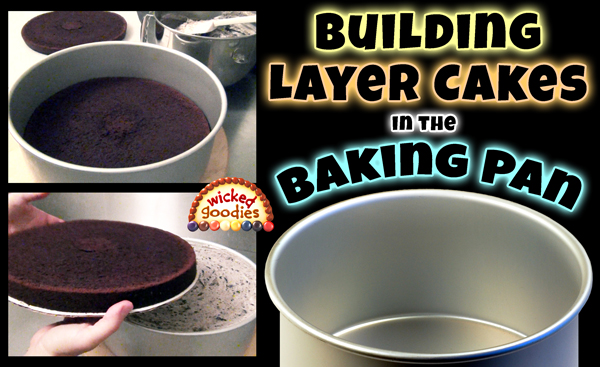
1. Invert the cake in its pan and place it on a turntable.
2. Spin the wheel slowly with one hand while torching the outside of the pan with the other. Keep the flame moving to avoid overheating the pan. Do this for 5 seconds for a small cake (4” – 9” diameter) or 10 seconds for a large cake (10” or wider).
3. Stop and touch the outside of the pan; it should feel a little warm all around. The warmth of the pan will soften the sides of the cake, releasing its hold on the metal.
4. Flip the pan so that the cake is face up. Do not delay at this stage as the warmth you’ve created will quickly dissipate, causing the sides of the cake to once again freeze against the pan.
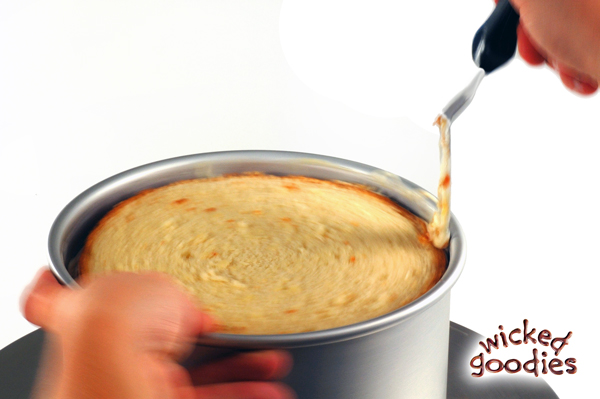
5. Run a small offset spatula around the outside of the cake to release the filling that likely has a suction hold on the pan’s sides.
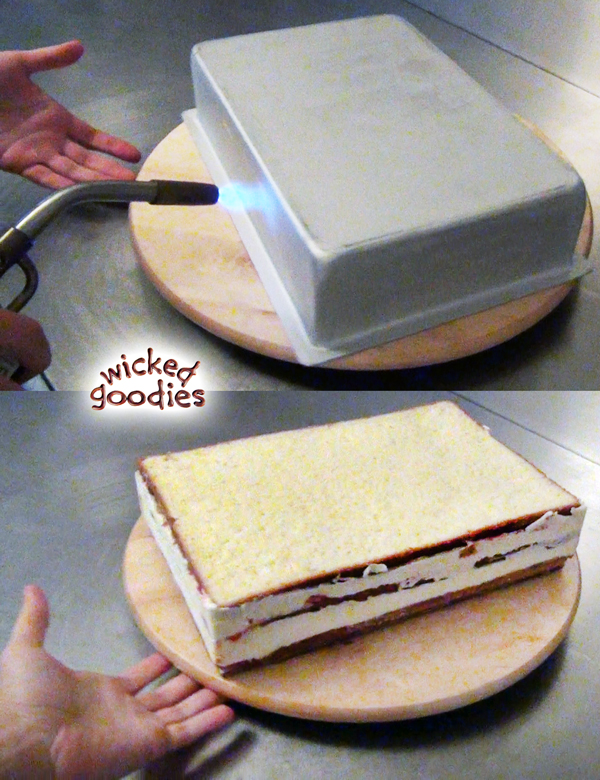
6. Invert the pan and shake it in mid-air until the cake falls out. Be patient. It can take time for the cake to work its way out. You’ll know it’s working when you hear a sucking sound. Some forceful jiggling helps.
If the cake won’t release, repeat steps 4 and 5.
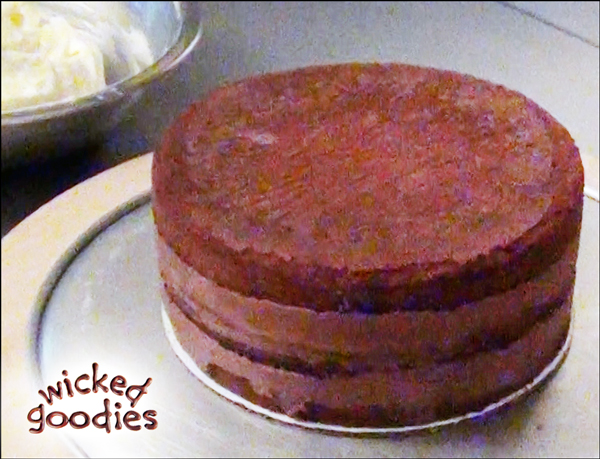
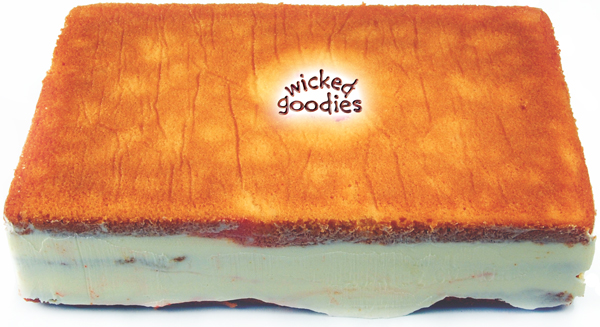
The end result should be a cold cake in the exact shape of the pan.
A cake assembled using this filling method requires far less buttercream frosting to crumb coat because (as long as the filling was spread all the way out to the edges of the pan) there are less holes/uneven parts to patch.
A cake assembled using this method is also easier to frost with buttercream because it starts out in the exact shape that is the desired result.
When using this method, make sure to leave time for frozen cakes to thaw in the refrigerator. Small cakes require 6-12 hours to thaw. Large cakes take 12-24 hours to thaw. It’s better to wait to start decorating a cake until it is fully thawed or condensation may form on the surface.

New to Wicked Goodies? Start *HERE*


Hi! Thank you so much for this. I’m using this method now on a chocolate cake and it’s currently freezing before the depanning stage. I used chocolate ganache filling and a dam around the cake made of whipped buttercream frosting so it’s semi-crumb coated.
I’m confused–after depanning it while it’s still frozen, when would be the best time to frost it with soft whipped buttercream? Should I let it thaw in the fridge first (absolutely unwrapped, on the cake plate? I shouldn’t wrap it with plastic since the buttercream dam will get soft while thawing, right?)
I don’t see much troubleshooting tips for soft frosted cakes so I’m not quite sure how to avoid condensation from happening with this type of cake. I know this query is a little late, but I still hope you see this! Thanks so much for your tutorials and for your help ❤️
Good explanation there. thanks alot
In another post, you said not to use Bavarian cream in freezing..or large strawberries..I’m confused.
seriously who the hell has a blow torch>>?
This is an interesting technique, but why can’t I just refrigerate the panned cake after building it in the pan rather than taking the time to freeze and defrost it? Why is freezer necessary?
The cake is most likely to fall apart or get stuck in the pan if it’s not frozen.
Thanks so much for your wonderful tutorial. I am learning quite a bit! I would like to try your method of covering a frozen cake with fondant, then plastic, but I am unsure how I could do this without ruining my nice fondant covering. Can you please explain?
As soon as the fondant or modeling chocolate is on the cake, seal it with cling wrap. Don’t press too hard or it can leave a mark but try to get all the air out. Here are two cakes that eventually became hamburger buns, so you can see how they are covered.
Hi.. just discovered yr blog & loving it! Thank you for sharing all the useful tips! I work with fondant a lot and are living in tropical country. Where the weather is hot & humid all yr round.
I m still confused. First, we do the frosting while uts still frozen. Then let it thaw in refrigerator… When is the best time to cover the cake with fondant? After the cake thawed or still frozen. Considering the weather where I live. Especially for wedding cakes where it will be in display for couples hrs before being cut n sometimes in outdoor setting or non air condition room?
Hello, You can cover a cake in fondant while it’s still frozen but then it will get a little moist on the surface with condensation as it thaws. If you use a lot of corn starch or powdered sugar while working, that can be a good thing because the moisture will eliminate any traces of powder. However sometimes a little condensation can cause problems like when working with colored fondant decorations, especially red, black, or blue on a white background can cause dark streaking or pooling as the cake thaws if there is moisture build-up. It’s always better to wait to place the dark-colored decorations on a fondant cake until the last possible minute anyway, but especially if the cake started out frozen. If there’s time, it helps to wait to decorate a cake until it’s cool but not frozen (refrigerated). Personally, I prefer to fondant a cake while it’s still frozen then seal it’s surface in plastic wrap and allow it to thaw in the fridge completely before the decorating it. The plastic wrap helps protect the surface of the cake from condensation. I like to do it on a frozen cake because then the frosting underneath stays firm for getting those sharp corners and that clean look.
Never mind. I just read further up the page and my answer was there.
Thanks.
Will putting the cake filled pan in hot water for a couple of seconds work to release the cake from the pan?
Love this technique for filling cakes. I also have your book and love it. Here is my question, do you have RECIPES for filling that can be used this type technique. Recipes would be really nice.
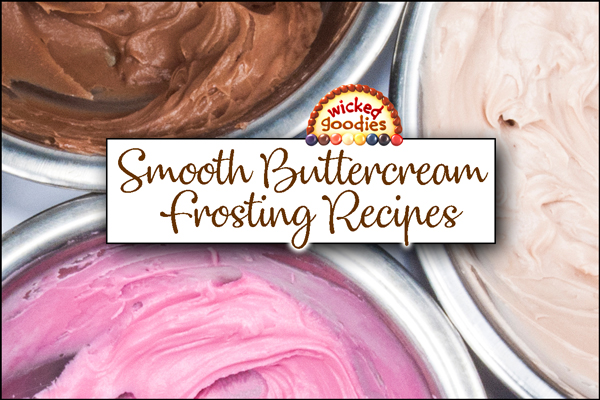
Thanks! That’s a question that I get a lot but haven’t covered yet in writing. I can tell you that the buttercream recipes in the back of my book are the basis for most of my fillings. It’s a very sturdy buttercream that stands up well on its own as a filling or can be combined with cream cheese, nut butters, fruit, etc. to make a flavored buttercream filling.
Hi i love your technique in layering cakes its awesome will surely try it out, I have a query, 1)while frosting the cake in the pan can we drizzle sugar syrup on the cake before frosting, after the cake is frozen will the cake be moist after it is thawed.
2) what is the best time to decorate the cake with fondant (frozen or thawed)
Hi Julitta, thanks for the note. To answer your questions:
1. I often brush sugar syrup on cake layers when they are being filled in the pan. The cakes remains quite moist after being frozen as long as they are always kept well-sealed in plastic wrap. In fact cakes stay more fresh when held in a frozen as opposed to refrigerated state.
2. You can put fondant on a cake when it’s frozen or refrigerator temperature. Personally I find it easier to do on frozen cakes but then you must work quickly because the temperature change from freezer to room temp will cause cakes to develop condensation on the surface. Sealing a fondant-covered cake in plastic wrap helps protect the surface of cake from getting wet as it defrosts. It also works well to put fondant on refrigerator-temperature cakes but then you must work quickly, before the buttercream goes soft. If the buttercream (or ganache, or whatever you use to frost the cake) gets soft, then you start getting lumps and dents and hand prints in the fondant.
I can’t believe you put a disclaimer about blowtorches, then again…
Nice tutorial K!
Makes perfect sense. Will have to try this on my next one.
For a less solid filling, I always pipe icing around the inside of the cake layer and add the filling inside the circle (or whatever shape.)
I find that this keeps the “gooey” fillings in check inside the cake.
Piping a dam of buttercream around the outside of each layer of filling is certainly an option that some pastry chefs recommend. Unfortunately, it doesn’t apply to tapered cake tiers, topsy turvy tiers, or sculpted shapes, whose edges get carved away. Also, it is a bit tedious: adds an extra step to each layer, requires filling a pastry bag many times over, etc. Personally, I prefer to use fillings that are already stable enough to stand up on their own, which minimizes the amount of work and worry. But yes, you are right that it is a viable option if a leaky filling is in play.
How long do i bake a 3″ by 8″ round? I’m new at this!
Here is a good rule of thumb: http://prod.bonappetit.com/tipstools/tips/2008/04/how_to_tell_when_a_cake_is_done
Thank you! A follow up question… I did see that you recommend slicing the cake using a bread knife and turntable, I was wondering if you have ever found the products on the market specifically made for this purpose useful( esp for a beginner)?
Absolutely. Right here: http://www.wickedgoodies.net/2010/08/cake-carving-equipment-recommendations/
Hi,
I just bought a Agbay cake leveller. Have a look at their website.
http://www.agbay.com. It works like a saw with an extremely sharp blade. It is just fantastic.
Thanks for the tip! But I prefer not to use bulky gadgets for torting. Here is how I do it: http://www.wickedgoodies.net/2013/07/how-to-slice-cake-layers/
cut out wax paper to fit on the bottom before placing cake mix into the pan….much easier than all those methods mentioned.
Wax paper is not meant to be baked with. It will melt into the food at high heat. It will also melt onto the pan, creating a film on the metal that is hard to clean and may damage equipment. Although technically non-toxic, it should not be consumed. I do not recommend wax paper for lining baking pans. Parchment paper is the way to go.
This is excellent! With this method, do you use a pastry bag when filling with butter cream? Thank you so much for sharing.
I use an ice cream scoop to dole out the filling and an offset spatula or bent spoon to spread it around. I find this is a bit easier than dirtying a pastry bag.
Such a great technique, thanks for sharing!
As the cake becomes room temperature doesn’t the filling squish out and cause bulges in the icing or fondant? I always have a problem with that.
Kathy, fillings that are too soft should be avoided as those are the ones that squish out. If it is still soft at refrigerator temperature, it may be too unstable to use as a cake filling. A lot of people struggle with cream cheese icing in that way when not enough butter is in the recipe. I prefer to use butter-based fillings and frosting because butter gets nice and hard in the fridge, which buys cakes lots of time for transport/display before they go soft. However I’ve had good results using all kinds of other fillings: mousse, whipped cream, berry, bavarian, banana fudge just to name a few. It’s most important to keep cakes cold up until the point of display and only use fillings that are tried and true before attempting to use them in large or stacked cakes.
Love this technique for filling cakes. I also have your book and love it. Here is my question, do you have recipes for filling that can be used in this type technique. Recipes would be really nice.
I agree- I have been trying to find a recipe for a good stable mousse to use as a filling
Wow! That is a great technique! Thanks so much for being so generous and sharing!!! 🙂
That was awesome!!!!! I always have problems with this,,,, I am going to try it this weekend!!!!!!! Thank you!!!!!!!! Keep up the wonderful work!!!!!!