Modeling Chocolate Flags

Modeling Chocolate Flag Tutorial

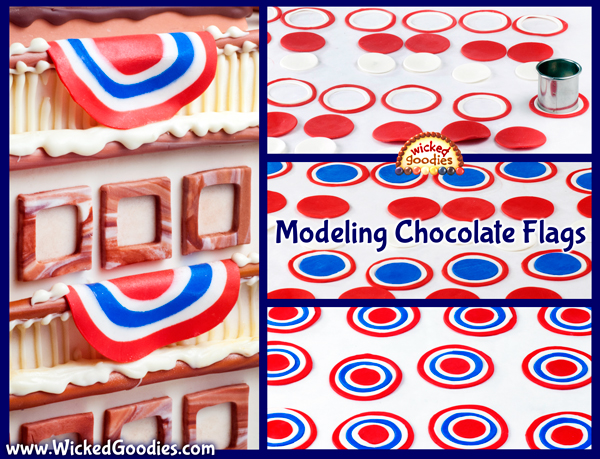
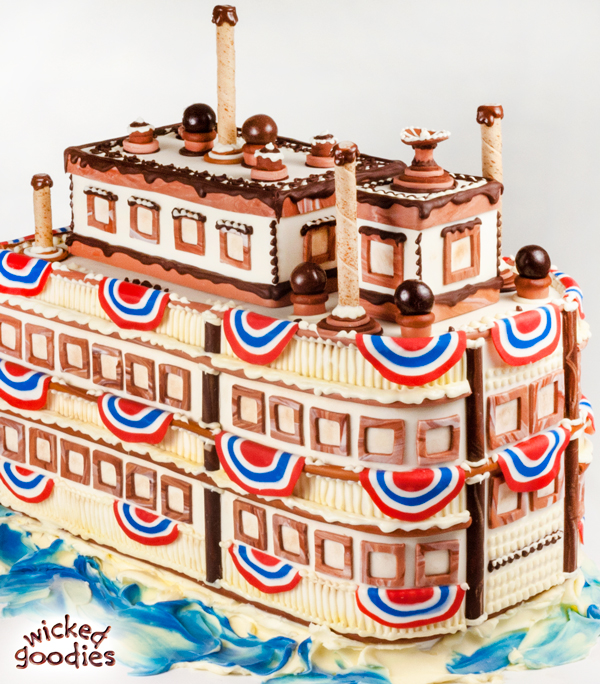
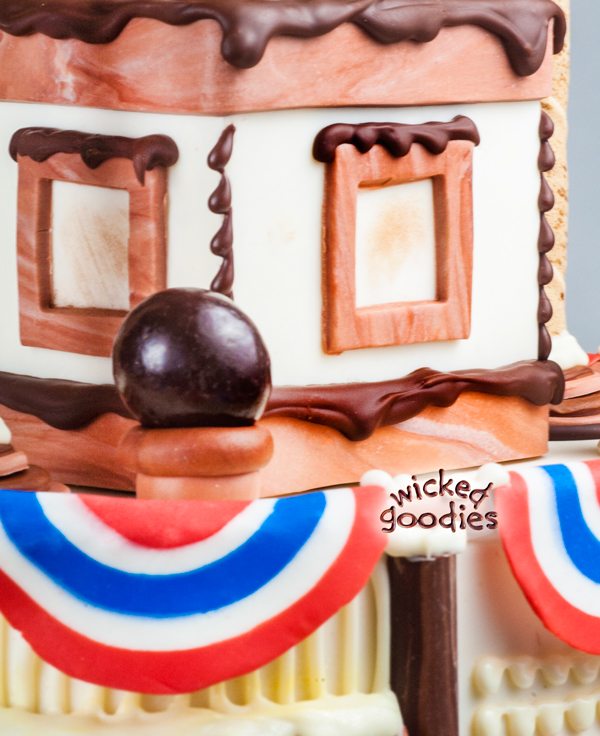
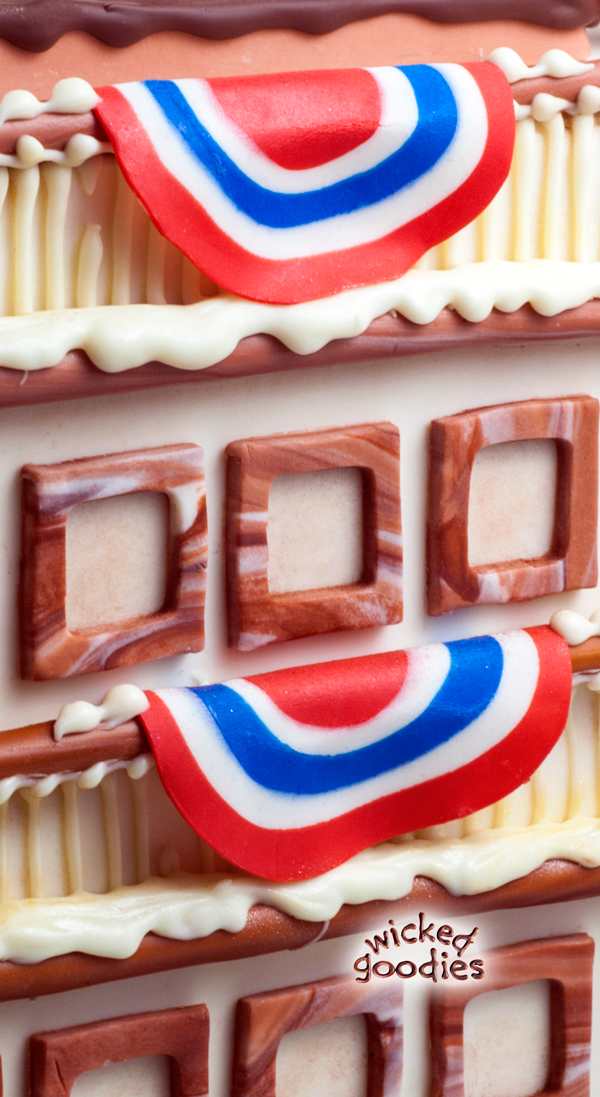
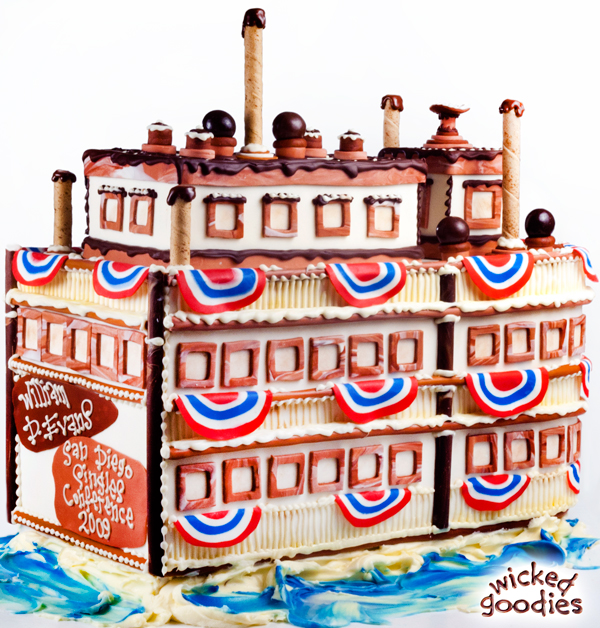
In honor of upcoming 4th of July in the U.S., here is a tutorial that demonstrates how to apply an intricate modeling chocolate technique to the making of patriotic American flags for draping over the chocolate banisters of a ferry boat cake.
3D Boat Cake Tutorial

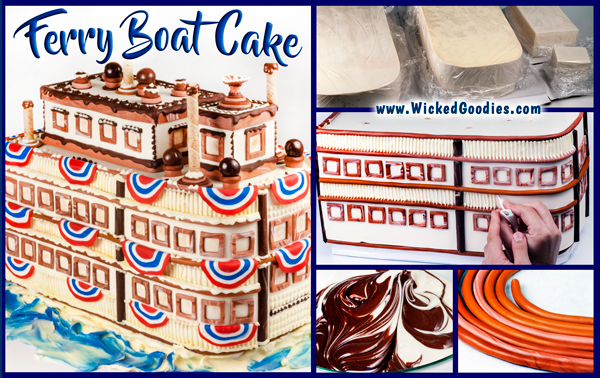
This involves precision and careful handling of modeling chocolate. For more information on how this cake was made, check out my ferry boat cake tutorial.
3D Boat Cake Tutorial

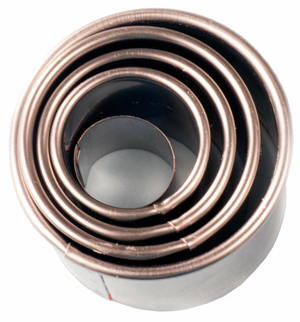
Ingredients and Equipment Needed

Modeling Chocolate Flag Tutorial

Step-by-Step Instructions

Modeling Chocolate Flag Tutorial

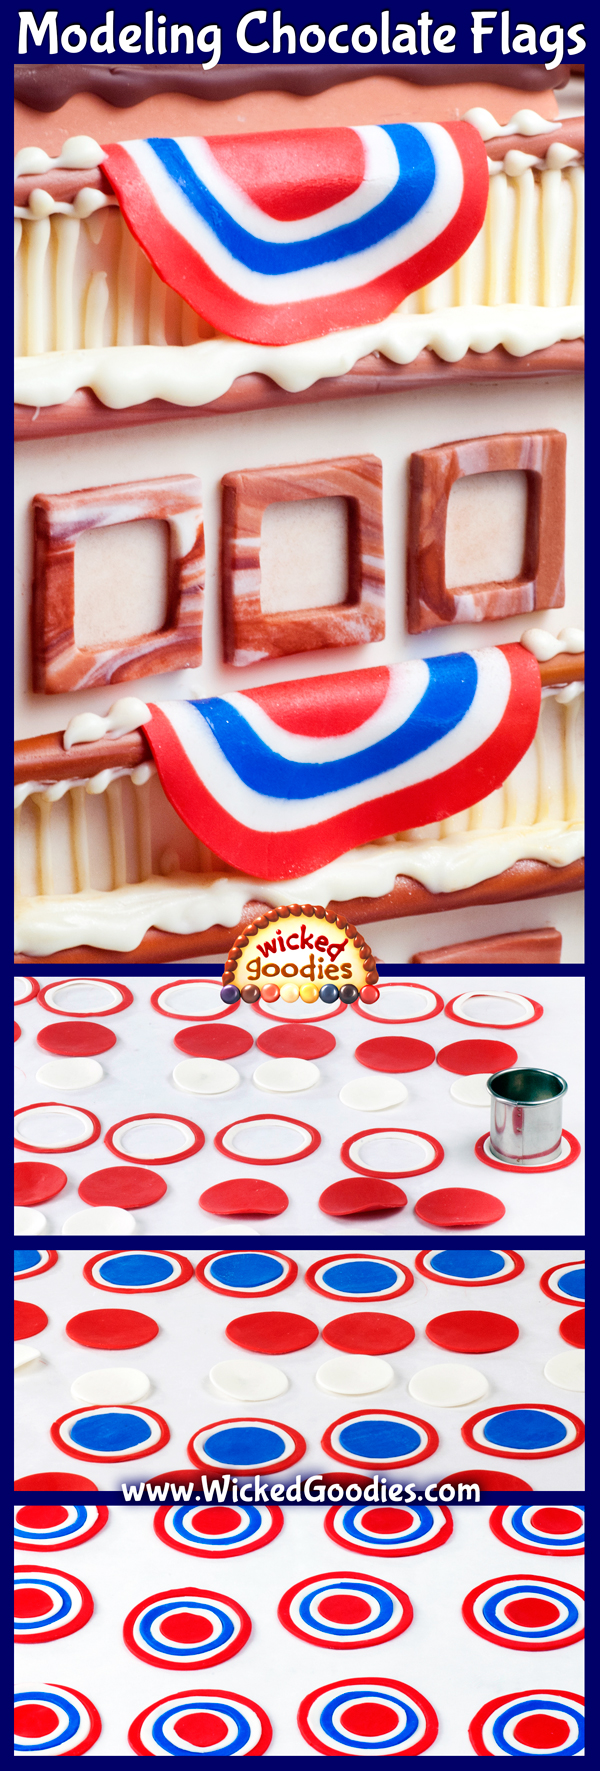
1. Working atop parchment paper, roll the red, white, and blue modeling chocolate out into sheets of 1/16” thickness. Make an extra sheet of white modeling chocolate because it will be needed towards the end of the process. Allow the sheets to rest for at least one hour in a cool place until they are easier to handle.
Modeling Chocolate Flag Tutorial
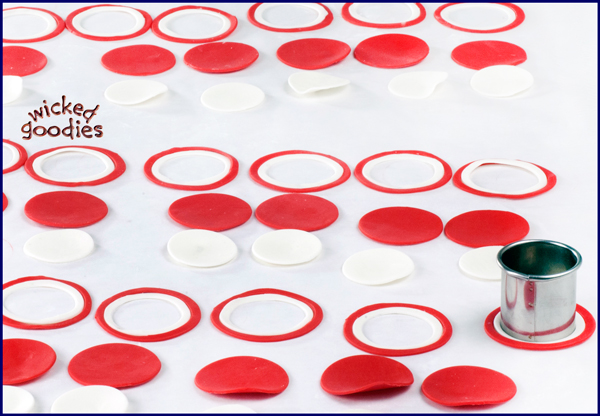
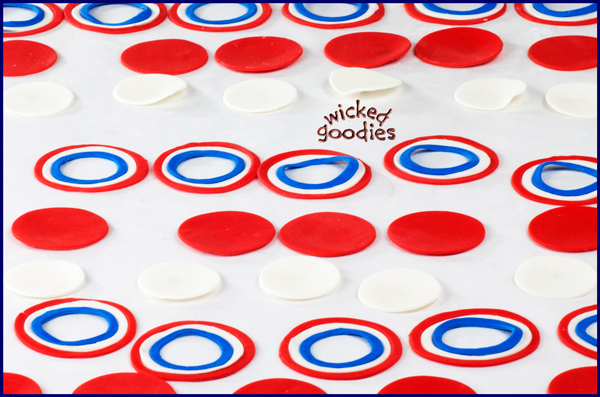
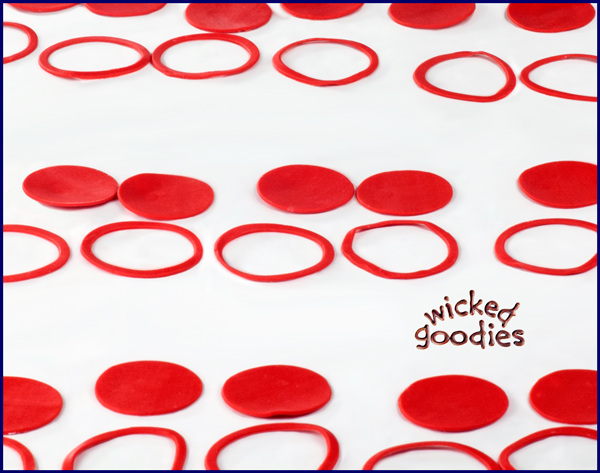
2. Cut red circles with the 1 5/8 round cutter. Cut smaller circles out of the centers using a 1 3/8” cutter. Set the removed red circles aside.

Modeling Chocolate Flag Tutorial
3. Cut white circles using the 1 3/8” cutter. Place them directly inside the larger red rings. Cut the centers out of the white circles using a 1 1/8” round cutter. Set the removed white circles aside.

Modeling Chocolate Flag Tutorial
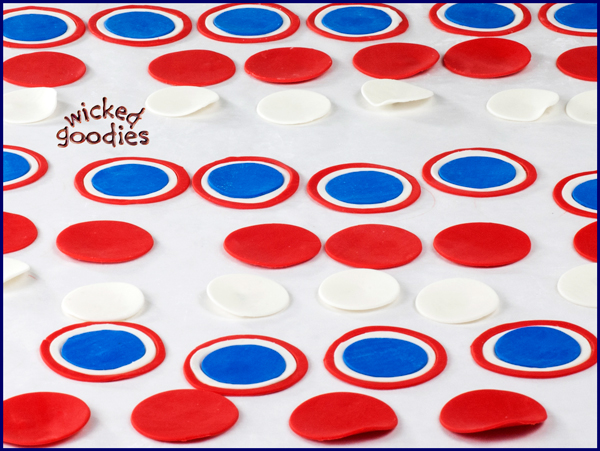
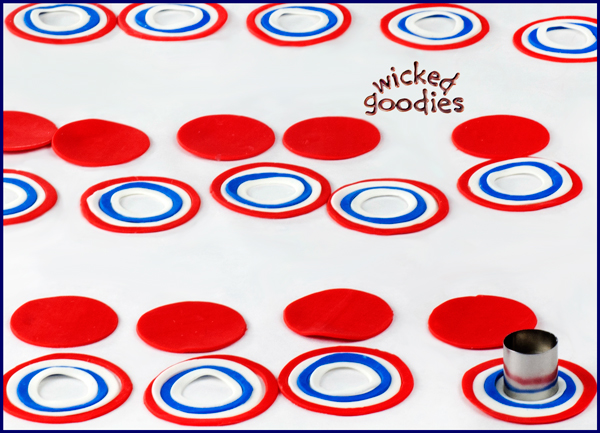
4. Cut blue circles using the 1 1/8” round cutter. Lay them inside the flags that are now beginning to form. Cut the centers out of the blue circles using a 7/8” round cutter.

Modeling Chocolate Flag Tutorial
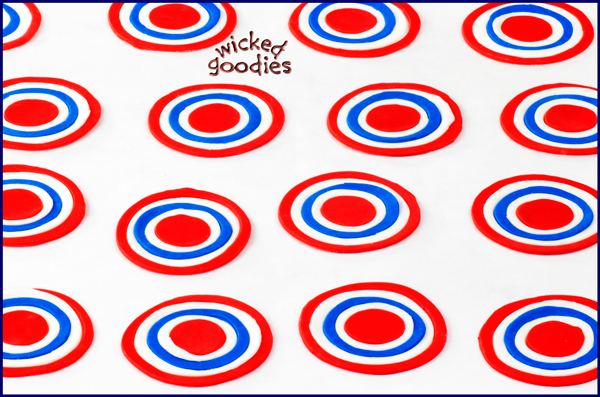
5. Cut a 7/8″ circle out of the extra white circles remaining. Lay them inside the flags.

I follow these recipes and instructions
Cake Decorating with Modeling Chocolate
Cake Decorating with Modeling Chocolate
Modeling Chocolate Flag Tutorial
 6. Remove the centers of the white circles with a 5/8” cutter.

Modeling Chocolate Flag Tutorial
7. Cut 5/8” circles out of the red circles remaining. Lay them in the center of the flag, completing the design.

Modeling Chocolate Flag Tutorial
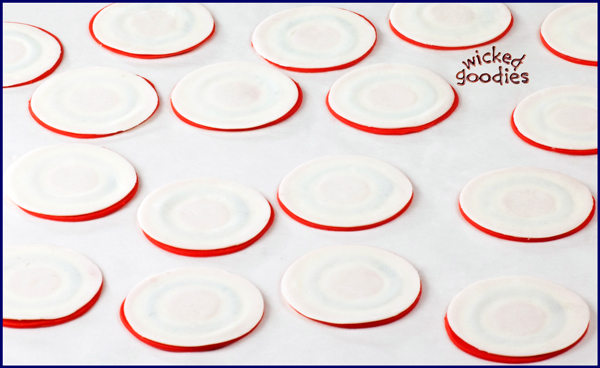
8. Using the remaining white rolled modeling chocolate, cut 1 3/8” circles and lay them on the tops of the formed flags. Press them gently to adhere.

Modeling Chocolate Flag Tutorial
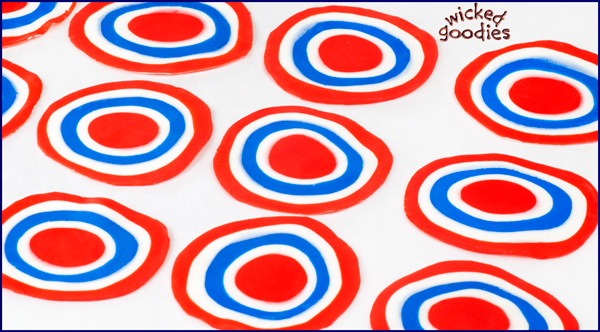
9. Gently roll out the flags between two pieces of parchment paper using a small rolling pin (be careful not to roll repeatedly in the same direction or they will go pear-shaped), thinning them and blending all the colored rings together to appear as one. Allow the modeling chocolate some time to set in a cool place, ideally next to an air conditioning unit before attempting to handle them.

10. Peel back the top layer of parchment paper and dust the flags with corn starch (a.k.a. corn flour) to make them easier to handle.
Modeling Chocolate Flag Tutorial
9. Trim any unwanted bits off the edges of the flags using a large round cutter then use a knife to cut each flag in half. Drape each flag over the boat’s ‘banisters’ and secure them using piped chocolate.

3D Boat Cake Tutorial

Learn more about the ferry boat cake construction and decoration here
Ferry Boat Cake Tutorial
3D Boat Cake Tutorial

Subscribe to Wicked Goodies
9,584 Subscribers

New to Wicked Goodies? Start *HERE*
Generic selectors
Exact matches only
Search in title
Search in content
Post Type Selectors

Let’s Connect!

Find Wicked Goodies on YouTube

Follow Wicked Goodies on Pinterest

As an Amazon associate, I earn commission on qualifying purchases at no cost to you.

You might also enjoy
How to Marbleize Modeling Chocolate
Marlbed Modeling Chocolate TutorialLeopard Print Modeling Chocolate Tutorial
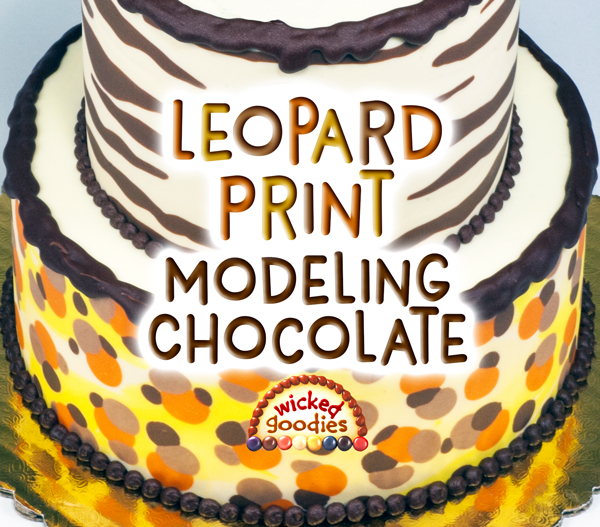
Leopard Print Modeling Chocolate Tutorial

Smooth Buttercream Cake Frosting
Smooth Buttercream Frosting Recipes

3D Car Cake Tutorial
3D Car Cake Sculpting Tricks


Leave a Reply

Your email address will not be published. Required fields are marked *

Optionally add an image (JPEG only)

This site uses Akismet to reduce spam. Learn how your comment data is processed.