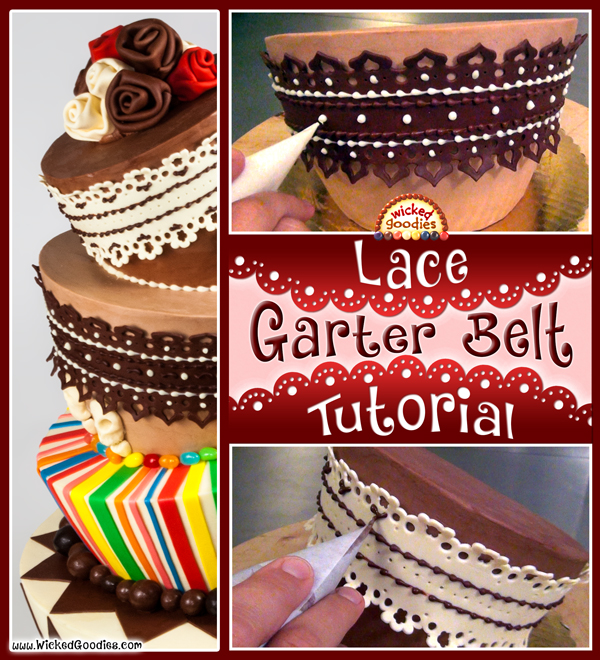
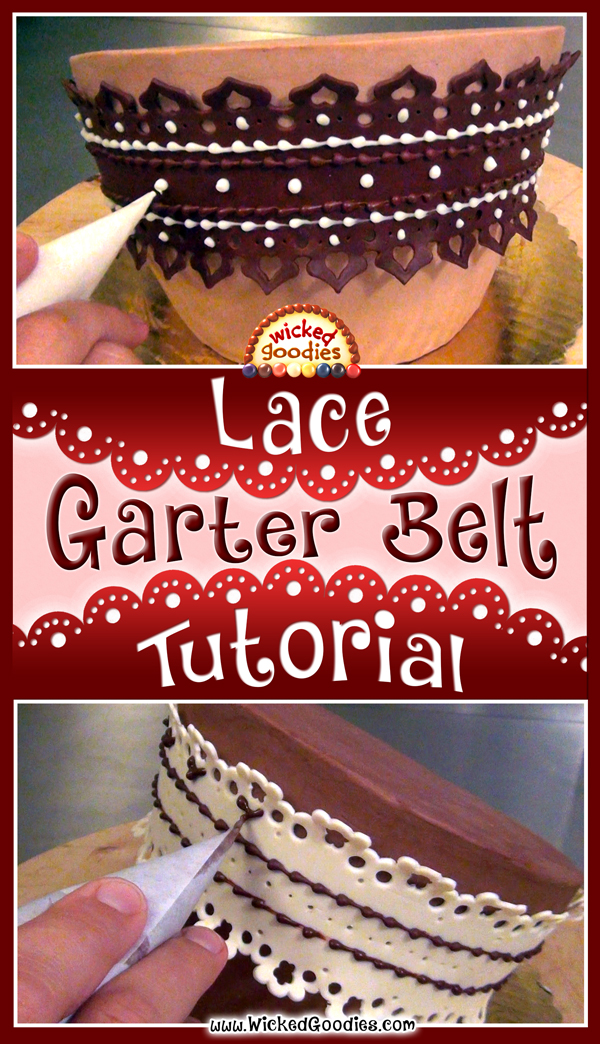
This video tutorial demonstrates how to make lace or garter belt wraps made of white and dark modeling chocolate decorated with piped chocolate. These frilly panels can be wrapped around any sized cake tier. Simply measure the length of each garter belt to match the circumference of the cake.
VIDEO: Modeling Chocolate Lace Garter Belt Cake Decoration
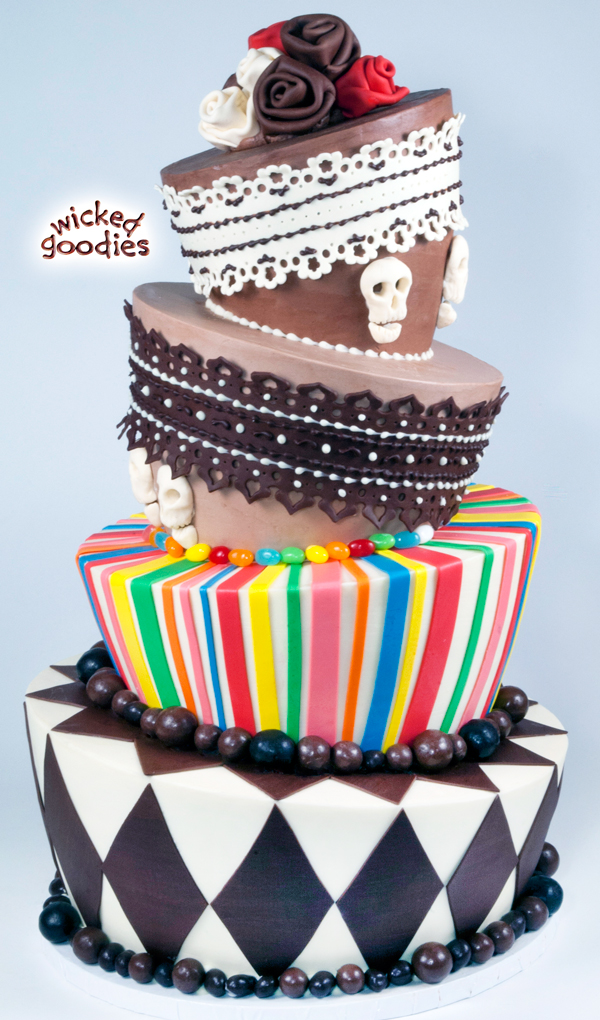
Here is the wedding cake featured in the video. It’s a topsy turvy style cake with smooth buttercream frosting, modeling chocolate circus stripes, harlequin pattern, modeling chocolate skulls, chocolate garter belts, and chocolate fabric roses on top.
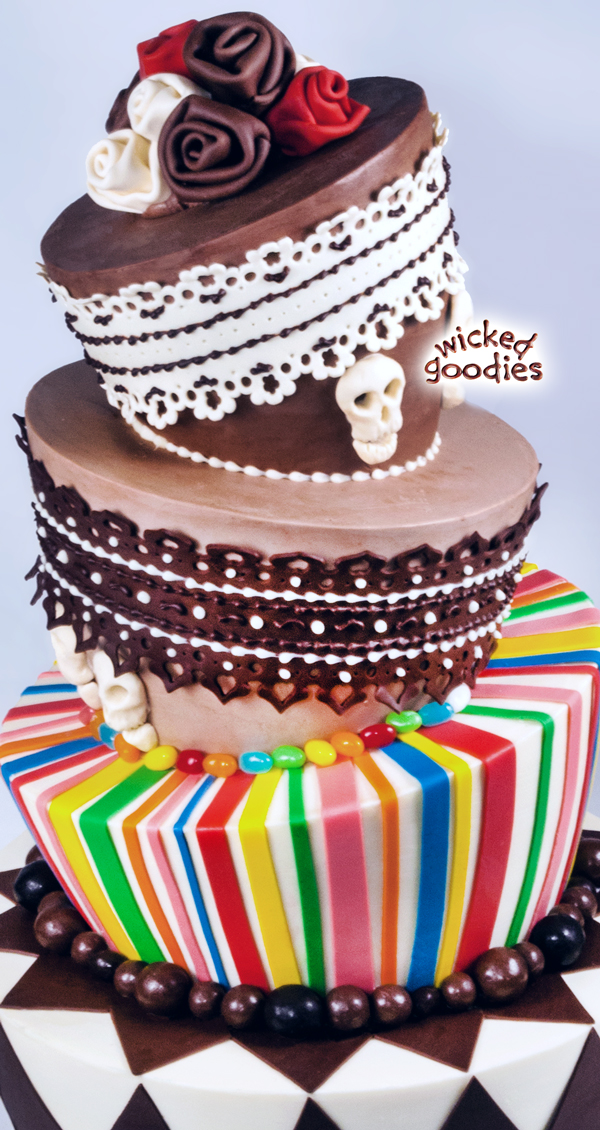
Lace Cake Wrap in Modeling Chocolate
Begin by rolling out the modeling chocolate and forming it into a long strip. It must be rolled quite thin then allowed to set in a cool place for at least one hour for this method to work.
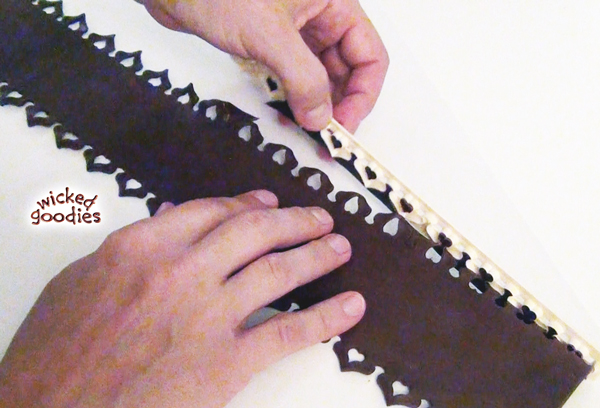 Using FMM frill cutters (commission earned), cut the edges of the modeling chocolate into a lacy design, lining up the cutter each time with the last cut so that the design remains fluid. Be gentle when pulling away the cutter so that the modeling chocolate does not rip. Clean out the cutter between each use.
Sample the book
Cake Decorating with Modeling Chocolate
You can emboss and add embellishments to the modeling chocolate at this point. I used a tiny round plunger cutter from this set (commission earned) to make holes around the edges of the lace. Then I used a pointed sculpting implement from this set (commission earned) to emboss some more little holes.
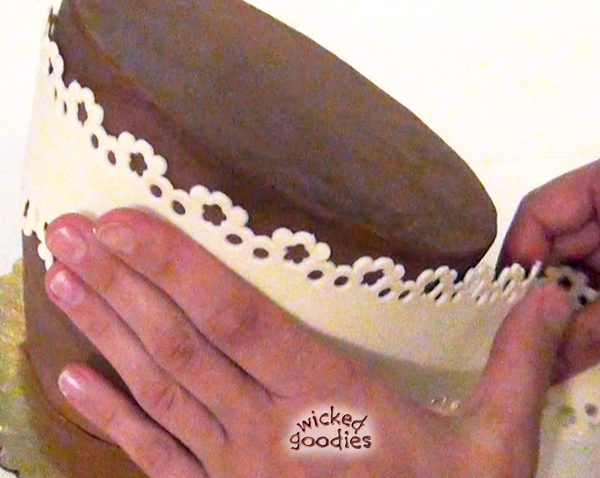
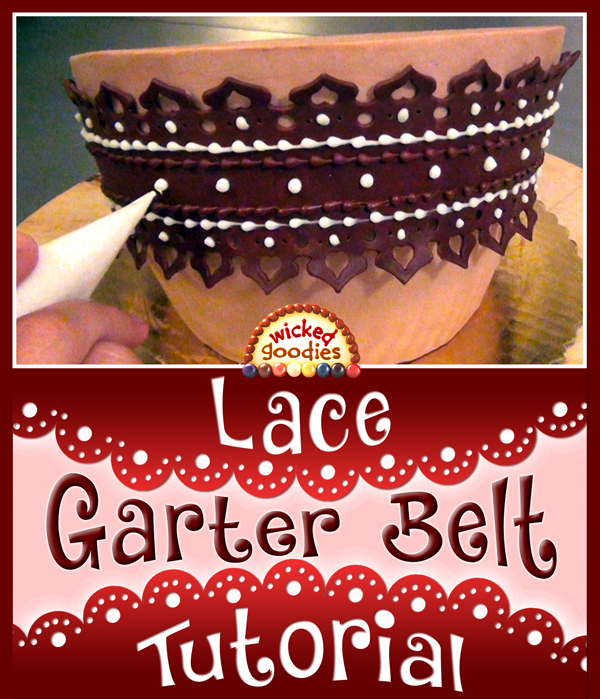
Wrap the garter belt around a cold frosted cake and adjust its position by sliding it around on the buttercream. Lift the tip of each piece of lace around the edge of the garter belt so that it looks as if it’s squeezing around the cake. Pipe trim onto the modeling chocolate with melted chocolate. Use a turntable to keep the round cake in motion.
Lacey Chocolate Piping
Here are links to my tutorials on how to make piping cones and as well as how to write on a cake with melted chocolate. It’s trickier to pipe onto the side of a cake than onto the top of it. It takes practice and requires the right consistency of chocolate. If the chocolate is too thin, it may be thickened by seizing it just slightly. To seize it, mix in a drop or two of water or sugar syrup. If the melted chocolate is too thick to begin with, it can be thinned by mixing in a little vegetable oil. Every kind of chocolate is different so this should be done by feel.
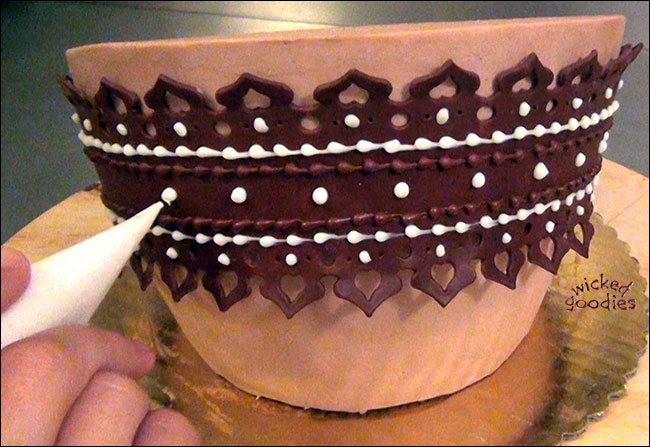
To pipe pearl dots vertically onto the side of a cake using melted chocolate, pump the bag once then encircle each dot with a spiral motion. That will help prevent tails from forming.
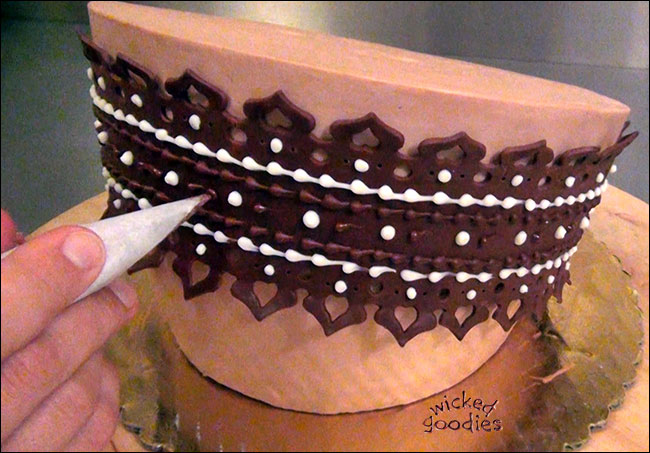
To pipe stitches out of melted chocolate, begin by adding one side of the stitch all the way around the cake. Finish by adding the other side of the stitch, angling the bag differently this time around.
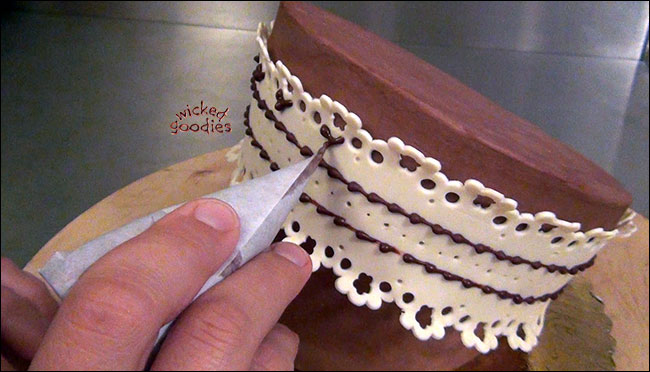
The trick to piping with melted chocolate is to make patterns that are easy to pump out. You will get the most consistent results if you use the same motions of the wrist every time.
Scroll down for links to more tutorials related to this cake design.
Related Tutorials
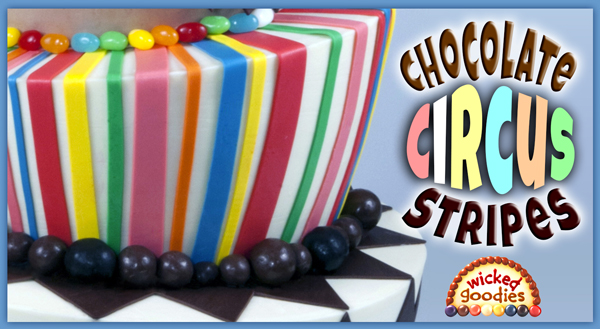
VIDEO: Modeling Chocolate Circus Stripes
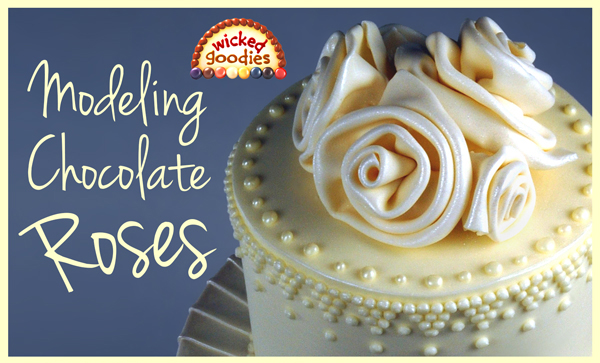
VIDEO: Easy Modeling Chocolate Roses
VIDEO: Modeling Chocolate Skulls
 Modeling Chocolate Tutorials
 PIN IT


I love this. I wanted to know if the chocolate was chilled prior to using the cutter. I’m going to make this cake for my daughters 40th birthday next week.
Thank you for such a great tutorial. I love the way you work & clearly describe the steps. Making things look to simple & motivating to try it out. Be blessed. Greetings from Switzerland
Super rad svaka pohvala.