VIDEO: Paper Template Making – Gingerbread House Series
Designing a Custom Gingerbread House
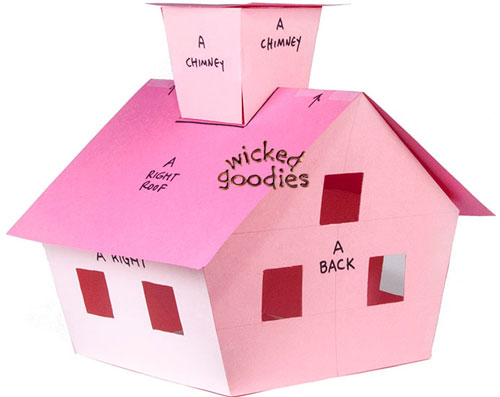
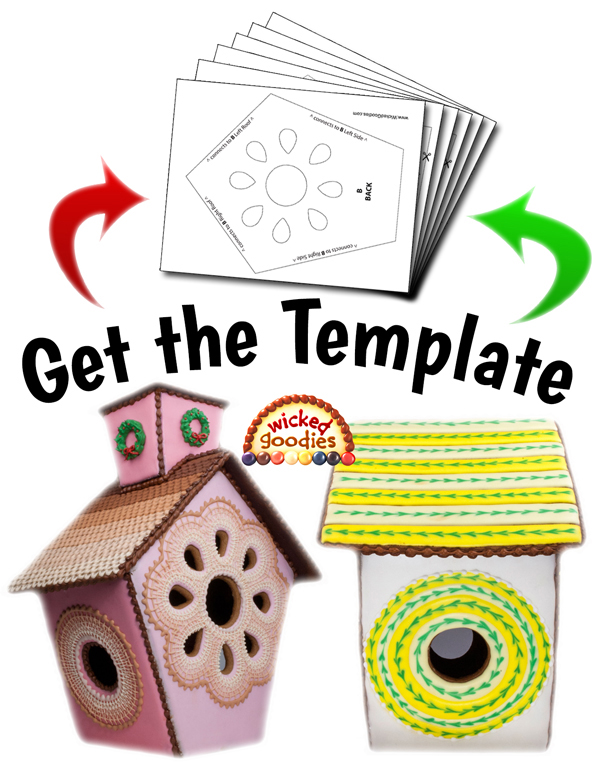
Whenever I build a custom gingerbread house, the first thing I do is make a sketch and template of the intended design. Tiny houses may be erected out of construction paper like the following template, which can be found here: Gingerbread House Dough Recipe & Baking Instructions.
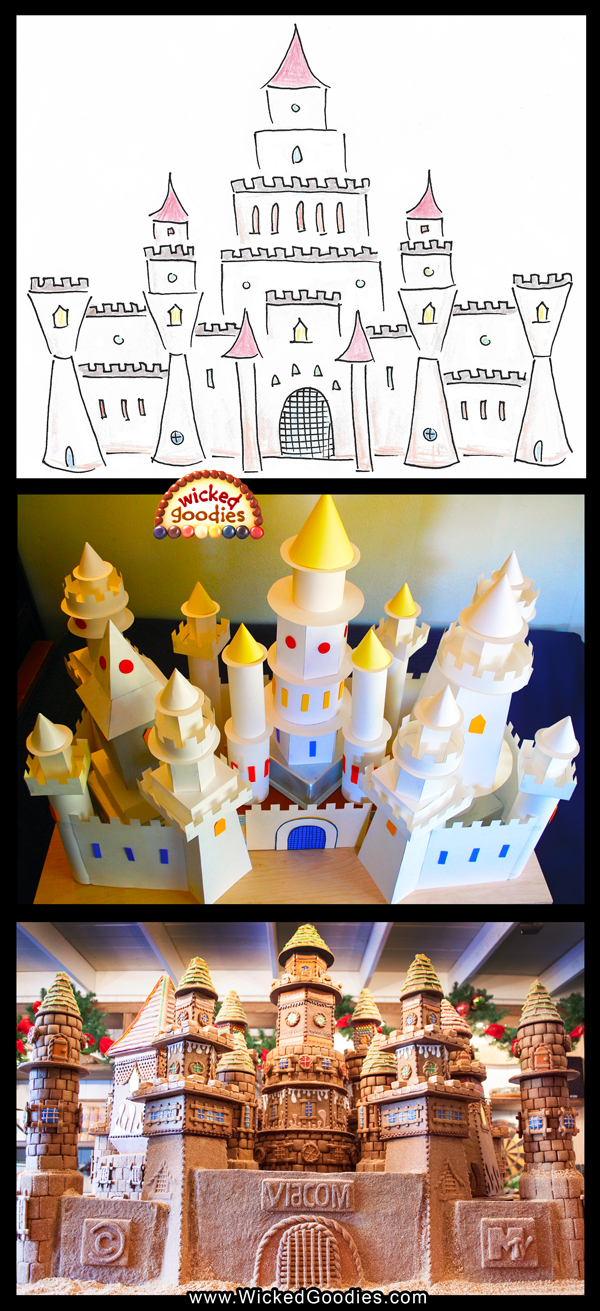
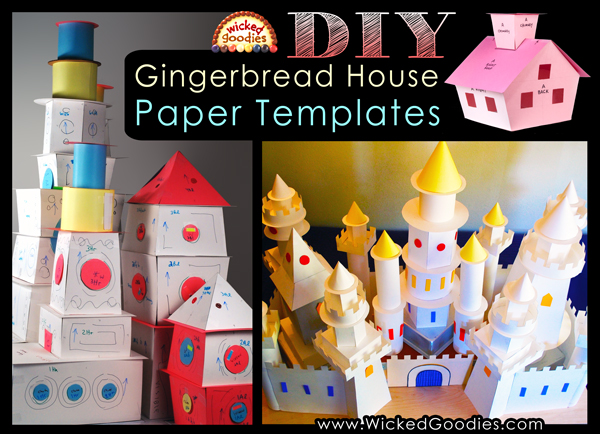
Larger projects require the use of thicker material like poster board as seen in the following example of the Giant Gingerbread Cookie Castle.
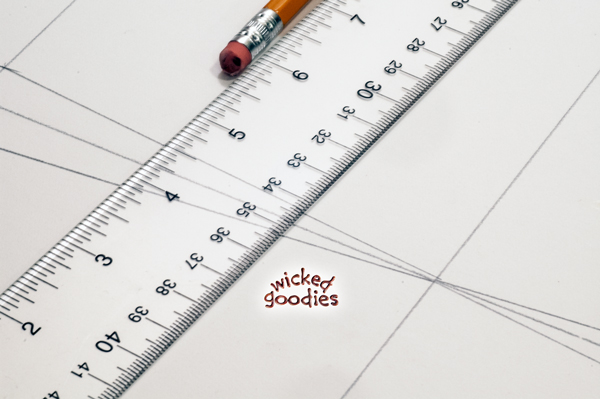
It’s important to be precise and true with measurements when making gingerbread house templates so that the actual cookie parts fit together flush. Tape the finished pieces together to see if the structure is stable in paper form. If it’s not, it probably won’t be stable in cookie form either.
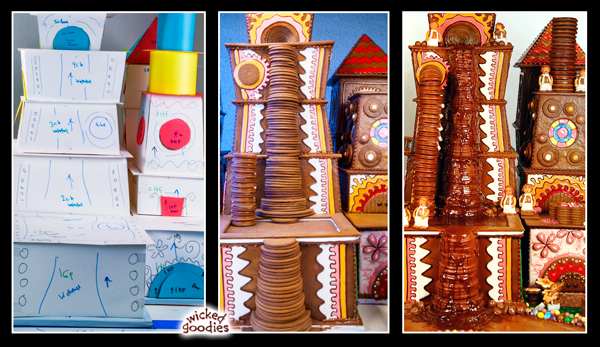
Here is a peek at the template for the Gingerbread Cookie and Icing Waterfall
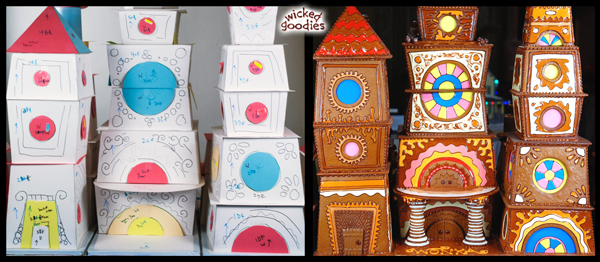
Here is a peek at the template for the front of the Giant Candy Factory Gingerbread House
Here is a peek at the template for the Cookie Chutes and Tunnels
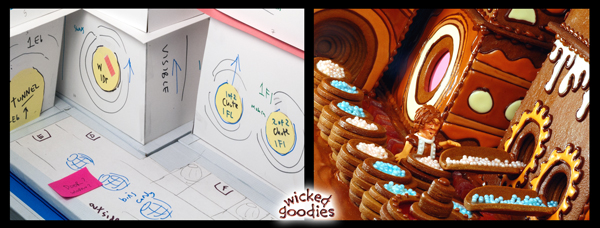
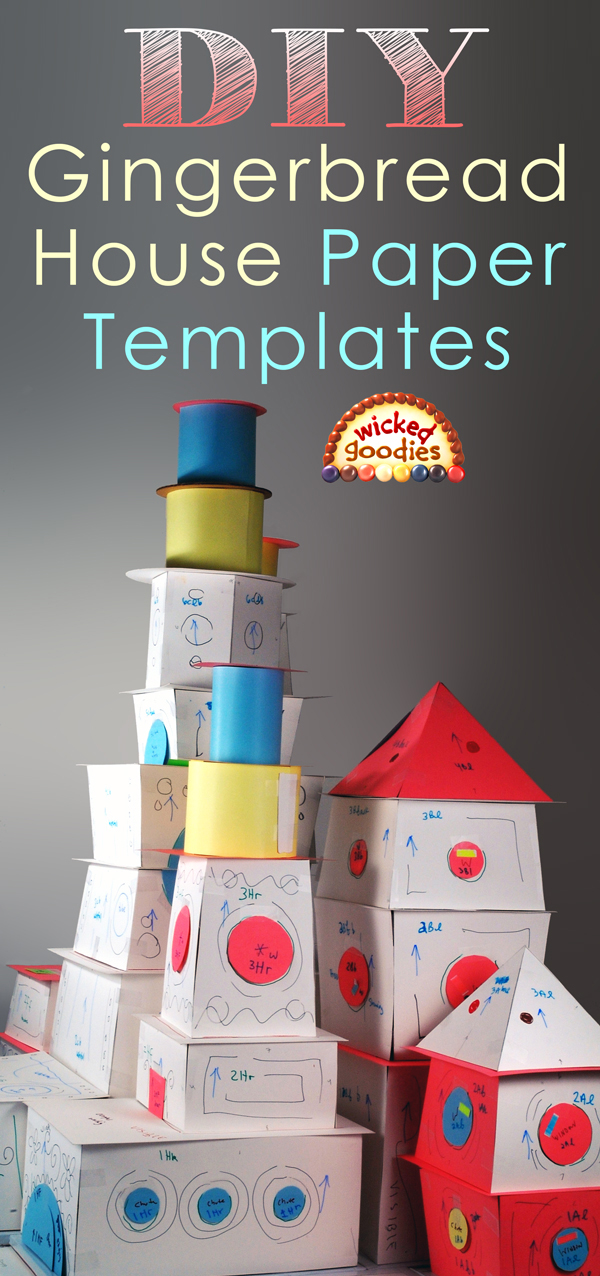
I’ve found that it helps to make notes about colors or design ideas that you want to remember. Draw where various parts of the structure, such as chimneys or doors, are intended to go. Sketch UP arrows onto the templates so that you don’t accidentally decorate a wall upside down.
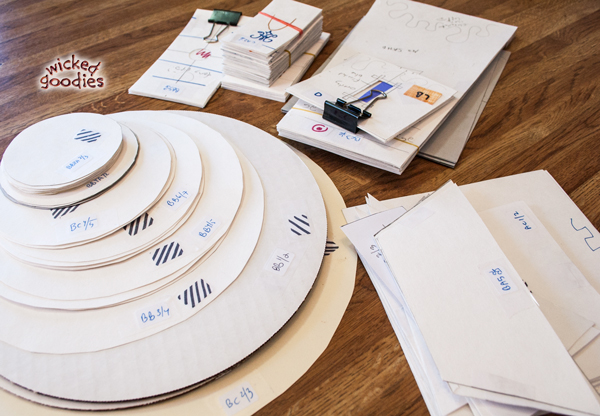
Gingerbread House Coding System
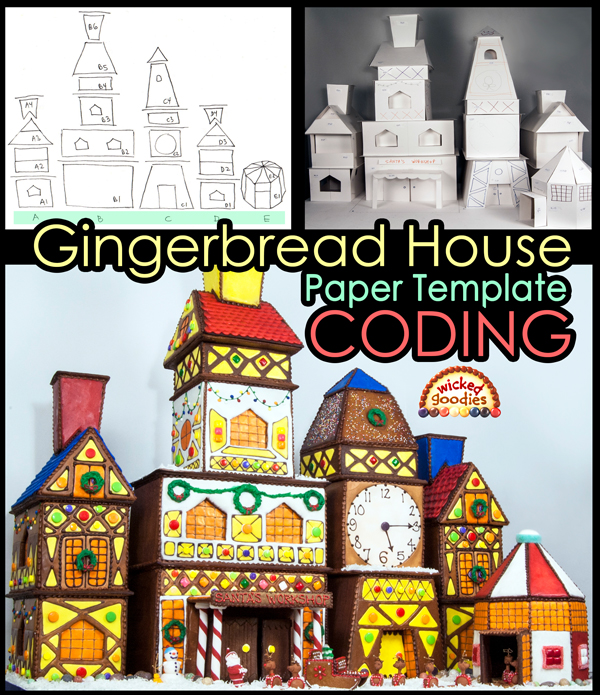
I have developed a coding system for keeping track of all the pieces in a gingerbread house, no matter what size the structure.
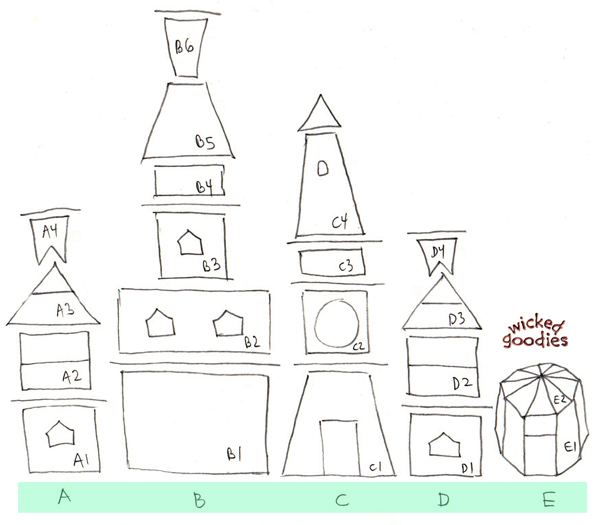
I label each piece using the following 3-digit coding system: each stack is first identified by a letter, A-E. That letter becomes the first digit in each piece’s code. The second digit represents the floor number so in stack A for instance there is A1 (first floor) A2 (second floor) A3 (roof/attic) and A4 (chimney). The third digit indicates the orientation: F for front-facing, B for back-facing, L or left, or R for right side piece. The floor/ceiling pieces are coded with slashes that represent the levels they are between so for instance, the roof of A1 (also the floor of A2) is coded A1/2 and the roof of A2 (also the floor of A3) is coded A2/3.
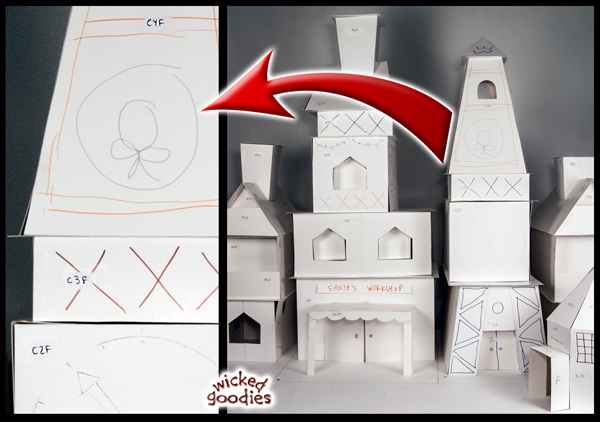
Here is an example in which the piece is coded C4F because it is in the C stack on the 4th floor and is a Front-facing piece.
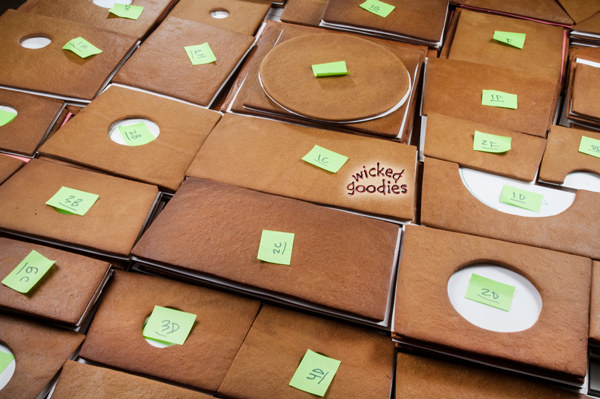
It’s vital to maintain a system like this for large gingerbread house projects or things can get rather confusing.
Free Printable Gingerbread Cookie Templates
Gingerbread Cookie Car Template

Gingerbread Choo Choo Train Template

Gingerbread House Template with Vestibule

Gingerbread House Template with Chimney
The following kit includes a video tutorial on this topic
Gingerbread House Dough Recipe & Baking Instructions
Next: Cross Stitched Gingerbread House with Free Template

You might also enjoy
Gingerbread House Candy Ideas

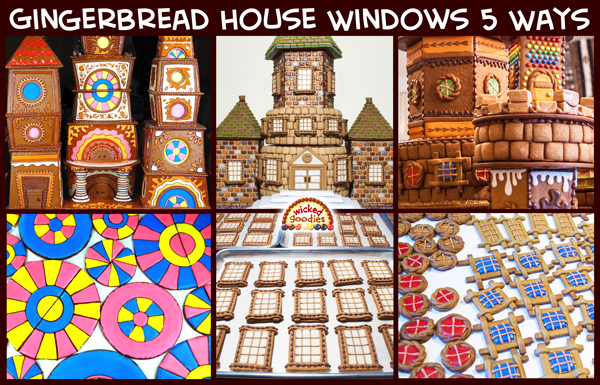
Gingerbread House Windows 5 Ways
Gingerbread House Decoration & Construction
30 Gingerbread House Ideas
Click on any number below to open its article


I taught middle school children for many years and we had to offer a mini class the last 30 minute of each day which kids signed up for. I offered multiple gingerbread house classes, every year, before the Christmas holidays. Needless to say, each class was packed, with boys and girls who wanted to make their own gingerbread house. Since we had limited amount of time, I made the dough at home the night before. Next day, I gave each kid a copy of templates I had made, and enough dough, and they rolled out the dough, cut and labeled their pieces with their name. The wonderful lunch ladies let us use their huge trays and baked them for us that evening. The next few days, kids got creative assembling, and designing their house to take home. It was wonderful to see how creative they got with making people, animals, and shrubbery. Of course, my aid and I stayed long hours to clean the classroom and get rid of all the frosting, dough, and candy, for my next day of teaching. But watching their faces and how proud of their gingerbread houses they were, made it all worth the extra hours and the hard work we put in.