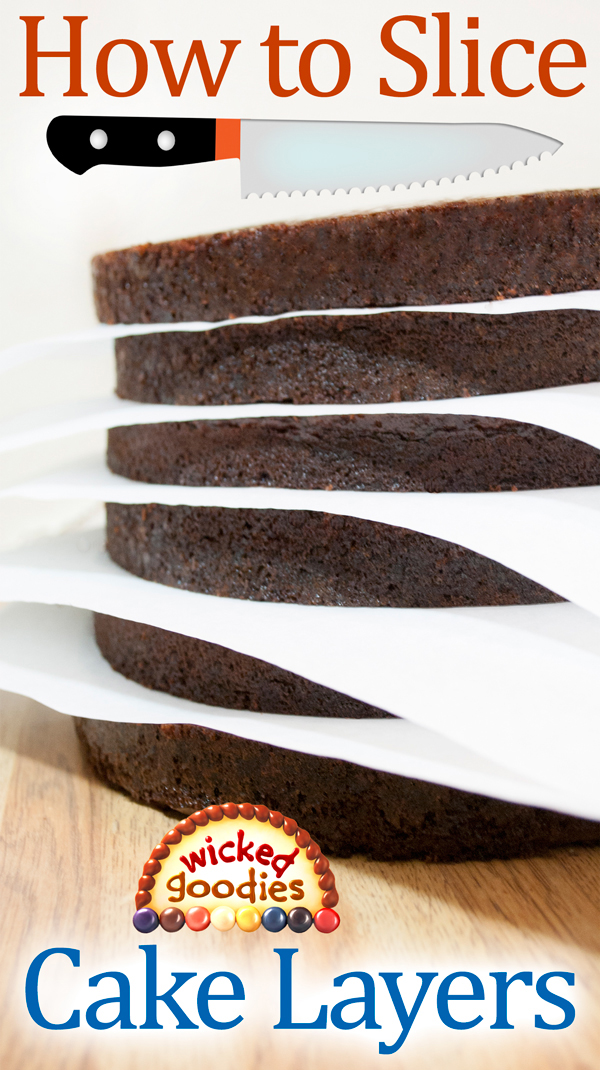
I often see bakers slicing cake layers by sawing with the knife. However the back-and-forth motion is more likely to result in jagged, uneven layers. There are a countless number of awkward gadgets on the market designed to assist the sawing of cake. It’s a lousy money-making scam since the truth is, all that’s needed to achieve flat, even layers is a long serrated knife, a frosting turntable (commission earned), and a different approach.
VIDEO: How to Slice Cake Layers
With this method, DON’T SAW but instead PUSH a serrated knife steadily sideways through a cake while turning the cake continuously on a wheel (commission earned). This way, the friction of the turning cake against the teeth of the knife drives the cut. The cut radiates inward, first encircling the cake then spiraling toward center. As long as the knife is held steady, this method yields nice clean slices.
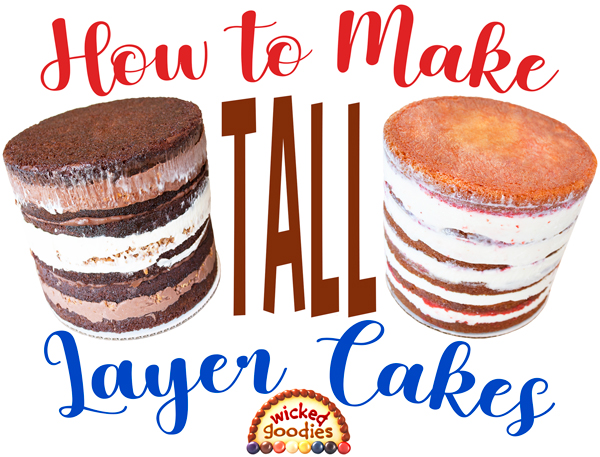
My cakes, before slicing and filling, are 3-4” high because I bake them in deep cake pans that double as molds for cake filling. Read my tutorial on how to fill cakes for more on that topic.
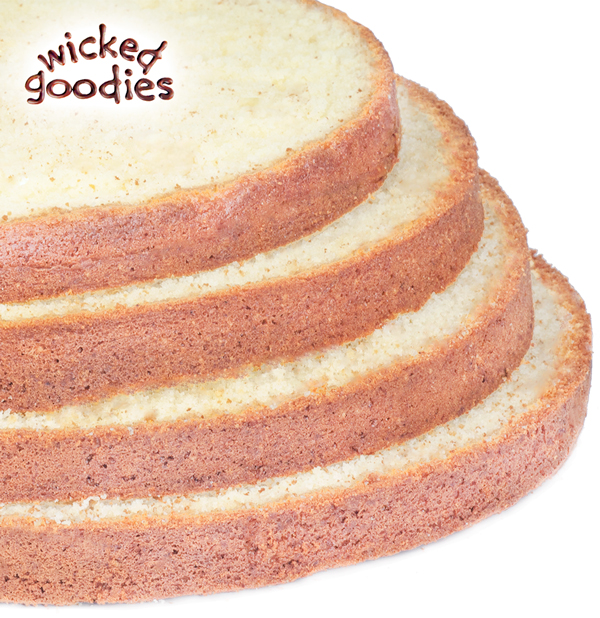
When you slice cake layers, it’s preferable to work with room temperature cake. I don’t recommend slicing a cake while it’s still hot from the oven. I also don’t recommend slicing a cake just after it has cooled. The surface tends to be a little crusty then, which makes it more challenging to cut.
I get the best results from sealing the cooled cake in plastic wrap then letting it sit at room temperature for three or more hours. During that time, the moisture inside the cake migrates to the surface, softening it. Once the moisture has balanced itself out, then the cake is easiest to slice.
Step-by-Step Instructions
Step #1 Trace the Cut
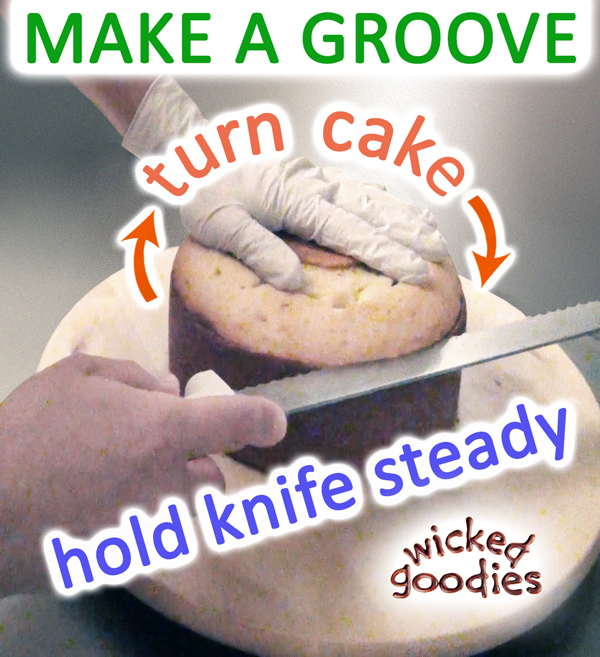
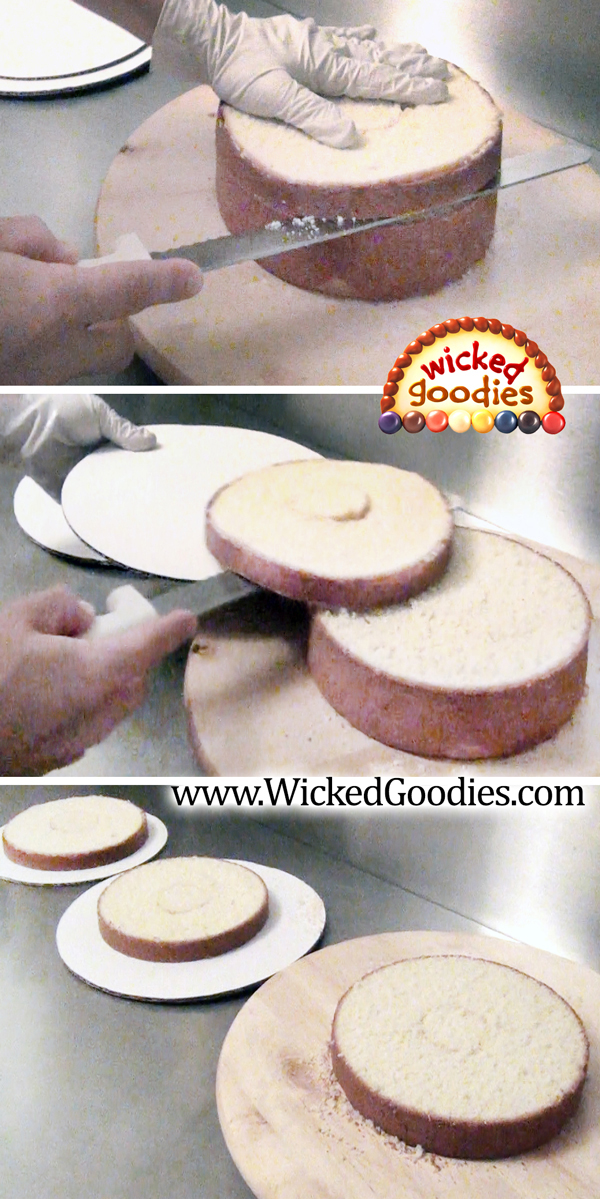
Place the cake on a turntable. With one hand, position the knife blade at the top edge of the cake (the base of the dome). With the other hand, grip the top of the cake and spin it on the wheel so that the teeth of the knife cut just through the surface of the cake (no deeper). The idea is to trace the intended cut by carving a groove all the way around the side of the cake. That groove will help guide the knife in the next step.
Step #2 Make the Cut
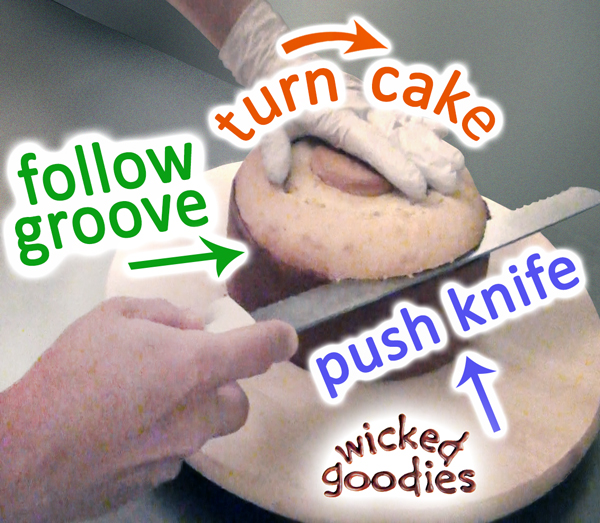
Continue turning the cake while gently pushing the knife towards center, following the line of the groove. Since cake is soft, the blade should move through it with ease for as long as the cake remains in motion. Once the blade reaches center, there is a feeling of release as the cut is complete. Use the knife like a spatula at this point to remove the cake top.
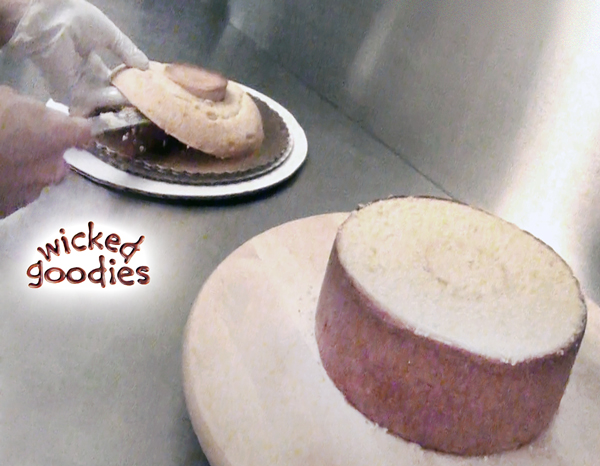
Now you have a cake top. Follow this link to read my tutorial on what to do with leftover cake tops.
Step #3 Repeat
Repeat these steps with all the remaining layers.
How to Handle Large Cake Layers
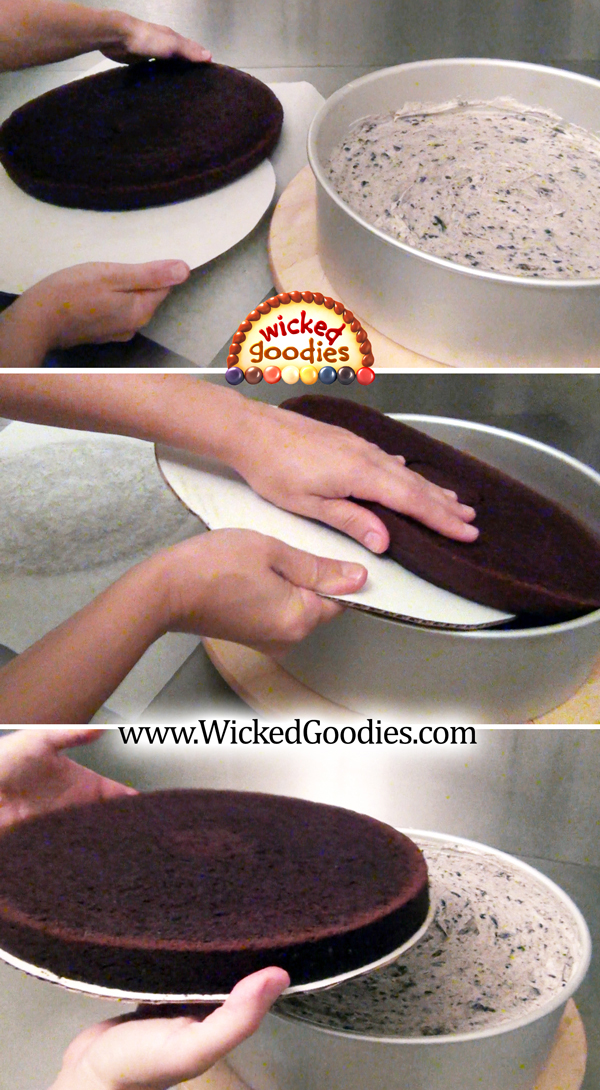
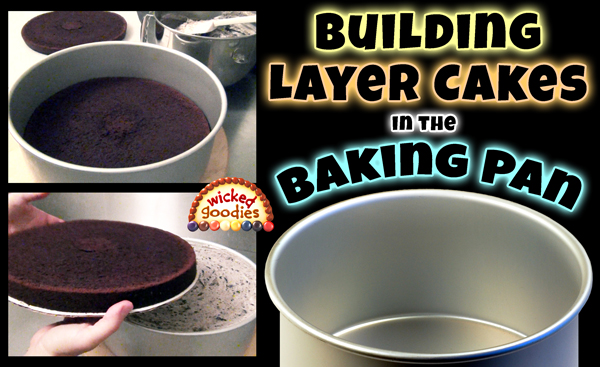
To maneuver large or thin cake layers without breaking them in your hands, slide them onto cardboard circles or any kind of flat base of equal or greater size. In the example below, I’m using cardboard to lift and place 12″ diameter chocolate cake slices into the pan. Follow this link to learn about my technique for how to fill layer cakes in the baking pan.
How to Store Cake Layers
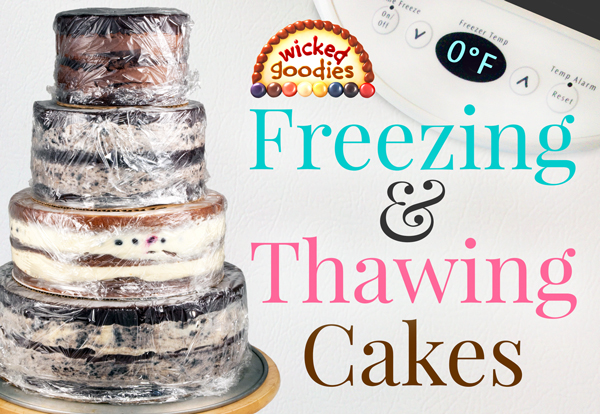
To store or freeze pre-sliced cake layers, layer them between pieces of parchment paper and seal them well.
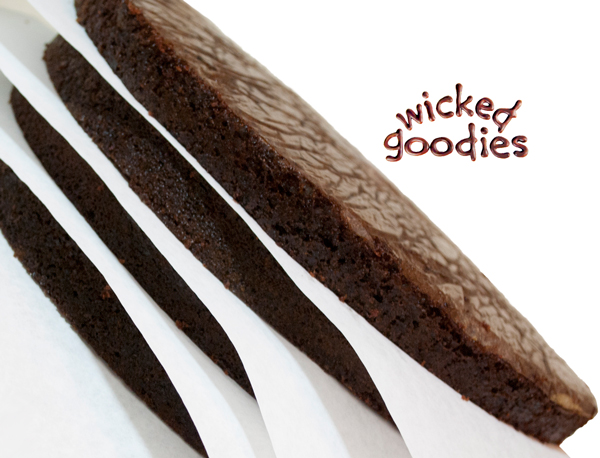
Later, when it comes time to assemble the cake, you can work with the frozen slices if that’s more convenient for you. Or you can let them come to room temperature. Frozen slices have the benefit of being easier to maneuver because they’re durable, less prone to cracking apart. However if they are bent, curved or warped, that shape will get incorporated into the cake, which may cause the neighboring layers of filling to be too thick or too thin in some areas. That sort of imbalance has the potential to compromise the structural integrity of the cake. For that reason, I only recommend working with frozen cake layers if they are perfectly flat. If not, do take the time to defrost them.




i followed a fondant icinng recipe 500g icing sugar,1 large egg white , 1 tbl spoon glycerine , so i can not understand why it comes out in a mess ,my cake is like a patchwork quilt , very frustrating
How tie cover a cake in fondant perfectly
hi can you tell me please do i use a normal bread knife to cut cake in layers
Hi there! I’ve been in the baking industry for a number of years, I would like to complement you on your absolutely fantastic site.Your ideas are inspiring and absolutely awesome .Keep up the amazing work.
Thanks Claire! I appreciate the compliment, especially from an industry pro.
In your pictures I see a thing in the center as you hold the cake to slice it. What is that round thing?
For large, deep cakes, I bake with heating core. It leaves a little ring in the center.
I see where you said you don’t post recipes on your website but I have been searching and searching for a good strawberry cake and no one seems to wanna deal with those flavors. Do you ever make strawberry cake flavors upon request and if so do you have a go to recipe that doesn’t use Jell-O or gelatin? Thanks in advance.
Lorie,
Of course there are many ways to do it but this is how I typically incorporate fresh berries into a cake: Strawberries & Cream Cake Filling
Hi may I know the recipe for hard icing,thanks.
I’m so excited to try this! Scouring your website and taking in all the valuable information.
Thank youuuu! 🙂
Pls I want to buy cake bakery pan which one is d best pan for baking
Link: My Cake Pan Recommendations
Can you please write the receipt of this cake?
Thank you for teaching me how to cut my layer th cake it was so difficult for me god bless you
I have a half sheet cake that I would like to cut to make two layers so that I can fill it. This is an intimidating task. Any pointers fir large rectangular cakes? PS- I love your e-book and was so happy I purchased it. I will be trying out your smooth buttercream method on this cake.
Amanda,
For slicing a half sheet cake into layers, I recommend using this same technique demonstrated above. With square cakes, the impulse is always to saw but this method tends to yield better results no matter what the shape/size of the cake.
With a half sheet sized cake, it’s important to slide a large piece of cardboard under the layers when you maneuver them around. Don’t attempt to pick them up with your hands.
I’m so glad to hear you grabbed a copy of the buttercream book! Once you’ve had a chance to experiment, I would love to hear your feedback and see photos of your results! Your fellow readers will also appreciate your input so I encourage you to please post about your adventures on the buttercream book page. It would be so awesome to see what you come up with! Happy frosting!
hablo en español y no entiendo nada
I’ve only just found your site.
You are Frickin Fantastic.
Thank you so much for all your posts, they are incredibly helpful.
Cheers
Thank you for sharing your gratitude and welcome to this site! It’s awesome comments like these that keep me going.
How tie cover a cake in fondant perfectly
how did you cut the areola..
Are you sure that’s the word you meant to use? Definition of areola
Lol
Wow! There is so much good and practical information on this site that I don’t know what to read first. So glad that I found this!
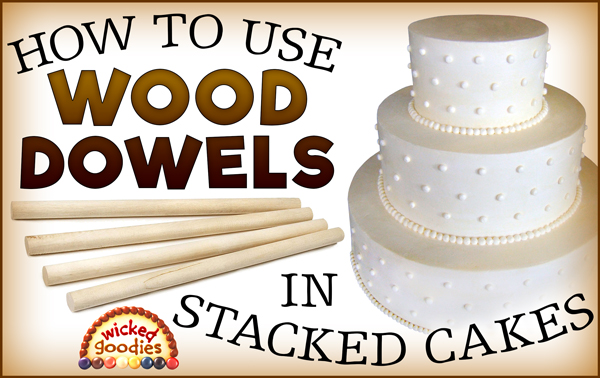
I love your helpful informationon you site..ive tried fondant and not satisfyed with quality of marshmallow fondant or taste of regular fondant.so im giving modeling choc Im hoping it was sent from the cake decorating gods. I am puchasing your ebook..yahh and hopefully gonna hit spot on with your all butter icing. But the last concern I have is my cake recipes im not finding many I can use that will hold up to carving, decorating, and sometimes even stacking, and I use uour method also withe the wooden dowels and boards,, I was wondering if you had a go to place to find cake recipes. Any help at all there would be greatly appreciated,, I have a great choc that stands the test,, its basically yellow I have my issues with,,, thanks in advace sorry I pry your knowledge lol
Hi Erica, Pound cake makes a great sponge for carved cakes and stacked cakes. It’s sturdy enough to bake in any shape and it stands up quite well.
Your website is filled with GREAT tips. thank goodness for people like you willing to share. Question: Do you offer your cake recipies anywhere? I would like to have recipies that will allow my cakes to bake super tall in the pan such as yours. I do use 3″ pans, but my recipies dont allow for enough batter to get my cakes to rise so tall.
B. Also do you know the best way to convert the recipes to allow for differnt pan sizes?? I have scoured the internet and this issue has not been addressed as far as I can tell. A future tutorial suggestion for you? You would get hundreds of hits…like I said, this has not been addressed yet in the interwebs. Thanks again….Nadine
Nadine, I’m more accustomed to doing those types of computations by hand with the help of this cooking volume converter. I haven’t tried it before but there is this cake app called the CakeOmeter, which scales the entire recipe for you.
I don’t have any cake recipes up on this website but I can tell you that I get decent results using pound cake. The recipe that I use for is straight out of The Cake Bible. It’s a very sturdy type of cake so it can be baked at higher heights. That’s what I used in the video in this tutorial. Baking big cakes like that can lead to dryness however so my trick to combating that is to soak each cake layer with simple syrup during assembly. Also, it’s important to make sure your baking powder is fresh as that will help with the rise.
I have seen many people that suggest using the cone, exactly how do you use it without leaving a hole in your cake, I noticed your have cake where the cone would have been but have noticed a circle shape in center of cake.what do you do?
Thank you
Dee Terra
You put some batter into the cone as well and then once the cake is cool, you pop out that cone of cake and plug it into the hole. It’s pretty neat how well it works. Then you can see a circle of cake when you slice horizontally to make layers but that gets hidden once the whole cake is assembled. Just remember to grease and flour the cone thoroughly before using it.
i love ur work but am in africa. So how do we do dis.
How do we do what exactly? I’m not sure what you mean 🙂
i love ur work very much and i went to be lyk u ……but am in ghana africa.so how do we do dis pls
Rita, do they not have baking cones in Africa? Try looking online as there are several companies that make them.
When you cut layer like that use a CUT PROOF GLOVE, been layering cake for over 35 years in large Hotels & Casinos and seen many hands cut from not wearing a CUT PROOF GLOVE. Being a Exec.Pastry Chef if the cooks did not wear the glove they was written up.
Hey Wayne, that’s a great tip!
what she means is hey wayne your an asshole LOL!