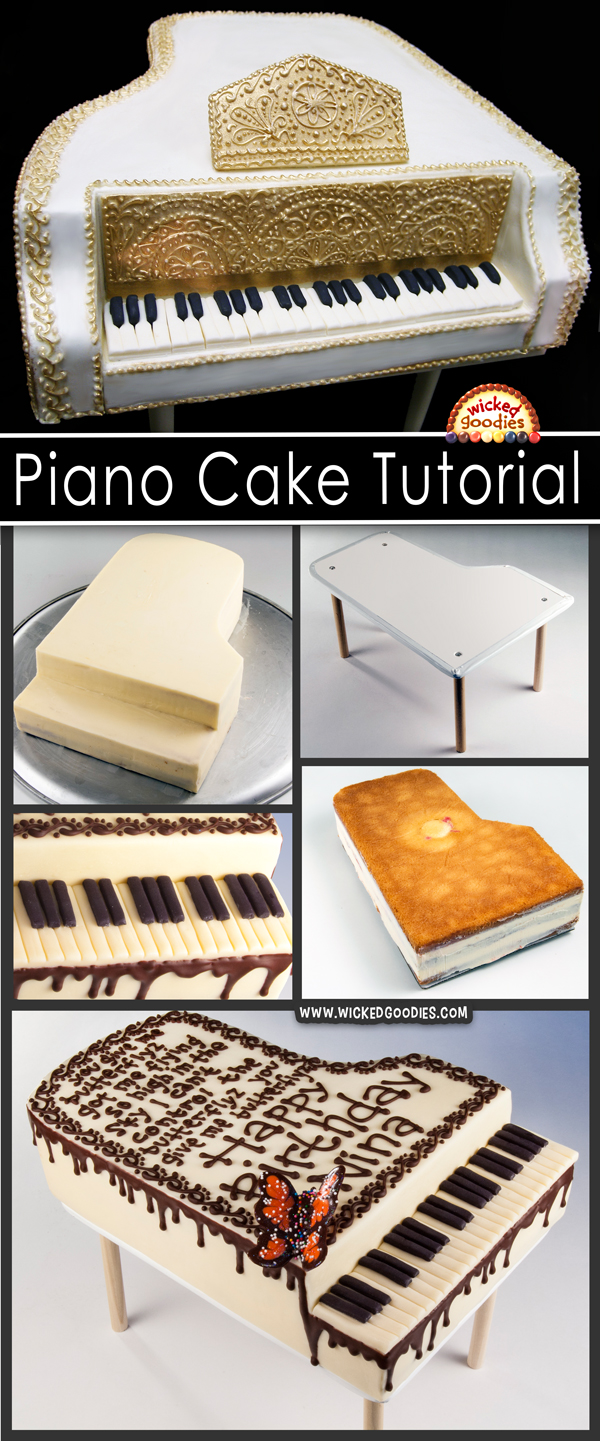
The technique for making the chocolate monarch butterfly is in the book, Hello, Cupcake!
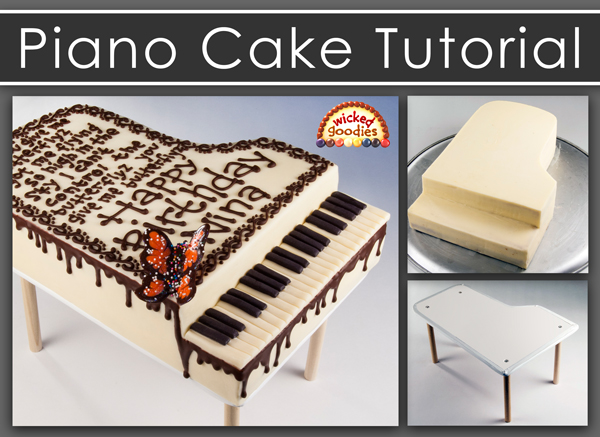
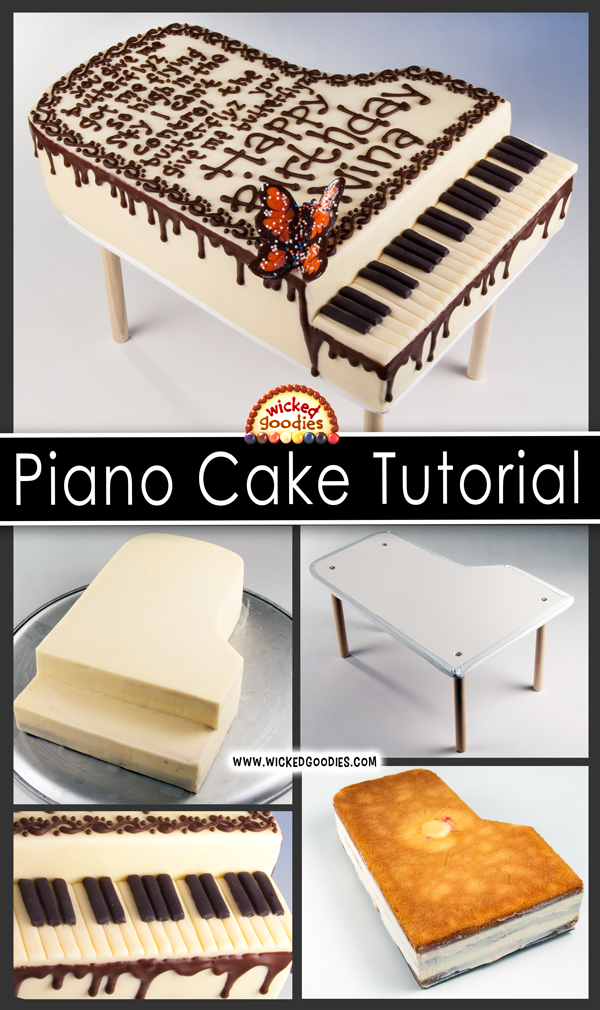
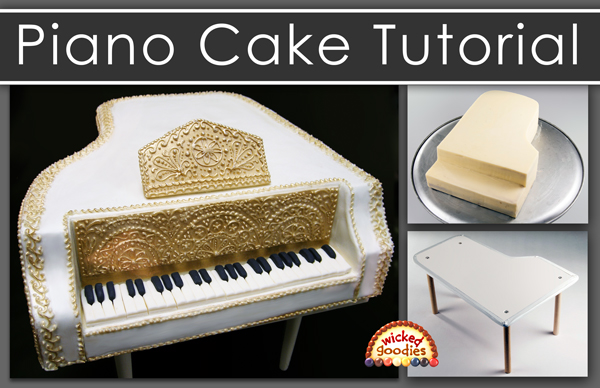
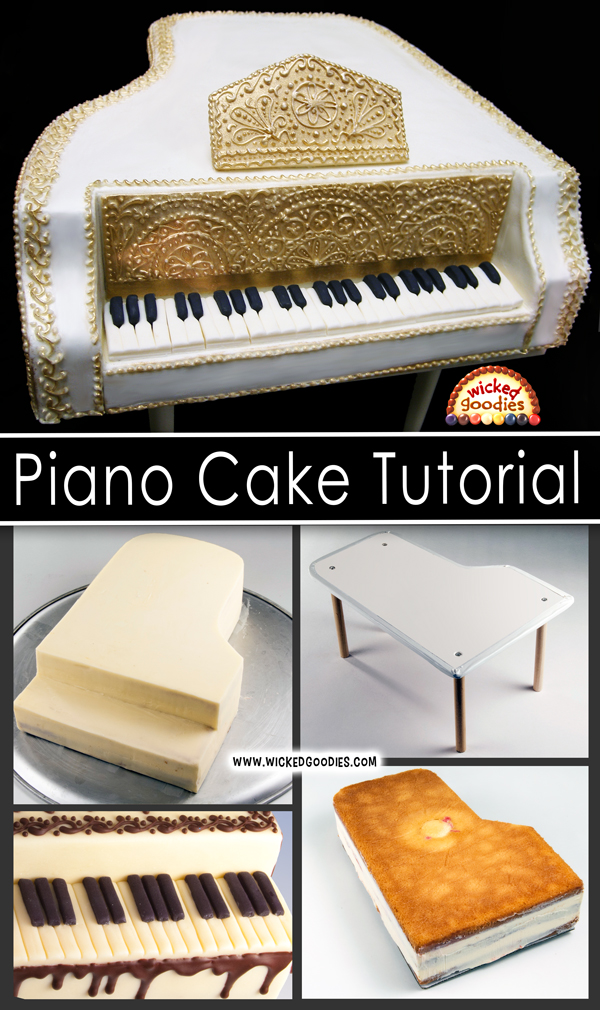
This 3D piano cake design involves minimal carving. The cake presentation involves a raised stand that is simple to build out of cardboard, dowels, tape and screws. It helps the cake look like a real piano.
Baking and Carving the Piano Cake
Begin with a quarter sheet cake that is 4” deep. I baked and assembled this particular cake in a 3″ deep Fat Daddio’s quarter sheet pan using this professional layer cake filling method. Note how square and neat the cake came out using that technique.
Items Needed
• Quarter sheet cake, 4” high, frozen or chilled
• 3 quarter sheet cake boards
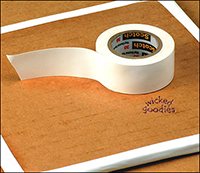
• White electrical tape, 3/4″ wide (19 mm)
• Offset serrated knife
• Smooth buttercream to frost
• Small offset spatula
• Bench scraper
• 4 wooden dowels, 1/2″ diameter (13 mm)
• Four 1.5” long flat head wood screws
• Drill with narrow drill bit
• White and black modeling chocolate
• Piping cone full of melted chocolate (optional)
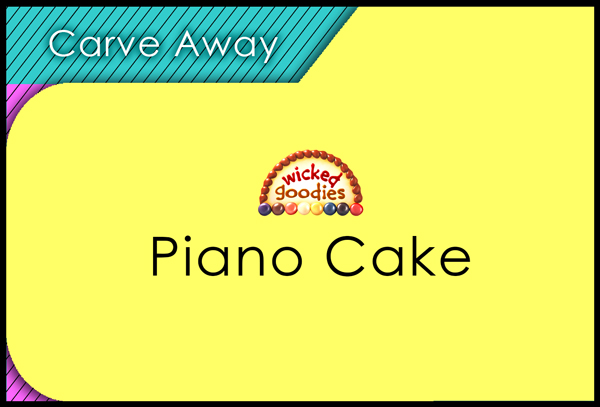
This piano cake template has the same proportions as a quarter sheet cake. The yellow portion represents the intended shape of the cake whereas the blue & pink portions get cut away.
1. Trim (I use a box cutter plus scissors for this but a serrated knife will do) all three quarter sheet cake boards into the shape of the above yellow piano base template. Make sure they are identical. Set two of the templates aside for later.
2. Using the third cardboard base template as a guide, carve the blue and red sections of the quarter sheet cake away. Use a bench scraper to make the clean vertical cuts required to remove the blue section. Use an offset serrated knife to carve off the rounded pink sections.
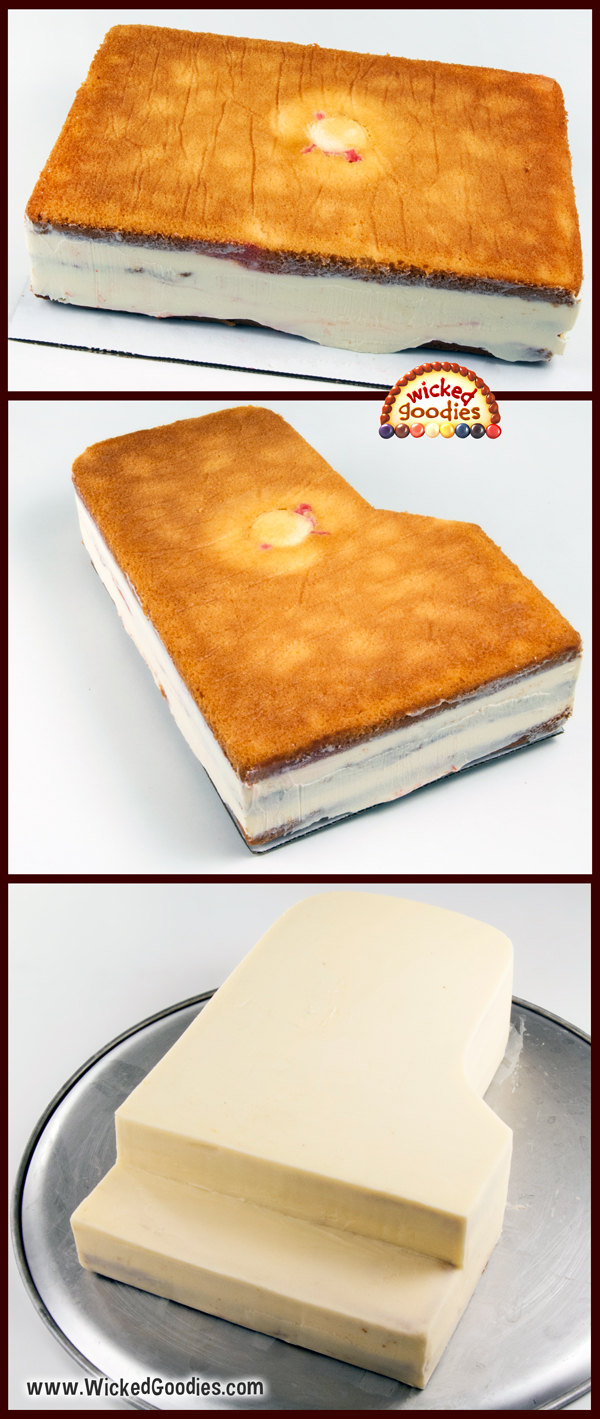
3. Set the cake atop the same cardboard base template that was used as a guide. That cardboard will now serve as the cake’s working platform.
4. Carve away a shelf for a keyboard.
5. Crumb coat the cake with smooth buttercream then chill it. I like to work on top of an inverted pizza pan at this stage, applying buttercream with a small offset spatula then smoothing and shaping it with the blade of a bench scraper.
6. Finish coating the cake then chill it.
This piano cake serves approximately 20 people
I use this recipe
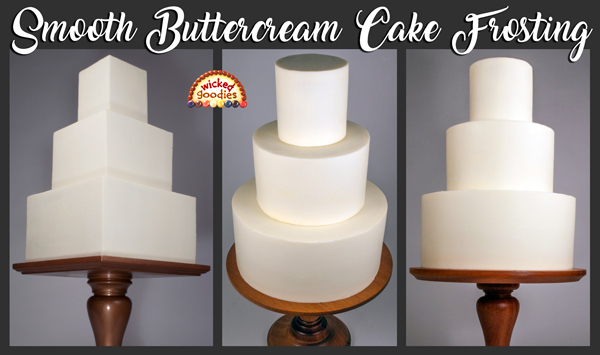
Smooth Buttercream Cake Frosting
DIY Piano Cake Stand
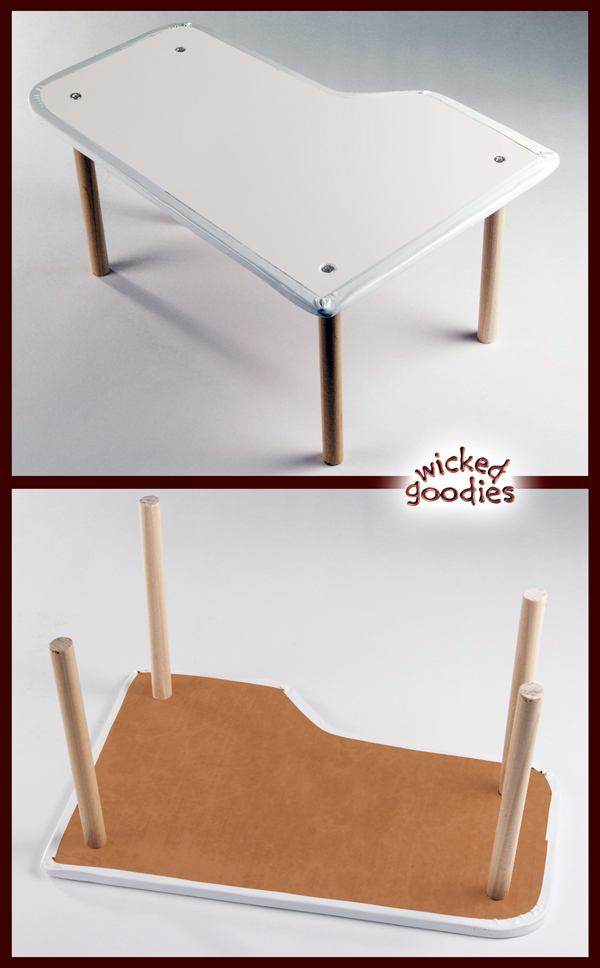
1. To build the stand, first sandwich together the two remaining template pieces and reinforce the edges with white electrical tape.
2. Make sure the 5” wooden dowels are all the exact same length. Drill a small 1” hole into the end of each dowel.
3. Screw the dowel legs through the base of the stand no less than 1” from each corner.
4. Test the stability of the cake on the stand before proceeding. It might be a little wobbly but the stand, if constructed well, should hold. The platform of heavier cakes (half sheet size or larger) should be made from wood, not cardboard.
Decorating the Sculpted Piano Cake

1. Measure the length and depth of the space allotted for the piano keys. Roll out a ¼” thick strip of white modeling chocolate and trim it to that size.
2. Using a flat sculpted implement, press evenly spaced notches into the length of the strip to give the impression of ivory keys. At this stage, I’ve found that not attempting to recreate the actual number of keys (88) onto a piano is both easier and looks better, hence the abbreviated keyboard.
3. Roll out a ¼” strip of black or dark modeling chocolate that is half the width and length of the white keyboard. Cut small strips to create black keys. Arrange them on top of and between the white keys as per a standard piano keyboard (3, space, 2, space, 3, space, 2, space and so on).
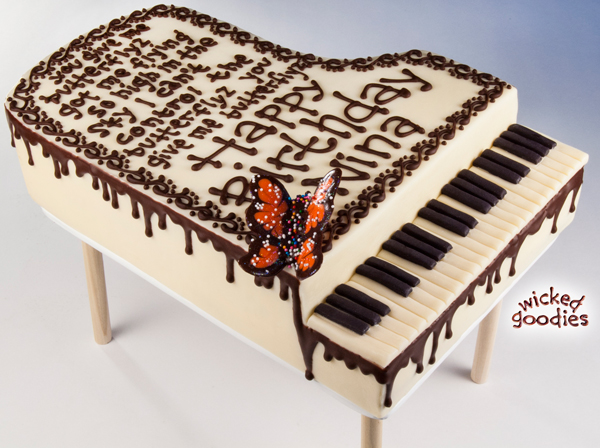
4. Decorate the cake as desired.
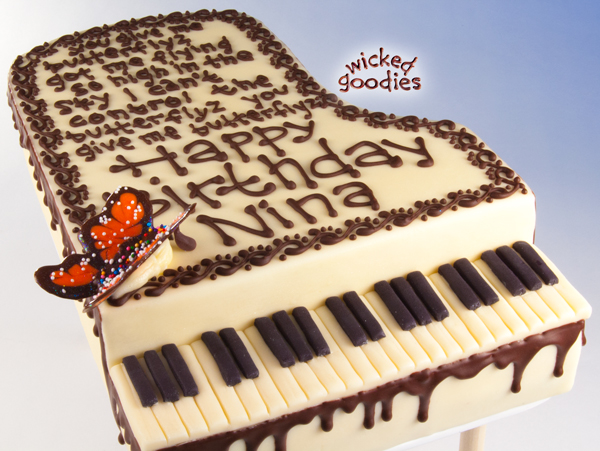
The technique for making a chocolate monarch butterfly in the cake above is from the book, Hello, Cupcake! The lyrics piped onto the top of the cake are from the birthday girl’s favorite Alicia Keys song, Butterflyz. Follow this link to get my chocolate cake-writing tips. Here is a link for how to accomplish the dripping chocolate effect.
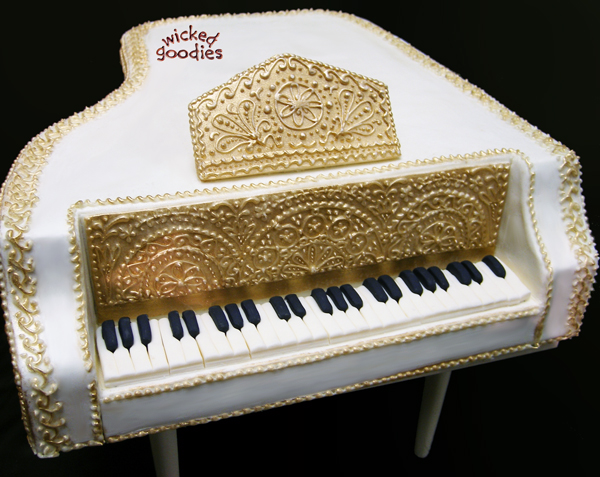
Above is a fancier grand piano cake. This one was served at the wedding of a professional pianist. It was a half sheet size, had a wood platform, and was a trickier 3D shape due to the arms on either side of the keyboard. It is wrapped and decorated in modeling chocolate.
I use the methods for cake wrapping discussed in this book
Cake Decorating with Modeling Chocolate
I piped the scroll work with white chocolate then gilded it with gold luster dust. Below is a pair of piano cakes made in a simpler design finished with black. One of them was decorated with tiny printed sheet music.
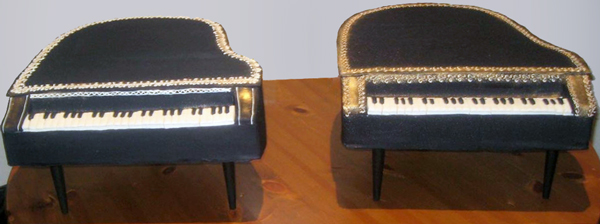
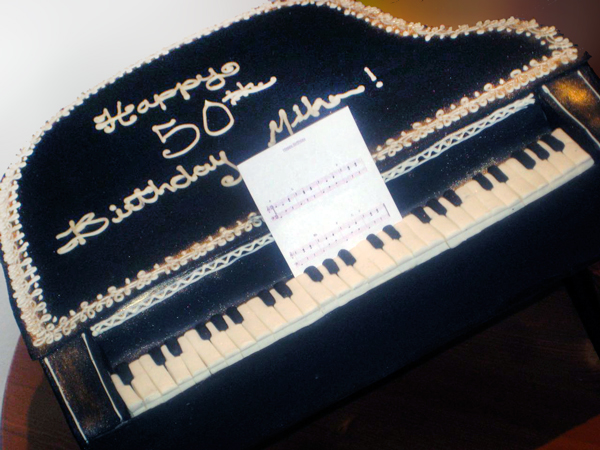 3D Piano Cake made by Rachelle, a reader
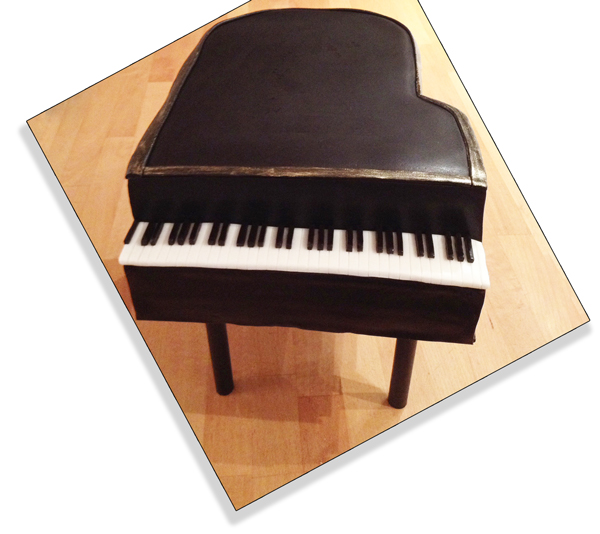
Please share photos of your own piano cake creations below in the comment section!




Hi, I am new to this site and have been looking at all. I am amazed by the simplicity of your techniques and was interested in possibly buying the ebook that includes buttercream recipes and basics. I have also been interested in cake sculpting. Do you have any e-books that teach on basic shape carving for various projects or how one should go about carving to ensure it has the right shape you need to make? Thanks for all you have done! ❤️-Lorie
Hi Lorie,
I have never written a book like the one you describe. However in a number of tutorials, I have covered the topic of carving. Here is a list:
Topsy Turvy Cake
Tapered Cake
Skull Cake
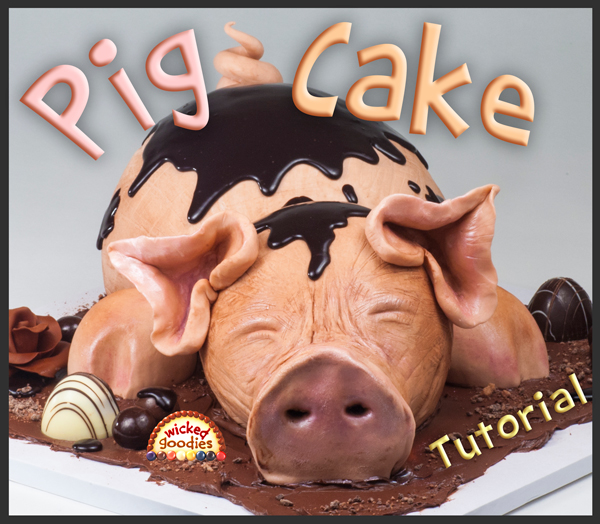
Pig Cake
Koi Fish Cake
Owl Cake
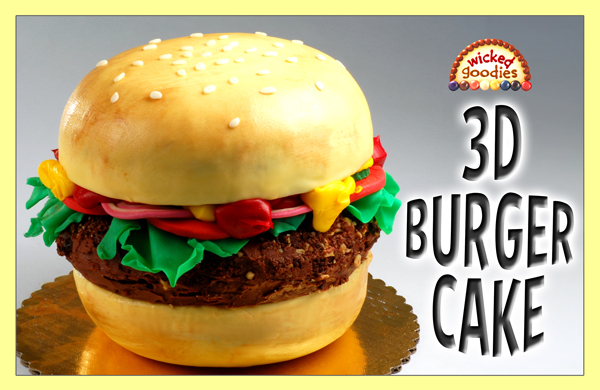
Burger Cake
Motorbike Cake
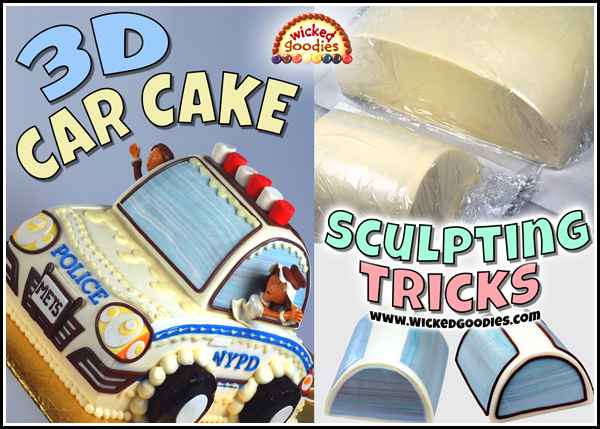
Car Cake
Boat Cake
Ancient Monuments Cake
Cake Construction Tools
Hi Kristen!
My printer won’t take more than A4 size paper. I have a Quarter Sheet cake tine, but can you please tell me how far down the cake do I need to start cutting out to get the shape? (That doesn’t sound very clear to me) – but the end nearest the piano keys is obviously the full width of the cake tin. How far down from the 2 rounded ends furthest away from the piano keys, do I need to start cutting?
I have to make this cake for a birthday on September 29th 2018. With thanks, Lynne
Just wing it. Look at my version…it is totally out of proportion compared to a real piano. The amount of keys is also not correct. But it is obviously a piano. This sort of design only needs to suggest its real-life counterpart. It doesn’t need to be an exact replica.
Thanks for this tutorial. How would I attach the structure to a cardboard/cakerum?
I prefer to use glue dots but at some bakeries where I’ve worked, they used hot glue, masking tape, or electrical tape to secure the cake cardboard to the platter.
Loved this blog! My Aunt and I made this today for my Uncles Birthday. He is AMAZING on the piano. It turned out really well. It was quite big. We made it about 50×35 cms big. We also added a satnding up lid, a music book stand and a pincushion piano stool. We couldnt get access to modelling chocolate so we just used a chocolate slab, with keys carved into it. The black keys were made out of the black fondant.
The cake was BEAUTIFUL and everybody was amazed. Thanks so much for the inspiration
YAY! I’m glad it turned out well 🙂
Here’s another… I had also made a white chocolate sign painted in gold dust to pipe on the wording I wanted instead of writing directly on the cake itself. Incase I messed up!
Smart thinking!
Posting video didn’t work, here’s a pic:)
That looks like a perfect 3D piano cake! Your keys are impeccable. Great work!
Thank you so much for this awesome tutorial. I made this cake for a friends 50th & it was a hit! Turned out wonderful. Here’s a pic of my version…
Rachelle,
Thank you for sharing a photo of your wonderful work! I’m glad this tutorial helped you out. I bet your friend loved your cake. What a nice gift for a 50th birthday!
– Kristen
hi, I’m planning on making this cake very soon & wish to print out the template for the piano shape but can seem to find the print link…. Can u help me? Thx
If you have a PC, you can right click on the photo and that will bring up a menu. Select SAVE IMAGE AS. If you have a mac, hold down the control key while you click on the photo and that will also bring up the same menu. Once you’ve saved the image on your hard drive, you can open it to print.
Ok I’ll try this tip thx! Wasn’t working from my iPad …
Hi there, thanks for your help! I panel wrapped the cake with modeling chocolate. My husband actually made me a stand for the cake out of acrylic that he bought at home depot and cut to the piano shape. My daughter was so excited!
Fantastic job, Sally! Kudos to you and your husband. Thank you so much for sharing the photo 🙂 – Kristen
What did you use for the gold detail? I’m trying to find premixed gold icing…
I piped white chocolate, let it dry, then brushed gold luster duster over it.
Hi Skinnelli, thanks for your comment.Many people still don't use a device lock and when they're offered a tool that means they only need to enter a PIN for their secrets then they are even less likely to lock the handset as they mistakenly trust that their secrets are protected. Ideally I'd like to see full device encryption and device lock enabled by default, or that people stop putting sensitive material on insecure devices. Ideally I'd also like to win the lottery but we have to make the best what we've got 🙂
Ok so to get this straight..is this a layered cake? And if so, does it have to be? And basically for the piano part of the cake, you just bake the cake, let it freeze, take it out of the pan, shape it, then icing it?
And for the stand part: I’m sorry but could you be more specific? I’m very confused! It looks like it’s not difficult to make but, I still need clearer directions. Plz help??
That was a layered cake, yes. No, it doesn’t have to be layered.
If you are still confused after reading the directions, then you might want to try something easier like a square cake with keyboard decorations going around the sides or a piano-shaped cake minus the legs.
Hi sorry if this sounds silly, but does a quarter sheet cake mean. Also what is the ingredients quantities for plain sponge cake.
Jackie
A quarter sheet cake is a 9″ x 13″ rectangle. I’m sure you can find a recipe for that using a quick Google search.
thanks so much for this fabulous tutorial. I’ve been asked to make a piano cake, and was wondering if you have any tips on transporting this guy to it’s new home. I don’t own a minivan and usually put my cakes in the trunk or hatchback. Thanks!
For this cake, I would wait to add the stand until you reach your destination. A nice clean empty trunk of a car works great for transporting a cake if you can put the backseat down to ventilate because that keeps the sun out but allows AC in. I use something called contact grip liner that is normally for lining shelves to put under the cake to help it from sliding around. That works quite well. And I give the cake at least 5 hours in the fridge before leaving so that it is well-chilled for the ride.
Thanks!
So glad to have come across your pages! I love that you have made your knowledge available to the world free of charge!!!
I have made several cakes in the past without knowing this filling method and am flabbergasted at how awesome that method seems to work! I can’t wait to try this the next time I make a cake.. although I think I’d decrease the thickness of filling between to the cake layers..
Love the piano cake as well. I may make a cake similar to this for a 90th birthday in the near future.
I know I’ll be back to check out all of your awesome tricks of the trade.
Thank you so much!!
You are very welcome! 🙂
Is there a reason you freeze the cake. Also for the piano cake (the one with the arms), did you cut a shelf and then add the arms. How did you do it. Thanks
It’s easier to make carved cake shapes like this when they are very cold, like semi-frozen. It helps the cake hold together. It also makes it easier to frost the contours and angles smoothly, because frosting firms up when cold.
To make the piano version with the arms, I first carve out the shape based on the template then cut away just a portion for the keyboard, leaving two arms on each end. To cut directly into the cake without going through the sides, I use the blade of a bench scraper or spackling knife and push it through the cake. It’s important that the cake is quite cold when doing this and that you avoid cutting sideways through a layer of filling.
Hi there, I have just been asked by a friend to make a piano cake for her daughter’s 21st. I went searching and found your amazing pages!!! Thank you so much for sharing your knowledge and talent with us all, you are truly generous and I am really grateful. The board is assembled and the cake is in the freezer. Can’t wait to put it all together 🙂
Thanks again!
Alex
Woohoo! Please send a photo when you’re done. I would love to see it.
how can make to buy and order? tq
Hi, How long are the piano legs? thank you : )
3-4″ long
потрясающая помощь!!!!!!!
I just ran across your website and I am so amazed! You are so talented and I will be back often! Your tutorials are so easy to understand, and I just have to say thank you for sharing your expertise!!!!
You are very welcome 🙂 Thanks for stopping by. I just visited your page and became your newest fan.
Fantastic! Thanks for sharing!!
This may sound dumb but if the cakes are baked in these deep pans, when does the filling get added? Obviously can’t bake them WITH filling? So bake, cool, depan, torte, freeze, then depan again?
Insite on this would be much appreciated. feel free to email me at talobx@gmail.com
Thank you!
Lisa,
1. Bake the cake in a deep pan and allow it to cool.
2. Depan and slice the cake horizontally to create layers.
3. Build the cake back into the same pan by alternating cake layers with filling.
4. Freeze the filled cake in its pan (all wrapped in plastic).
5. Depan the cake.
This yields a very tidy filled cake ready for frosting.
Here is a video tutorial of it: http://www.wickedgoodies.net/2013/09/how-to-fill-layer-cakes-video/
Es una idea magnífica, bien simple y original!!!!