VIDEO: Easy Bread Dough Recipe
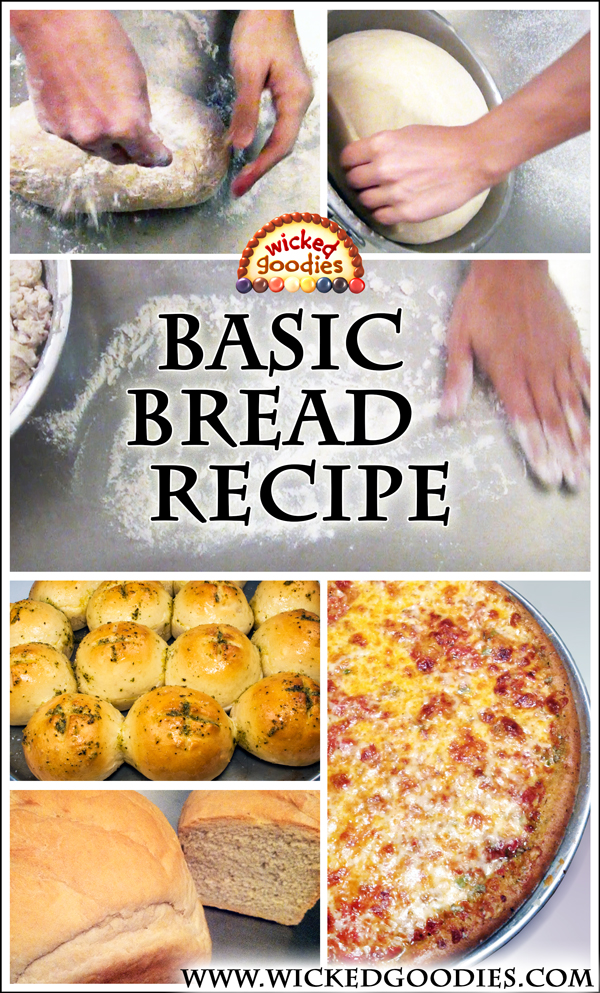
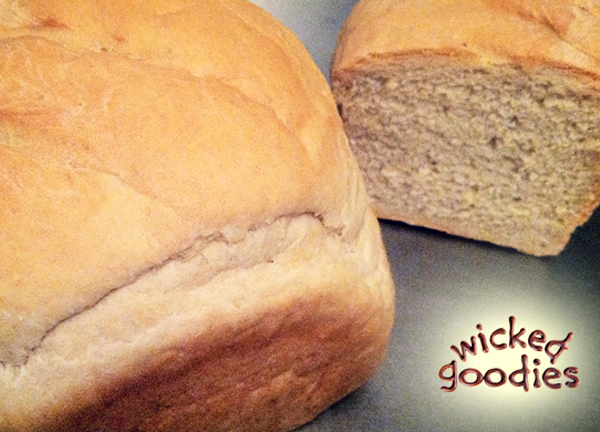
Here is an easy and versatile bread recipe that can be used to make sandwich loaves, cinnamon-sugar-swirled loaves, dinner rolls, free form boules, breadsticks, pizza, and calzones. While experimenting with this formula, I also came up with the idea use it for making dummy cakes for display purposes. It is simple to execute and doesn’t take much prep time. If you have never tried kneading and shaping bread from scratch, why not give this a try?
This recipe can produce bread, pizza or rolls in a 2-3 hours. For a more sophisticated grain and flavor, proof the dough slowly over the course of 24-48 hours in cool place like the refrigerator and allow for an extra rise, punching the dough down half way through.
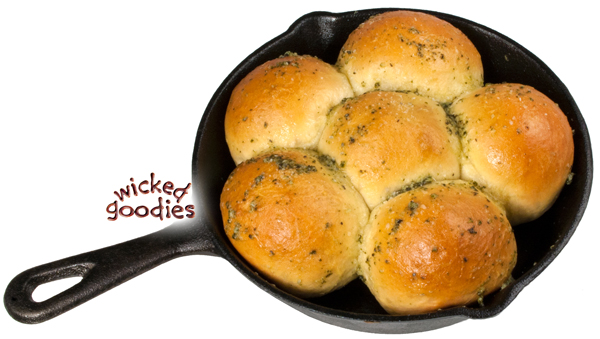
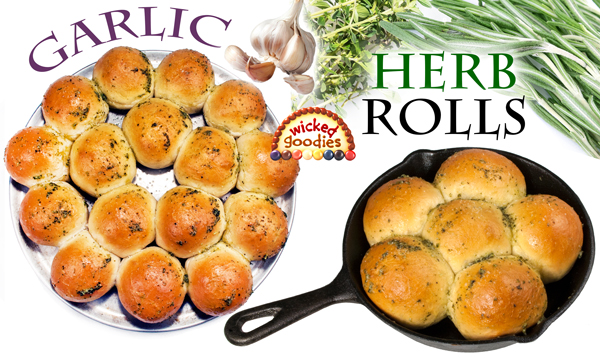
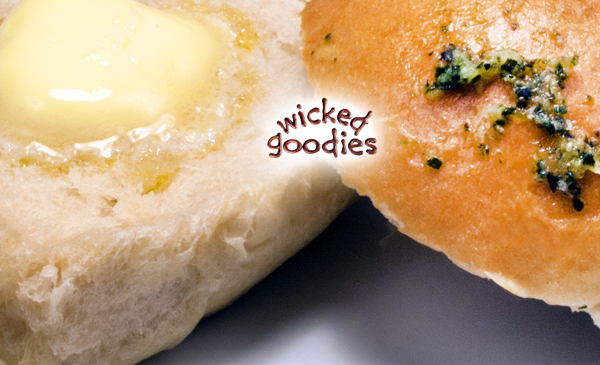
Garlic Herb Rolls Recipe
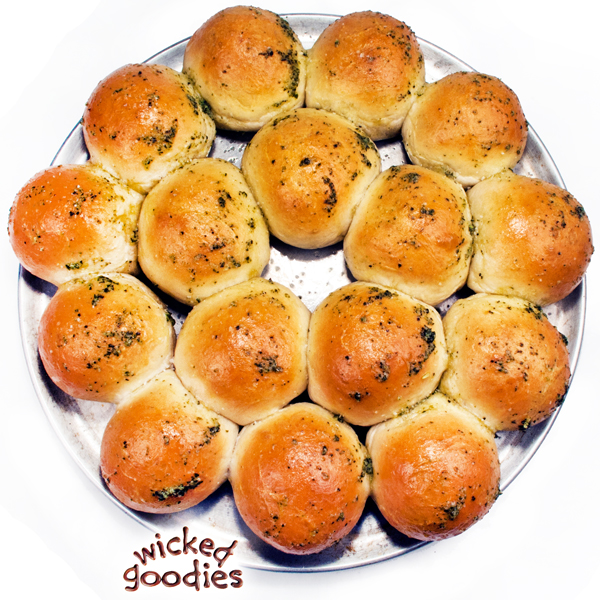
If you make this dough on Sunday and allow it to proof slowly in the fridge, you can bake it on Monday or Tuesday night. Note that cold dough must come to room temperature before being rolled out if the intent is to make pizza. For rolls, it can be shaped while cold but then should be allowed to proof until warmed to room temperature and expanded.
Easy Bread Dough Recipe
Yield: three 8″ x 4″ loaves or three 12″ pizzas
- 2 cups warm water
- 5 teaspoons of active dry yeast
- 2 tablespoons of honey
- 2 teaspoons of fine-grain salt (table salt)
- 5-6+ cups of flour*
- 1/4 cup olive (or similar vegetable) oil + more for oiling the bowl and pans
*There are many different kinds of flour that work for this recipe. Depending on where you live in the world, your flour will be different. Start with 5 cups and add as much as it takes to make a dough that is no longer too sticky to handle. I’ve had success using the following organic flours: all purpose flour, white whole wheat flour, whole wheat flour, spelt flour, and bread flour (high gluten flour). I do NOT recommend using bleached enriched flour as it’s an unhealthy alternative to the real thing.
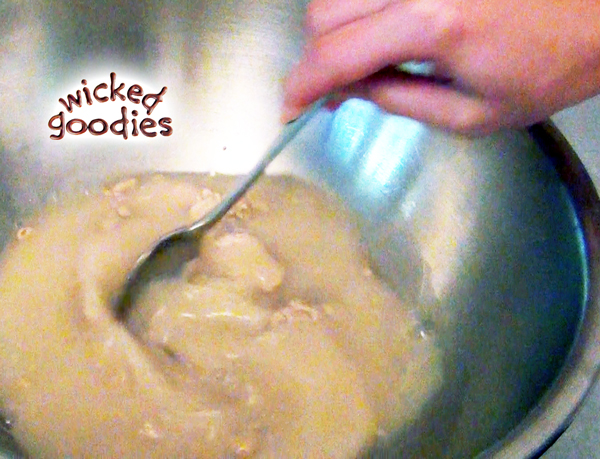
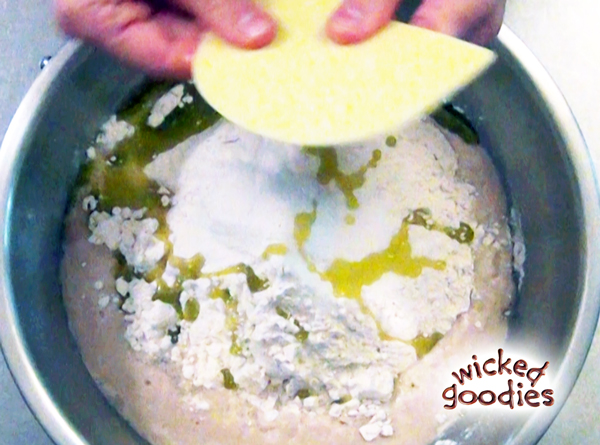
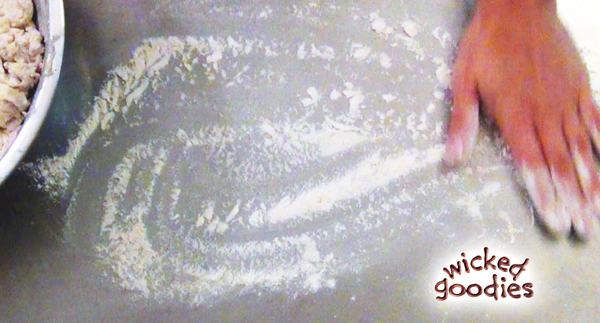
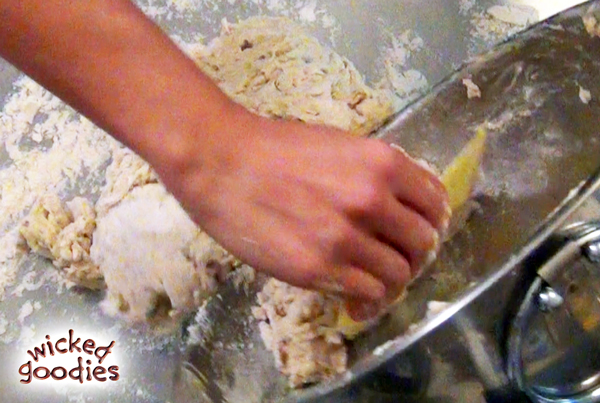
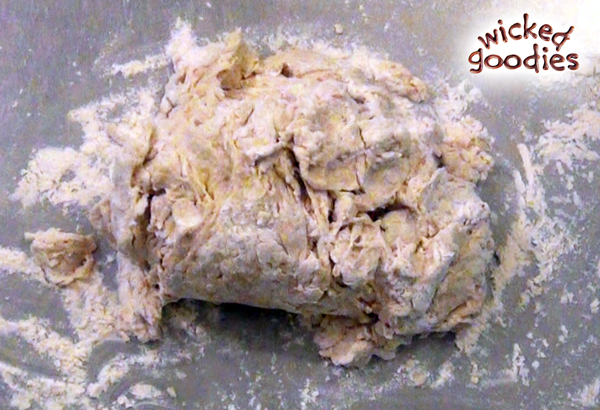
4. Sprinkle flour on the counter top generously then scrape all the bread dough out of the bowl (set the bowl aside for later).
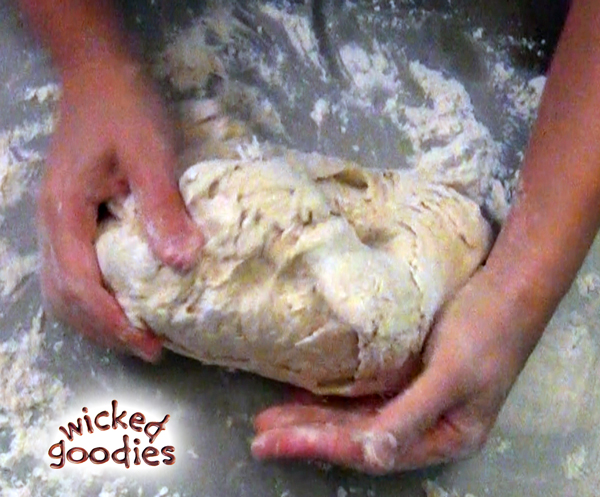
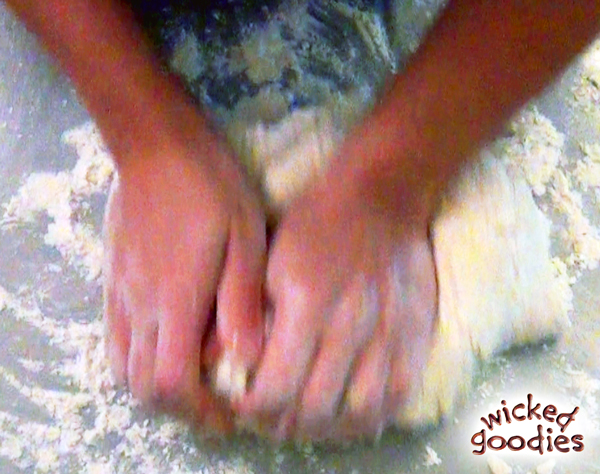
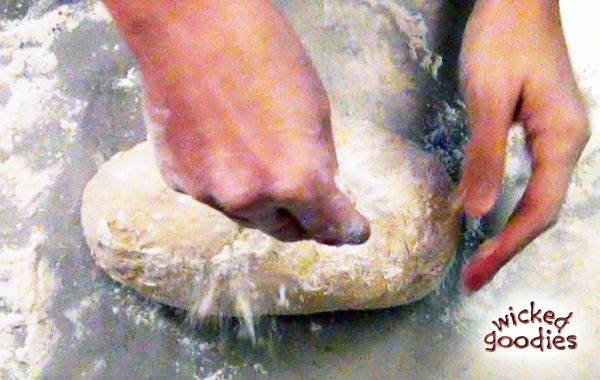
6. Add a tablespoon or two of oil to the same bowl that was used to mix the dough (it’s okay if it’s a little crusty, just rub the oil over it). Grease the entire bowl using your hand.
7. Add the dough to the bowl and coat it with the oil on all sides. Cover the bowl in plastic wrap and set it aside in a warm place to proof for about 1 hour or until the dough as doubled in size. The warmer the place, the faster the dough will rise. If you are in a hurry, the inside of an oven that was turned on for a couple of minutes then turned off makes a great warm proofing box for this stage and will speed up this process.
8. Preheat the oven (350º F oven for rolls and loaves or 500º F oven for pizza).
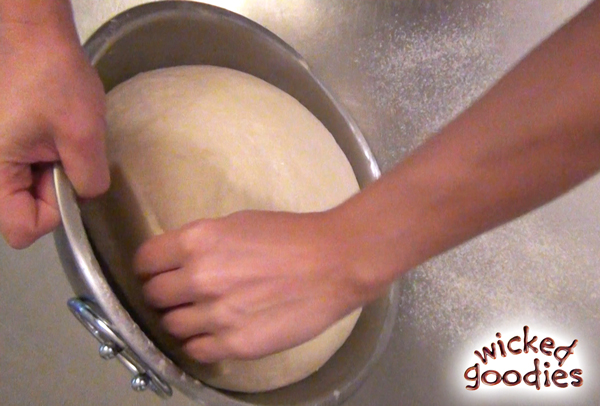
9. Turn out the dough onto the counter portion and shape it as desired. Then arrange it on or in oiled pans. Allow rolls and loaves to rise once more for 20-30 minutes before baking.
The bread is done baking when it reaches an internal temperature of 200ºF (111ºC).
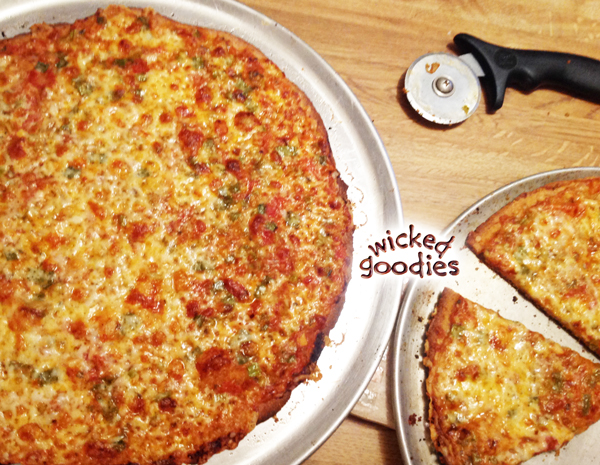
Spelt Pizza Variation with Homemade Tomato Sauce, Garlicky Crust & Cheddar Cheese
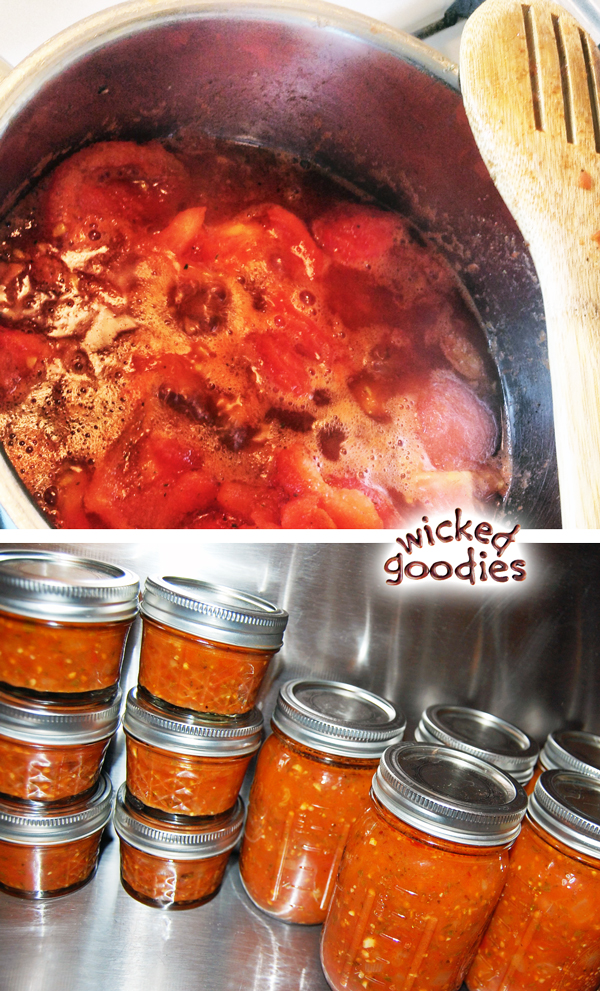
I have made a lot of pizzas using this bread recipe for the crust and local, fresh-picked tomatoes for the sauce.
The crust bakes best in a very hot oven atop a preheated pizza stone. Sometimes I bake the pizza directly on the stone with a light dusting of corn meal on the bottom to help prevent the dough from sticking. In that case, I slide it on and off the stone using a wood pizza peel. Sometimes, I’ll bake the dough in a pan coated with oil, salt and garlic. Other times, I’ll bake it in a seasoned cast iron pan.
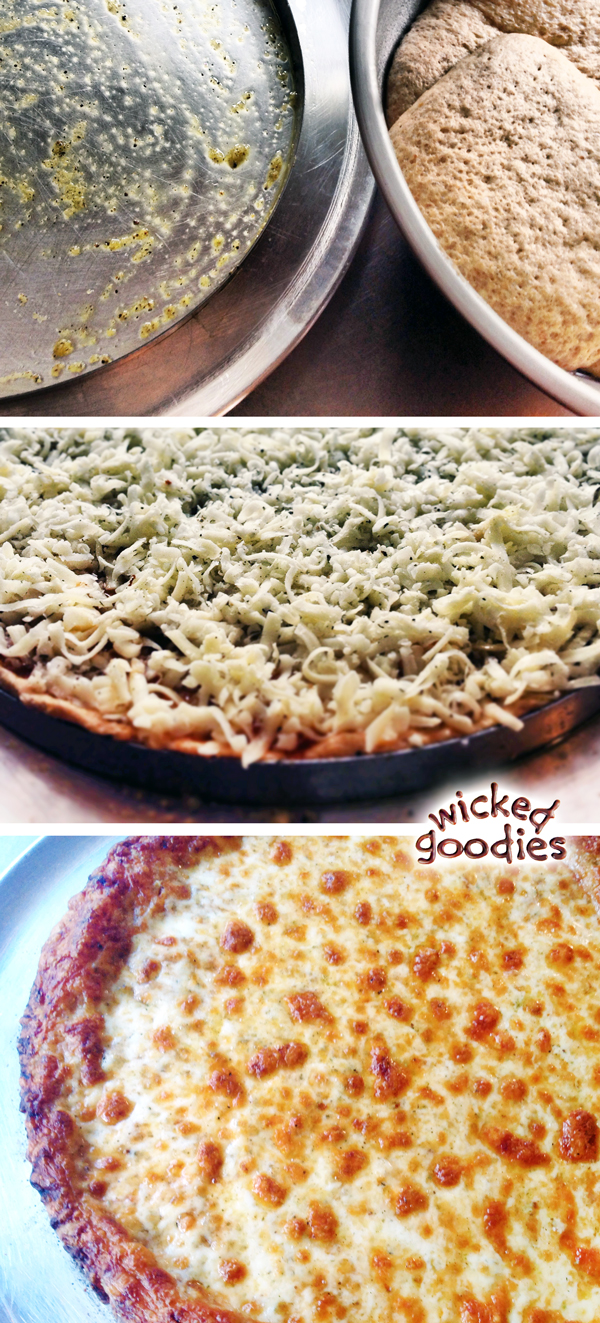
I’ve learned that pushing the pizza toppings all the way to the edge of the pan causes the cheese to caramelize and fuse with the crust, which makes it extra crunchy and flavorful.
Cheddar cheese yields a more flavorful pizza than mozzarella. Mixing fresh chopped herbs such as oregano, basil, and/or thyme in with the shredded cheese is an easy way to protect the delicate leaves so they can weave extra flavor into every bite.
Leftovers
This bread is best eaten fresh, within 24 hours. Storing it in a well-sealed bag or container will soften the crust. Storing it in a paper or perforated plastic bag will maintain the snap of the crust. Freezing leftovers helps extend shelf life. I have gotten in the habit of making a few large pizzas, slicing and freezing them in bags separated by wax paper. When it’s time to reheat a slice or two, I do so in a skillet with some olive oil. When cooked over low heat with proper attention to rotating the pan, the crust will crisp on the bottom and the cheese will melt on top. It yields better results than a toaster oven or microwave.
Related Recipes
Garlic Herb Rolls Variation
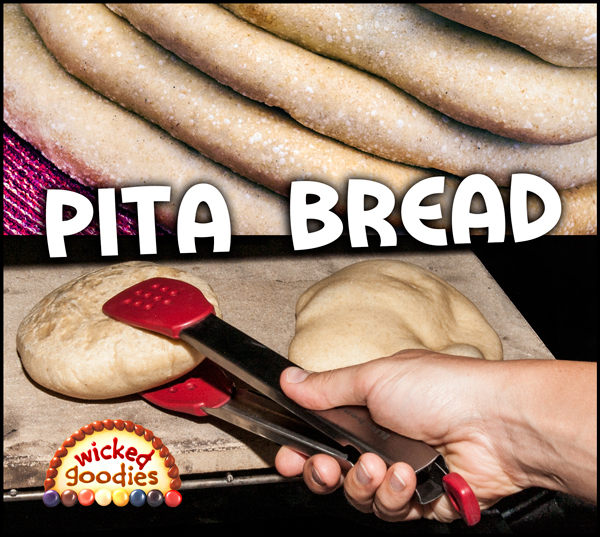
Homemade Pita Bread Recipe
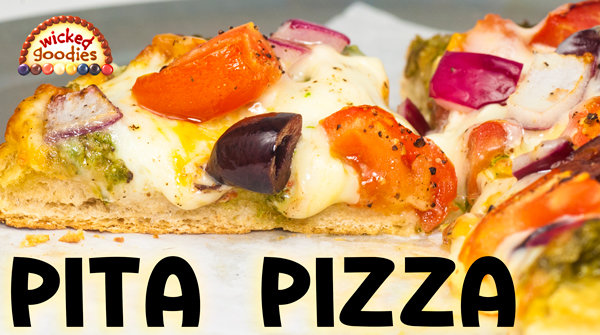
Greek Pita Pizza
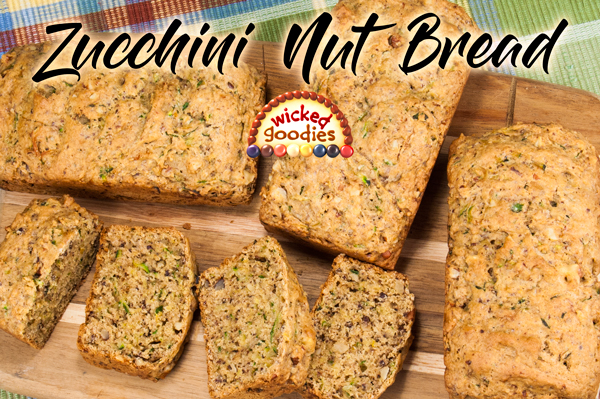
Zucchini Nut Bread
Spanakopita (Greek Spinach Pie) Recipe

Fake Display Cake Variation

Cake Sand




I am doing a wedding in December where the bottom tier is fake…middle tier is gluten free…top layer is fake. Only the bride and groom will eat the middle layer. It’s really just for cutting purposes so they can feed each other cake. My question is regarding baking bread for the fake layers – the bottom layer will suppose a real tier of cake, correct? I will of course use dowel supports. Thoughts?
Sandy,
If your cake and top tier are relatively light weight, you might not need supports in the bottom bread tier. Bread is so much more dense than cake that it can hold quite a bit more weight than cake. If you are at all worried about it, it won’t hurt to add some vertical supports though.
Can’t wait to try your great sounding recipe, great photos, and very helpful directions.
Regarding the pizza dough….do you put it raw on the pizza pan, add the toppings and bake OR do you bake the crust then add the toppings and bake again?
Thank you.
You can do it either way. If you want a super crispy crust, it helps to par-bake the dough in advance of topping.
Hope this is as easy as it looks – have been trying to make bread for the last 6 mos. weekly all I get are hockey pucks. (Hubby likes it for french toast but nasty for lunches.)
You might want to check that your yeast is still active if you’re getting pucks!
Can’t wait to give this a try…but couldn’t I just put all the ingredients in the standmixer and let the dough hook do all the work?
Absolutely, yes! However I’ve found that small stand mixer motors get burned out rather fast from mixing bread dough so I’ve started doing it by hand to preserve my equipment.
Thank you for sharing, bread making is an art!!!