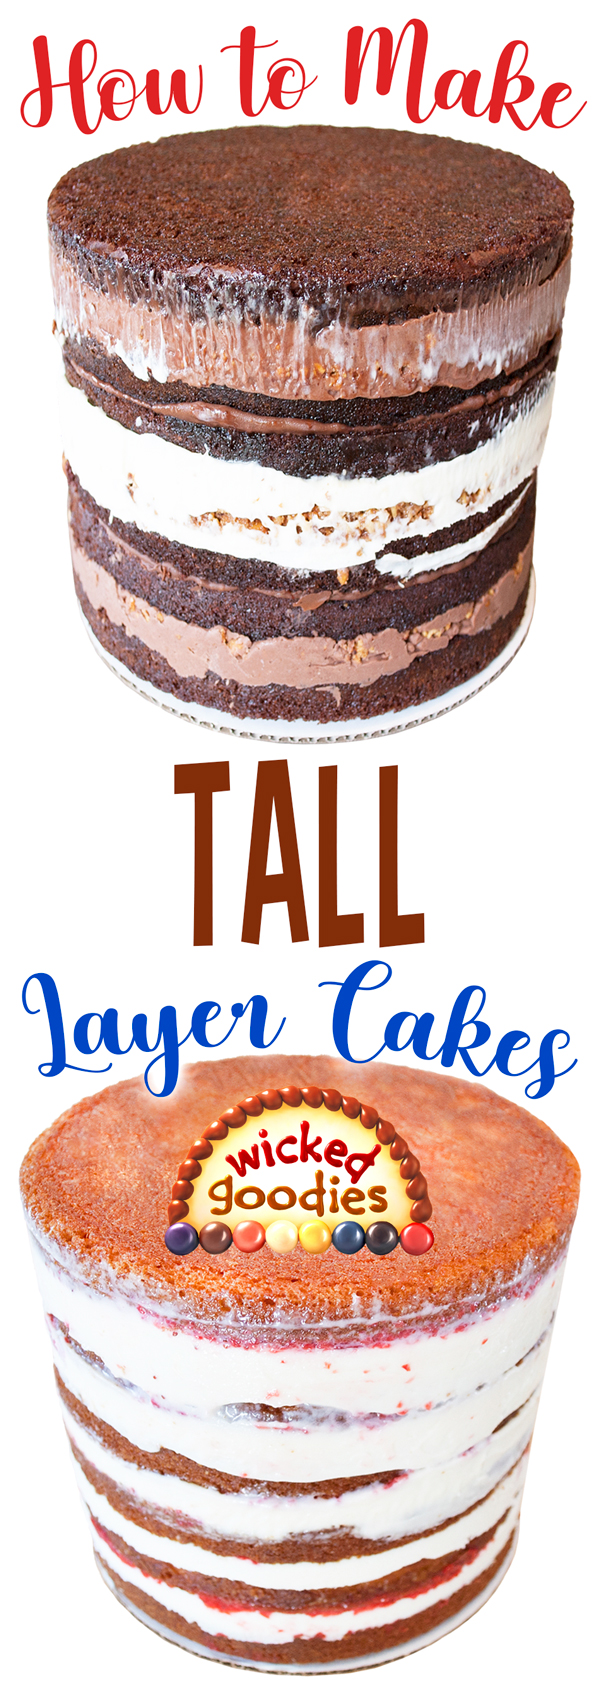
This tutorial reveals my tips and tricks for torting perfectly tight and symmetrical layer cakes that are taller or higher than the average cake. This technique is a variation of the professional bakery method for filling layer cakes in baking pans. Many readers have asked how to use that technique to build extra tall cakes (5-7” or taller cakes) or how to use it even when the pan is shallow (2” deep).
The Cake Collar Trick
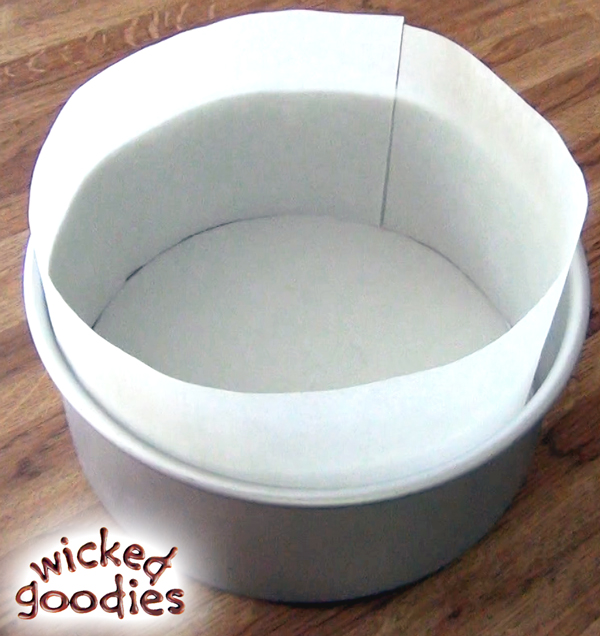
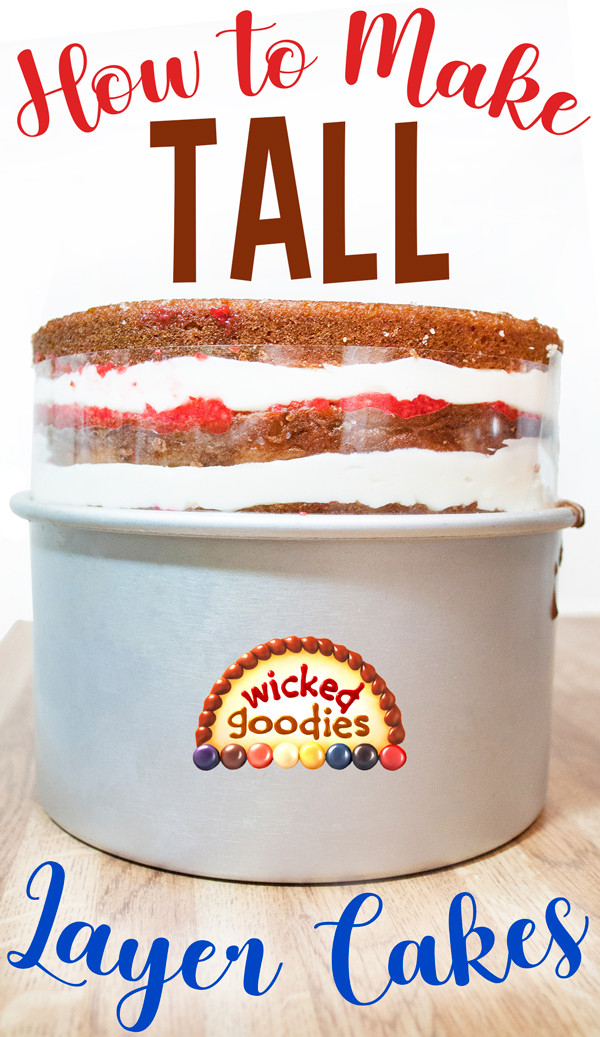
The answer is to extend the height of the pan using a cake collar. The collar can be made of parchment paper, wax paper, or acetate (commission earned).
Acetate
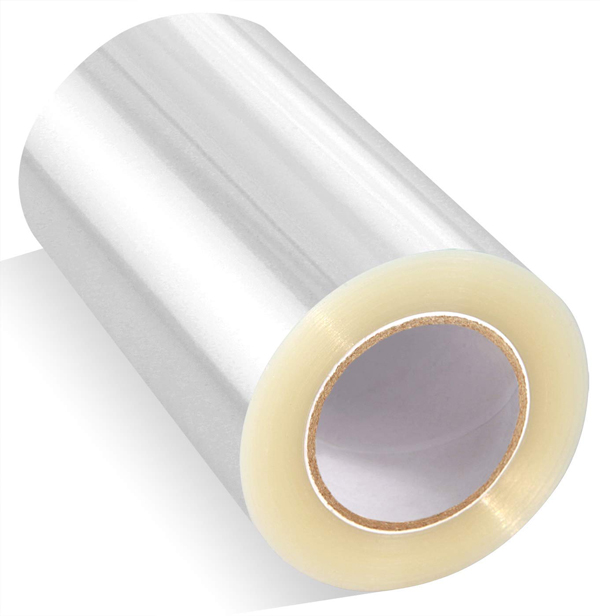
I prefer to use acetate (commission earned), a type of sturdy plastic that comes in sheets or rolls. Acetate is often used in bakeries to make chocolate decorations or to serve as a protective wrap for naked cakes.
Step-by-Step Instructions
1. Using this technique for filling layer cakes in baking pan, begin by alternating layers of cake sponge with layers of cake filling.
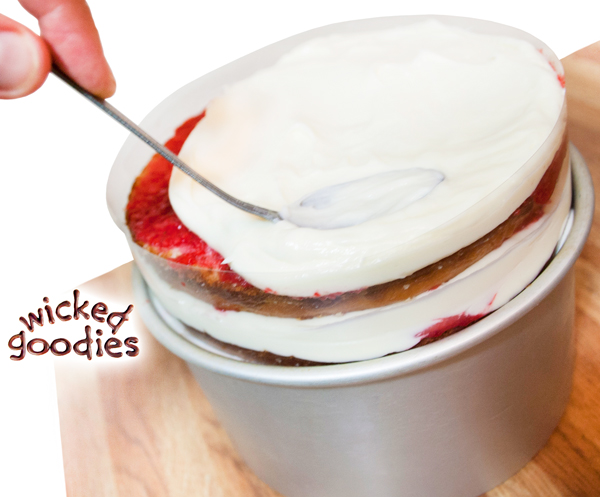 2. Once the cake layers reach the top of the pan, cut a strip of acetate (commission earned) from the roll. Alternatively, use a double layer of parchment or wax paper. Measure the strip so that it’s slightly longer than the circumference of the pan itself. That way, it can reach all the way around so the ends can close with an overlap.
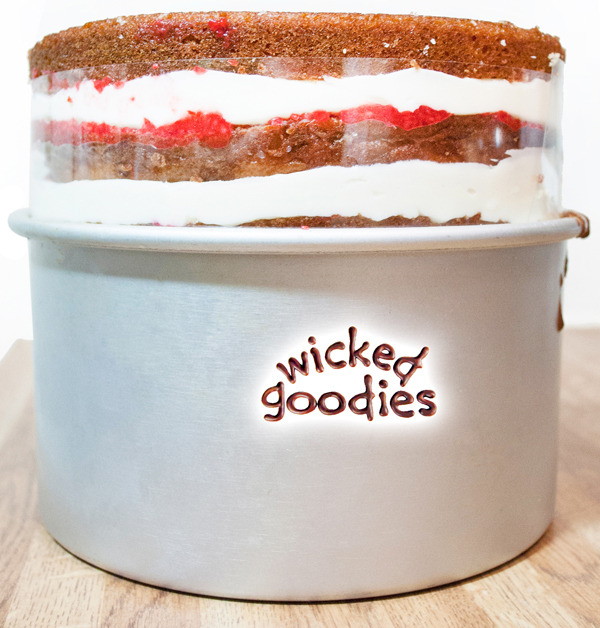
3. Tuck the acetate down around the cake so it’s flush with the sides of the pan. It only needs to be tucked in just far enough to anchor it so it can stand up on its own, serving as an extension of the pan.
4. Continue adding layers of cake alternating with layers of filling, building them inside the collar. For extra tall cakes, you may need to add another strip of acetate (commission earned) to extend the height of the pan even further, this time tucking it inside the layer of acetate that’s below.
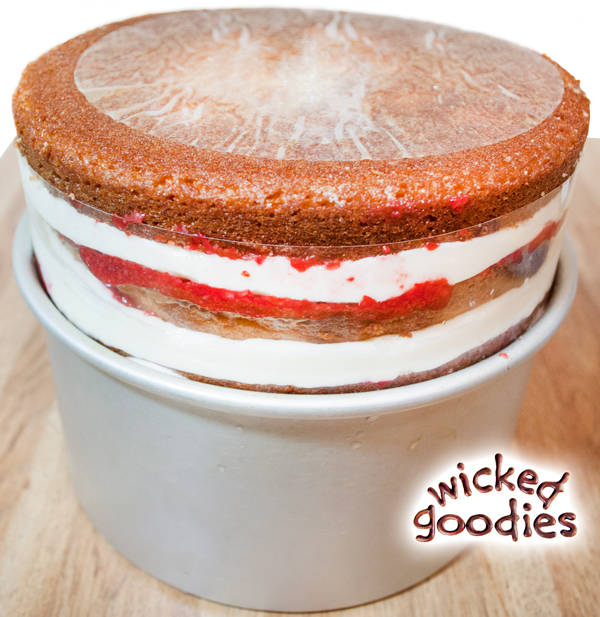
5. Once all the layers have been filled, seal the cake in two layers of plastic wrap and put it in the freezer overnight.
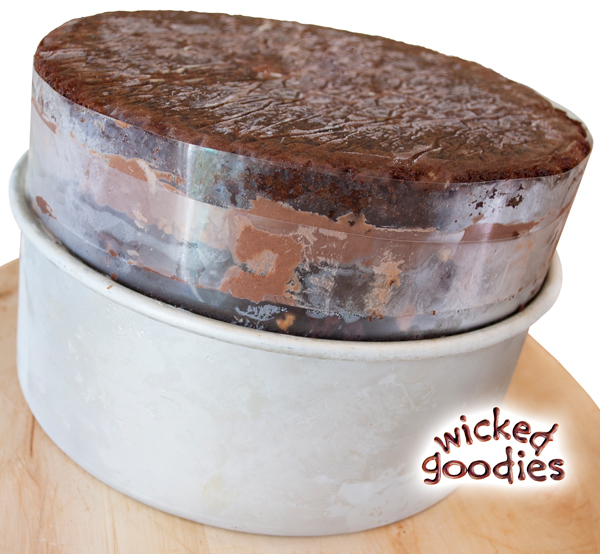 6. Once the cake is frozen, unwrap it and remove it from the pan. Here are directions on how to freeze cakes plus a video tutorial on how to release frozen layer cakes from the pan.
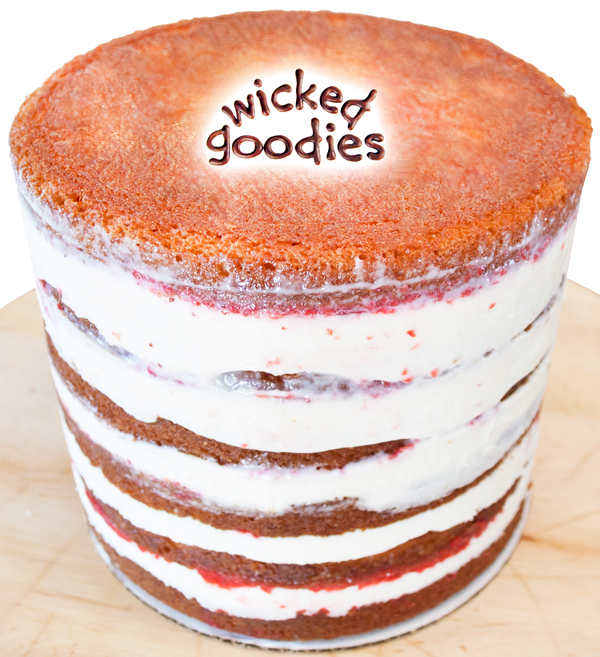 7. Once the cake is free from the pan, remove the acetate (commission earned). As long as the cake is frozen, the acetate should easily pull away from the sides.
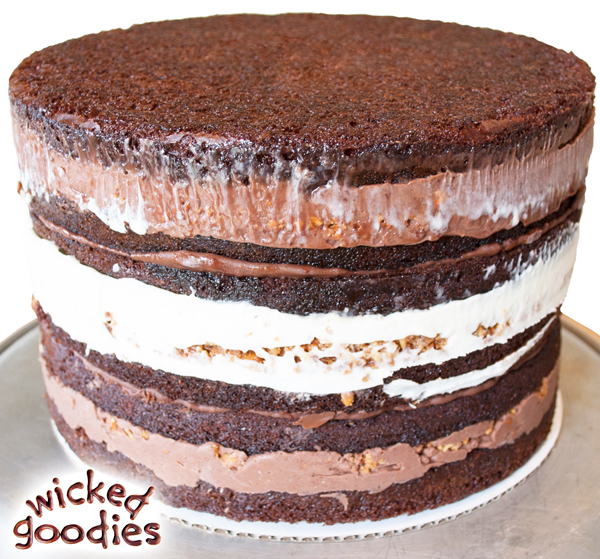
This method yields nice clean cakes in the exact shape of the pan, even when the pan is shallower than the cake.
Tall Square or Rectangle Cake Option
To make tall square or rectangle cakes, cut the acetate (commission earned) into strips that are the same length as each side of the pan and tuck them in one at a time.


I can never find acetate tall enough for my tall cakes!
What a great tutorial, thank you for sharing!
I’m curious if the technique will work with mousse filled layer cakes? My family is not big fans of thick layers of buttercream so i usually fill cakes with gelatine-based mousse, which should freeze well, but I’m uncertain what will happen when it thaws…
Yes absolutely. It works with gelatin-based mousse. Using just that kind of filling, I have done it countless times.
Awesome!! Would you recommend to thaw the cake in the fridge the night before serving and frost/decorate on the morning of serving?
That sounds like a fine plan, as long as the cake is small and the decorations are simple. For stacked cakes and complex designs, follow this link for my scheduling recommendations.
Hello,
I am going to try this method today. Sounds brilliant. I wonder if you brush your cake layers with sugar syrup before adding the fillings? I wonder if the sugar syrup changes structure in the freezer?
Thanks
Yes. I do often brush cakes with flavored simple syrup. It works fine as long as you only brush the interior layers, not the top or bottom layers.
Hi,
Great tutorial. I love the pan filling method.
I use the upside down frosting method, was wondering if i could layer the base of the pan with buttercream 1st then cake and fill upwards. Would probably lay a piece of parchment underneat so its easier to pop out.
Also, wouldnt it be easier using a loose base, side tin? As i dont have a blow torch.
Cool idea about starting with buttercream. Then the top of the cake will already have a crumb coat on it. If your cake shrinks, and there’s space around it, you can also squirt buttercream around the sides to start that part of the crumb coat too.
Yes – cake pans with removable bottoms are awesome and I use one at home. Springform are not my favorite. I recommend the solid aluminum kind for bakeries because it holds up the best over time.
Can’t wait to try it out.
I was referring to just pan filling purposes (springform).
For baking, I agree, solid works best.
Just did this method.
I used $.88 plastic placemats from Walmart instead of acetate and put another cake pan on top like a cap.(I trimmed the placemats with scissors after assembly) 2 frozen cake canisters ready to travel 3 states away!
Awesome! Love this idea.
Hi Wicked Goodies
Can I use this with chocolate mousse as the filling?
Or will it mess up the mousse texture and taste?
Yes you can use chocolate mousse.
Thank you!
For sharing your amazing tutorial and for replying
Thank you for this tutorial. God bless you.
Thank you so much. I’ll rather dowel and see it as 2 or even 3 tiers. Thank you so much once again.
How does this cake look when it comes to room temp? Or is it served chilled? I see so many bakers chill their cakes. They take pics when the cake is chilled. Doesn’t it start to settle and sag once is thaws? Awesome tutorial btw. I just started to torte my cakes and had a 2 tier (each tier was 6 1″ layers) this weekend. I put a board and supports half way between each tier, because I was concerned that the height may make the cake unstable. I wonder was it overkill, Do you need additional supports in these tall layer cakes? Thanks so much for all of your insight!!
I don’t have a problem with settling because this cake filling method does not leave any pockets of air inside the cake. I am careful to use cake fillings that don’t squish out. I frost with a buttercream that does not sag. Sometimes it helps for especially tall cakes to put supports inside but I’ve found that’s not necessary until you get into heights of 7″ or taller (which it sounds like your cake was). It never hurts to split a tall tier in half like that though so I recommend doing it if it makes you feel secure and comfortable with the cake, especially in terms of transport.
Thanks so much for your insight and speedy reply. I’m going to try this method for sure! I love this tutorial, & appreciate all the time you spend teaching us rookies. 😉