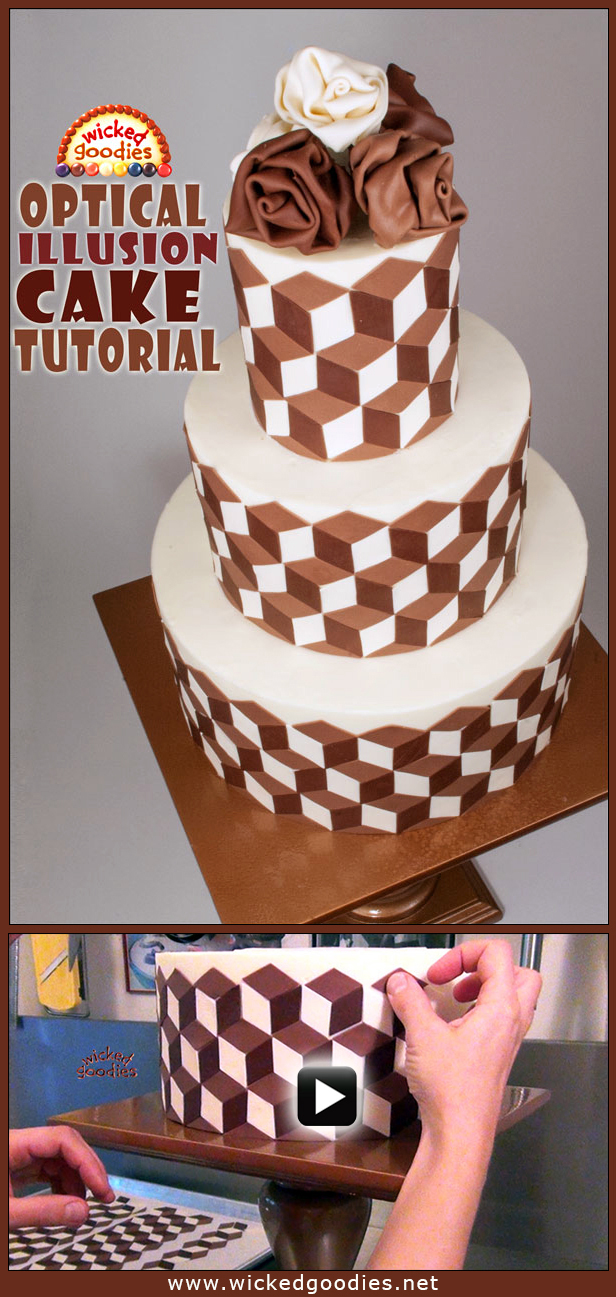
This is a video tutorial with info and instructions on how to decorate a wedding cake with an optical illusion pattern using white and dark modeling chocolate.
Click here to read the tutorial:
>> Optical Illusion Cake Tutorial <<
Click here to read the tutorial:
>> Optical Illusion Cake Tutorial <<


HI, beautiful design, need to know if you running trainings for international students and what’s your address in S.A
Hello and thank you! I am located in San Diego, California but my primary work with this material is in writing/publishing books so you will not find me in a retail store. I am currently not scheduled for any workshops although I do get this question a lot so I probably should! I supposed I tend toward publishing books as videos as those have a wider distribution capacity than teaching classes.
Thanks for sharing .
This is absolutely beautiful. I find it breathtaking. Intact i will try it this week.
Hi there,
This looks amazing. Am going to try it for my husbands birthday. Can I make and cut the modelling chocolate a few days in advance? Will it keep in the fridge?
Thanks
I realise the modelling chocolate itself will keep.
Just wondering if it hurts to do all the cutting a few days in advance of decorating the cake?
Thanks
Stella,
You could cut them a week in advance if you wanted to. Just make sure to keep them covered in a cool, dry place.
Thanks for that. So just in the pantry? No need to keep it in the fridge?
I do not recommend storing modeling chocolate – especially not finished decorations – in the fridge, as they will get gummy and limp over time.
Hi. I’d like to try this cake as a single tier, but I’d like to know what you think of doing it on a chocolate frosted cake? Big mistake? I’m afraid of smearing.
Thank you.
Hi Pam,
I recently did a similar pattern on a chocolate buttercream wedding cake and it worked beautifully, so yes – it can be done! This time, I arranged the pieces on strips of acetate and then transferred them onto the cake instead of placing each piece by hand onto the finish. That saved a lot of time and effort plus helped me to avoid the potential smearing.
Beautiful
Like ☆