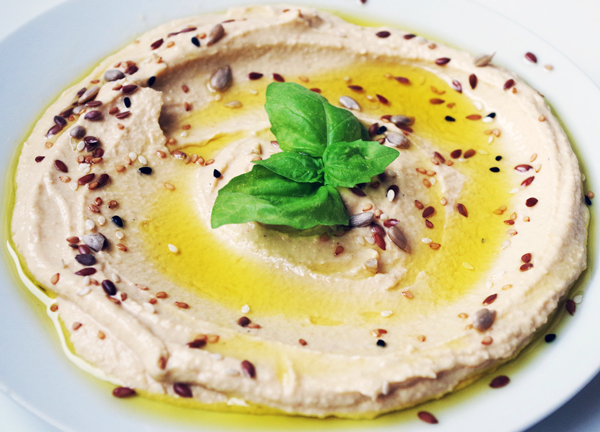
Pita bread makes an excellent delivery system for dips like hummus or tzaziki.
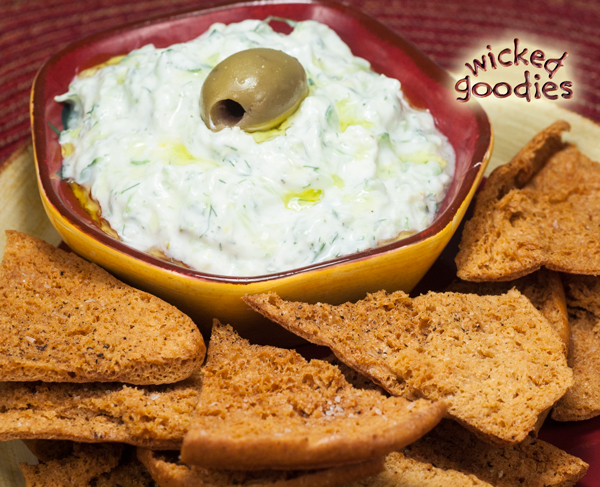
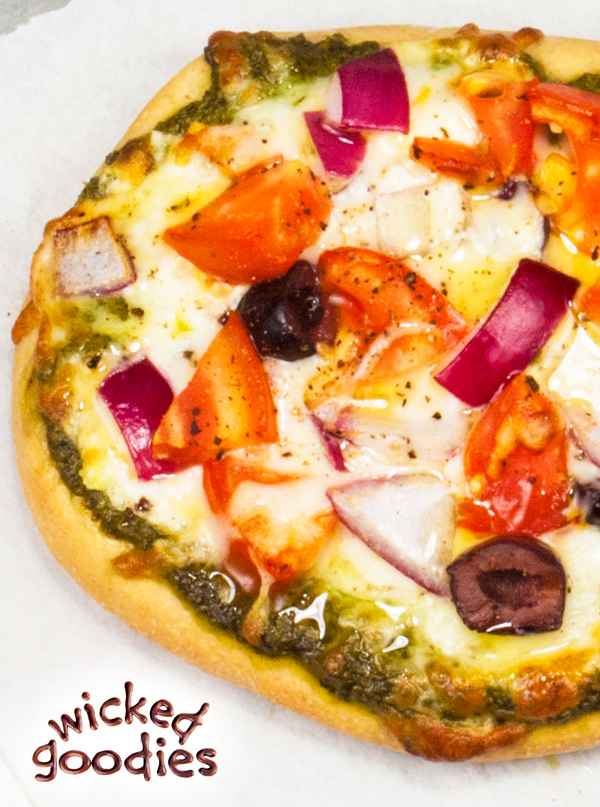
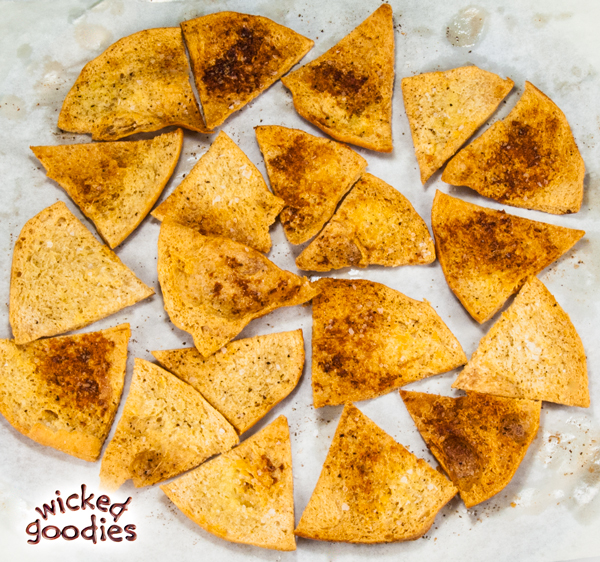
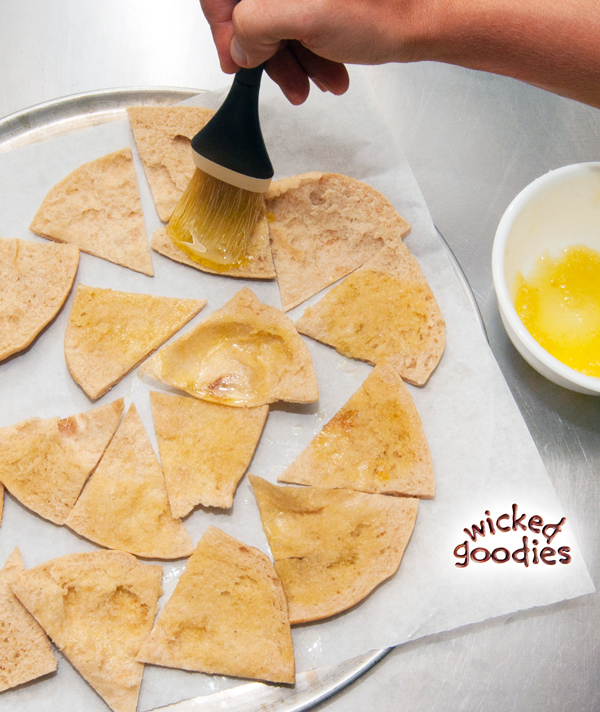
It may be brushed with olive oil then toasted to make pita chips or croutons. It is a handy sandwich bread that can also be used to engineer pizza.
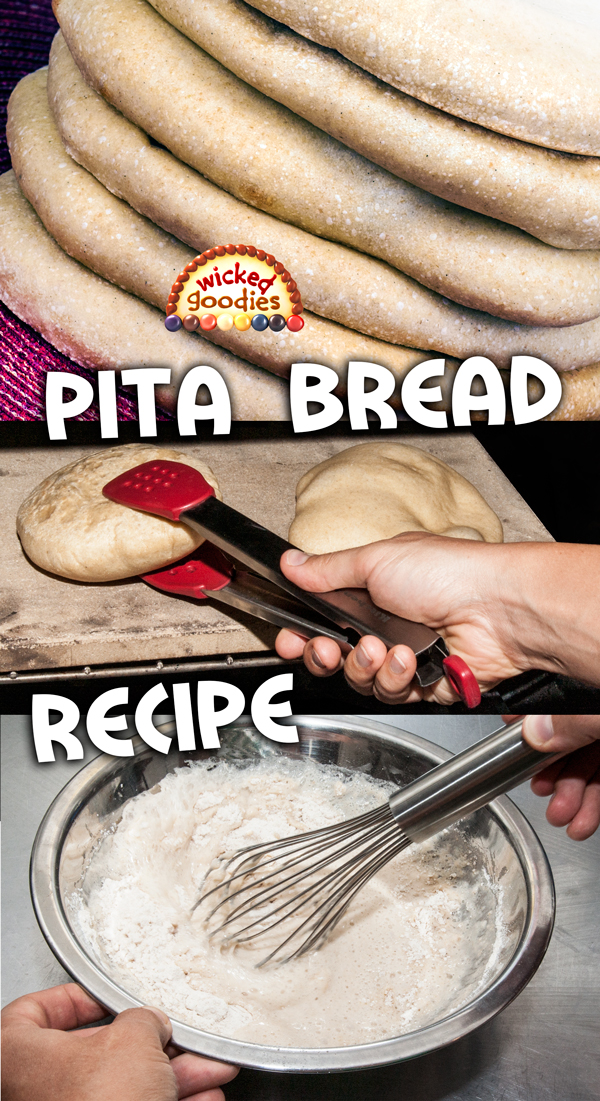
If executed properly, each pita balloons in the oven; that is how the pocket is formed. If they don’t balloon, that’s okay; the result will be a soft disk perfect for slicing into a sandwich bread. Pita only requires a few minutes in a 500° oven. In home kitchens, it can be baked on an inverted sheet pan or even on a bare oven rack but is best accomplished on a hot pizza stone. The dough can be mixed and baked within a matter of hours but for a more developed flavor, allow for a slow overnight rise in the fridge. Pita is so compact and versatile that I follow this big-batch formula then freeze the extra for quick meal options.
Recipe for Pita Pockets
yield: 16 (6”) pockets
Yeast Mixture
• 1 tablespoon + 2 teaspoons (1/2 oz packets) of active dry yeast
• 2 teaspoons honey or sugar
• 1 cup warm water, 110° F (43° C)
Flour Mixture
• 4 cups unbleached bread flour
• 2 cups white whole wheat flour
Additional Ingredients
• 1 ½ cup warm water, 110° F (43° C)
• ½ cup olive oil
• 1 teaspoon salt
• 1/8 teaspoon ground cardamom (optional)
Step-by-Step Mixing, Shaping Proofing and Baking Instructions
1. In a medium bowl, activate the yeast by stirring it along with the honey (sugar feeds yeast’s growth) into 1 cup warm water. Yeast thrives at 110° F (43° C), which to the touch is lukewarm. Set the mixture aside for about five minutes or until foamy.
2. Meanwhile, measure the flours into a large mixing bowl. Do not add the salt at this stage (salt inhibits yeast’s growth and should not be incorporated until the last possible minute). Mix just the flours to combine.
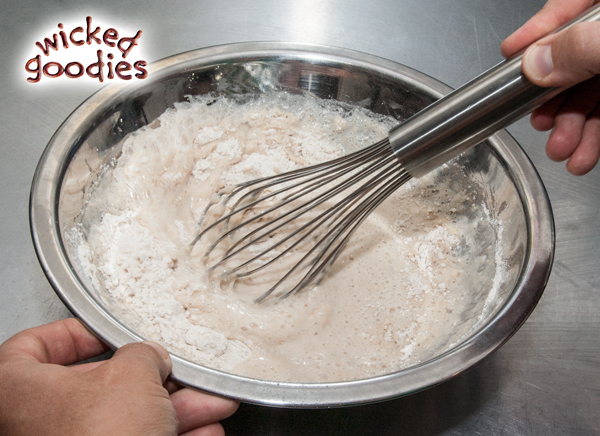
4. Once it has doubled in size, pour the starter into the flour mixture. Add the oil, salt, cardamom, and remaining warm water then mix all the ingredients with a firm spoon or spatula to combine.
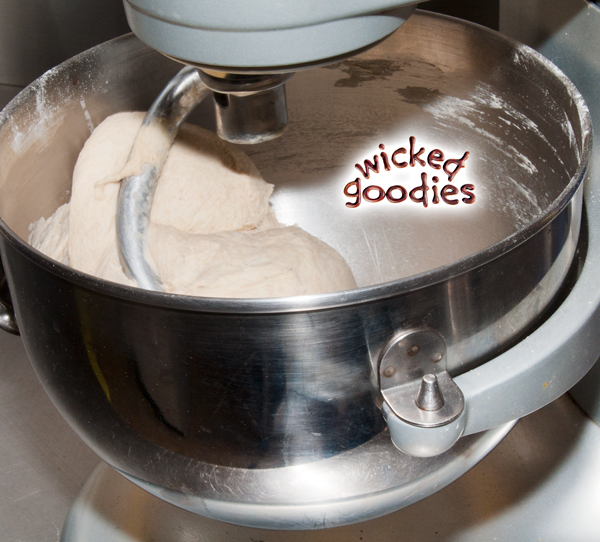
6. Put the dough in a large oiled bowl, cover it with plastic wrap, and set it in the fridge to rise overnight. Alternatively, let it rise in a warm place for one hour or until doubled in bulk.
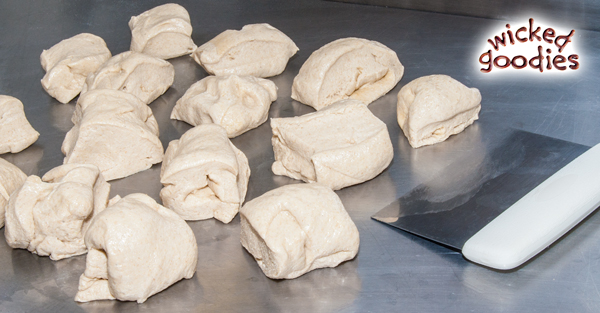
7. Punch the dough down and pour it onto the counter top. Portion it equally into 16 balls. Use a bench scraper to cut.
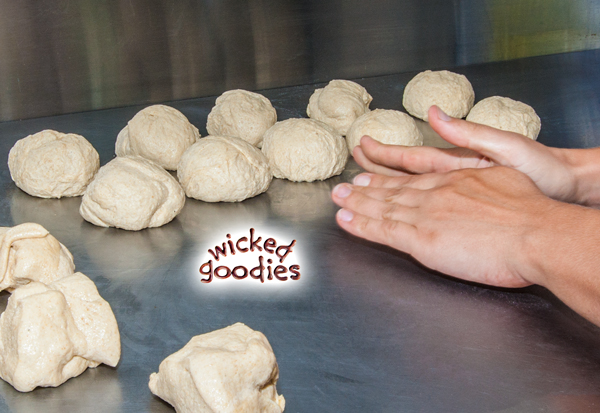
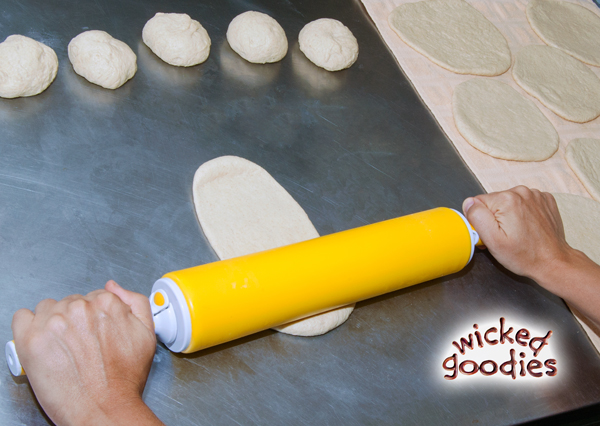
9. Beginning with the first ball that was formed, roll out 6” round disks. Flour may be used but is not necessary at this stage; if the dough is the right consistency, it should cling to the tabletop in such a way that makes stretching it with a rolling pin easier. Arrange the rolled-out disks on top of a clean dish towel , spacing them at least 1/4” apart. Do not pile or overlap the disks. Dust them with flour, cover them with another clean dish towel and allow them to rise for ½ hour while sandwiched between towels.
This stage is key to achieving the correct consistency for a pocket (if the dough rises uncovered, it forms a dry crust that prevents inflation). Once the disks begin rising, do not touch them again until it is time to place them in the oven.
11. Once the oven is fully preheated, place two pita disks side by side on the hot stone. Move swiftly when handling them so as not to deflate the dough. They will immediately stick to the stone so do not attempt to move them once they are in place. Close the oven and wait for them to rise – about 1-2 minutes.
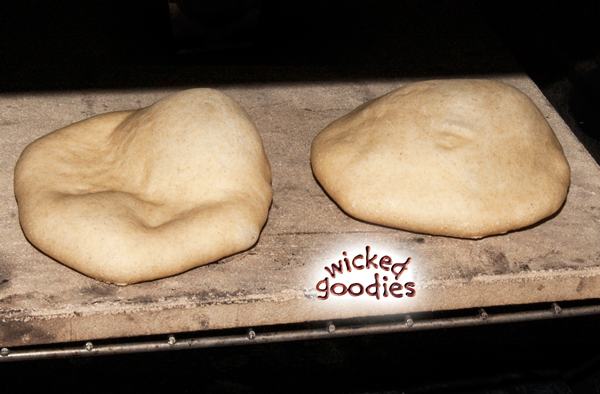
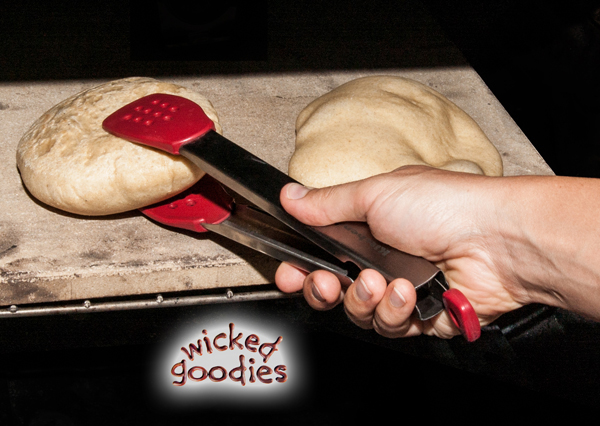
13. Bake pitas for one more minute on the second side then remove them from the oven and cool them on wire racks. Each pocket should not take more than three minutes to bake. Avoid baking pita for too long. Just-right pita will deflate while cooling and yield a soft interior crumb.
Storing Pita Pockets
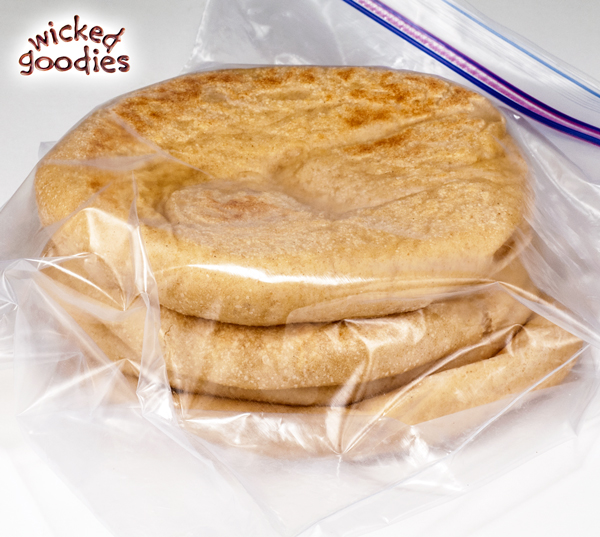
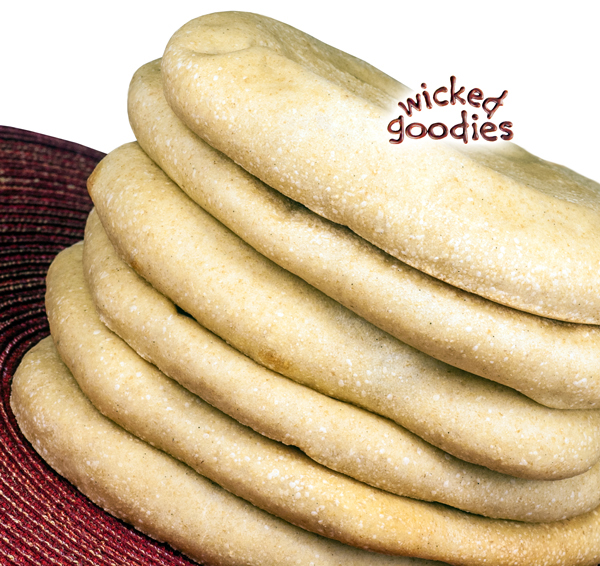
Store pita pockets stacked in freezer bags. Pita will last 3-4 days at room temperature or up to 6 months in the freezer.
Pizza Variation

Read the Greek Pita Pizza Recipe Tutorial
Pita Chips Variation
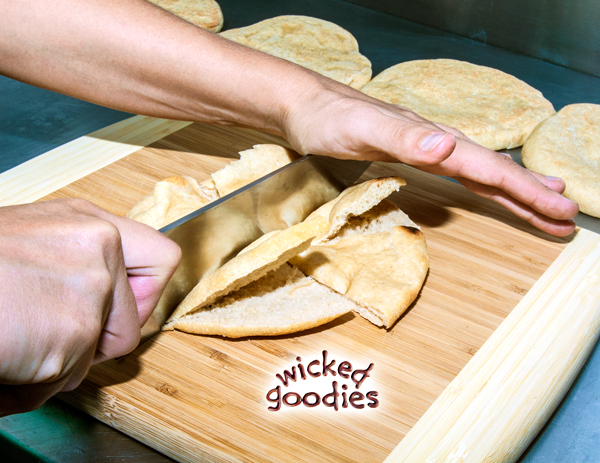 Leftover pita bread may be split open, sliced into wedges, brushed with garlic butter or oil, toasted then used to make pita chips for dips like tzatziki and hummus.








Is there any way of halving this recipe
I have enjoyed your recipes and videos very much. You recipes are very thorough and descriptive. Keep up the good work. Thanks, Patricia