Cake Frosting Basics
page 23 of 50
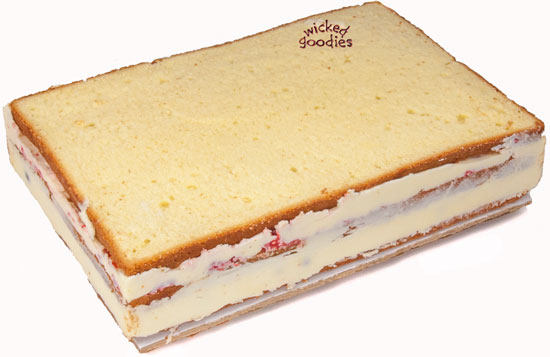
The Basic Stages of Frosting a Cake

1. Refrigerate the unfinished cake until it’s cold.
2. Add a thin crumb coat of buttercream, if desired.
3. Refrigerate the cake until it’s cold again (10+ minutes).
4. Add a thicker, final coat of buttercream. Add just a little more than is needed. Fill all gaps and holes.
5. Refrigerate the cake again, this time for at least 1 hour or until the buttercream is hard.
6. Scrape off the excess buttercream. If any gaps or holes remain, fill them with more buttercream and repeat steps 5-6 (except the cake only needs about 10-20 minutes in the fridge between fixes).
7. Refrigerate the cake again for at least 30 minutes.
8. Smooth the lines of the cake by running the pad of a finger (I wear rubber gloves to do this) over the edges and corners. Don’t hold the finger down in any one area, just run it evenly across all the edges. The heat of the fingertip will soften and smooth any ragged edges.
9. To remove the cake from its working platform, run a small offset spatula around the base of the cake to release its hold on the platform. Transfer the cake onto its serving platter. For best results, do this when the cake is well-chilled.
page 23 of 50


